Shortcut Key to Insert Rows in Excel (Excel Shortcuts)
This video tutorial offers a set of steps on how to use a shortcut key to insert rows in Excel.
Shall we have a look?
To insert a row in a data table, we need to select its position by clicking on the row headers here on the left. Remember to click one row below the place where you want to have the new row inserted.
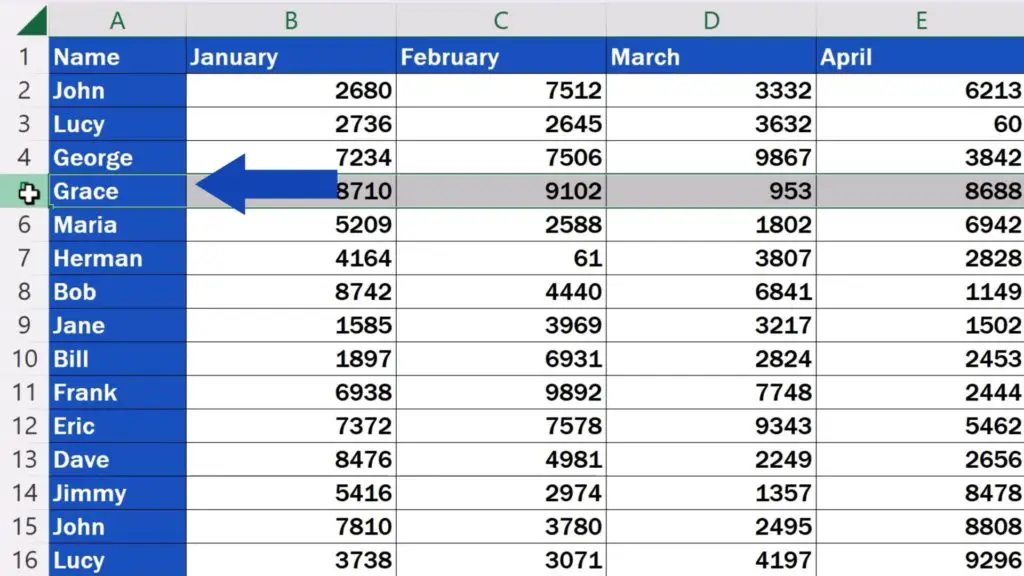
There are two ways we can insert a row using a shortcut key:
First Way How to Insert a Row Using a Shortcut Key
The first and perhaps the simplest one is the hotkey using Control with the plus sign. And there we go!
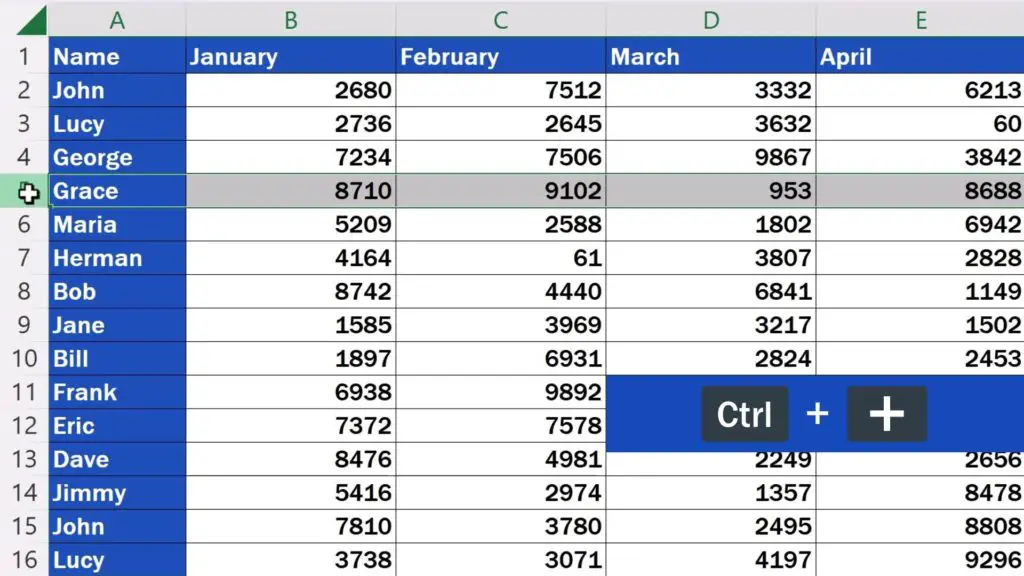
The new row is in its place now!
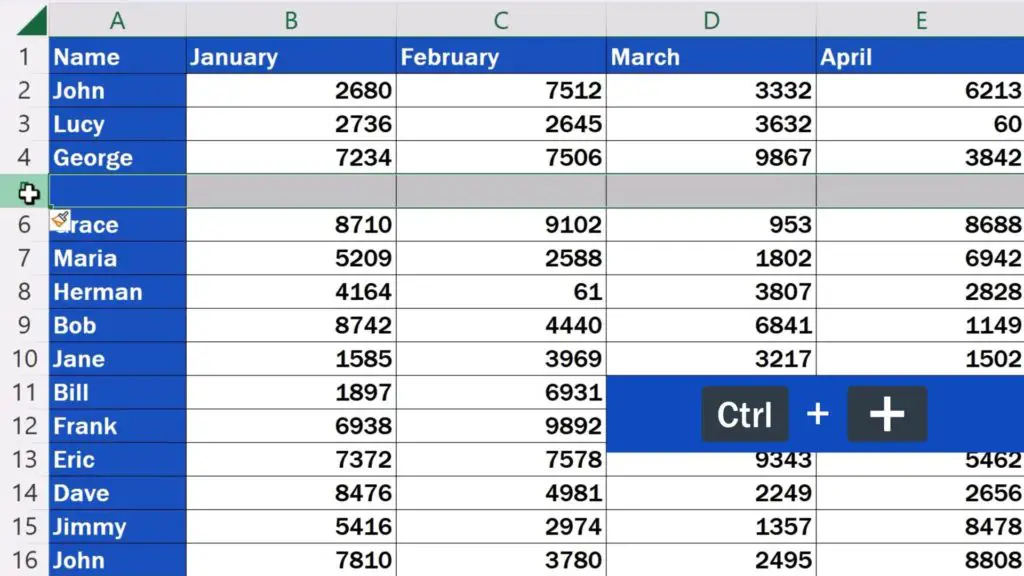
This shortcut is convenient if you’ve got a keyboard with a numeric keypad (or number pad) on the right.
Now, let’s click somewhere else in the data table and we’ll have a look at the other useful shortcut key to insert a row in Excel.
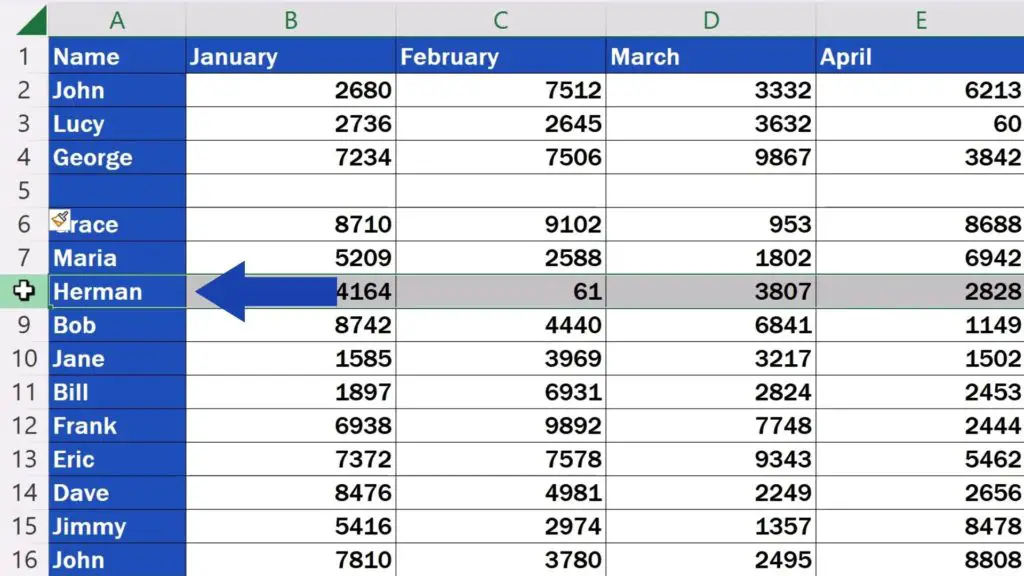
Second Way How to Insert a Row Using a Shortcut Key
To use this shortcut, hold down the Alt key and press the keys for I and R along. And here it is! A new row’s been inserted.
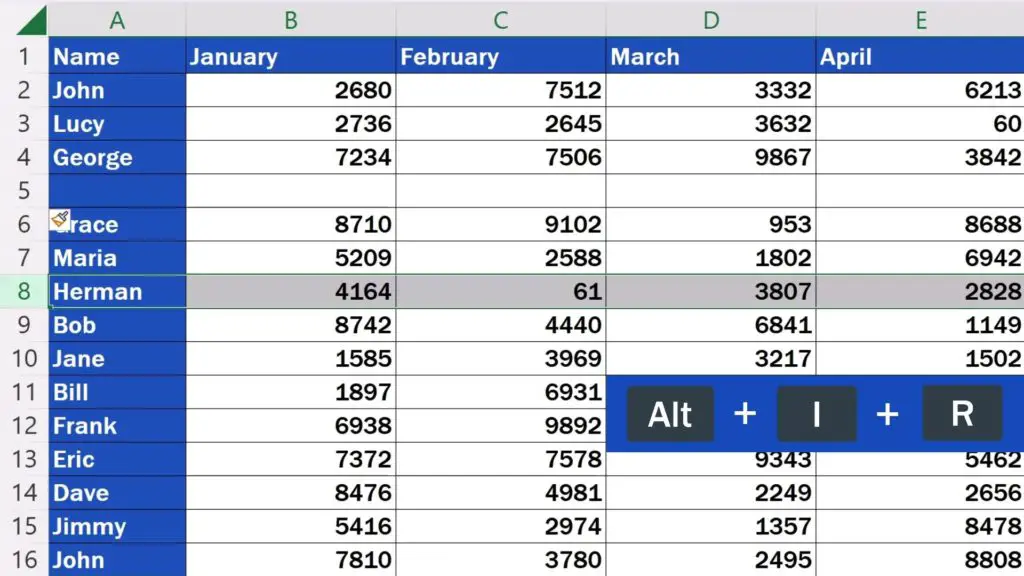
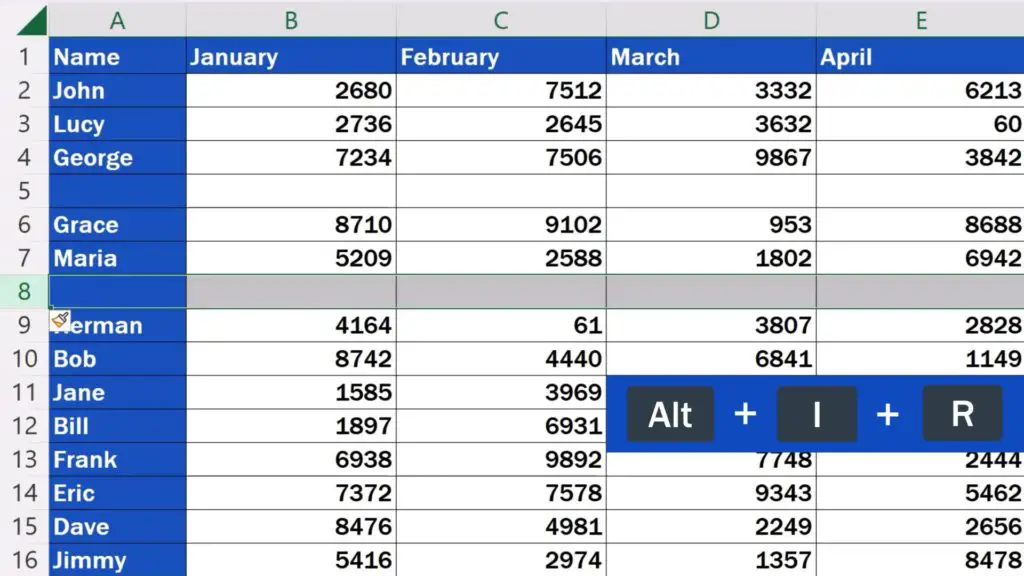
There’s a little trick to help you remember which keys to press after holding down the Alt key – the letter I is the initial letter of the word ‘insert’ and R is for ‘row’.
To use this shortcut, there’s no need of having a numeric pad on the keyboard.
How to Insert Multiple Rows Using a Shortcut Key
And of course, you can use both shortcut keys to insert multiple rows at once. The steps to follow are the same. Select exactly as many rows as you want to insert and just in the place where you want to insert them.
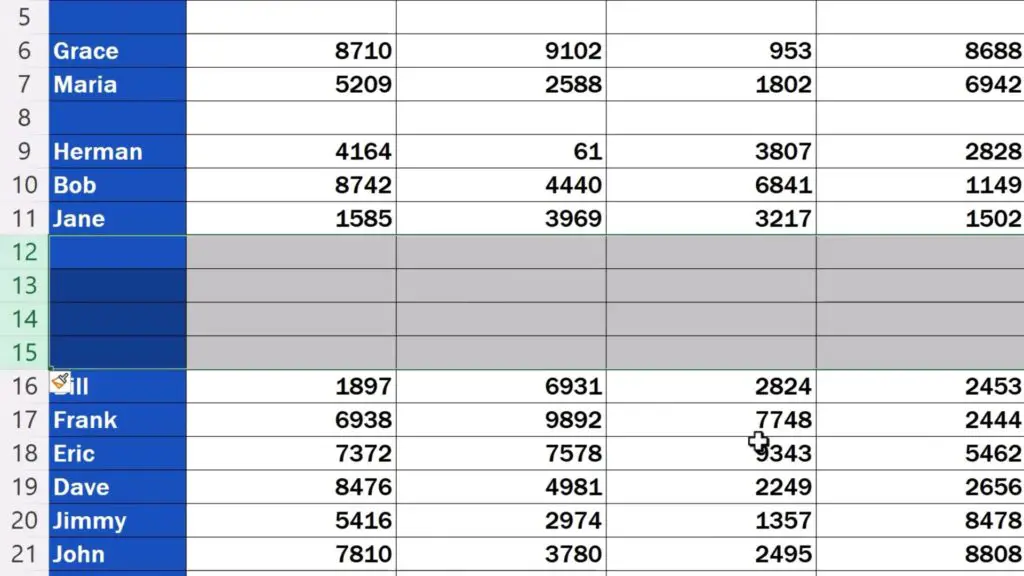
We want to insert four rows now, so we’ll select four rows and use one of the two shortcut keys presented earlier and that’s it!
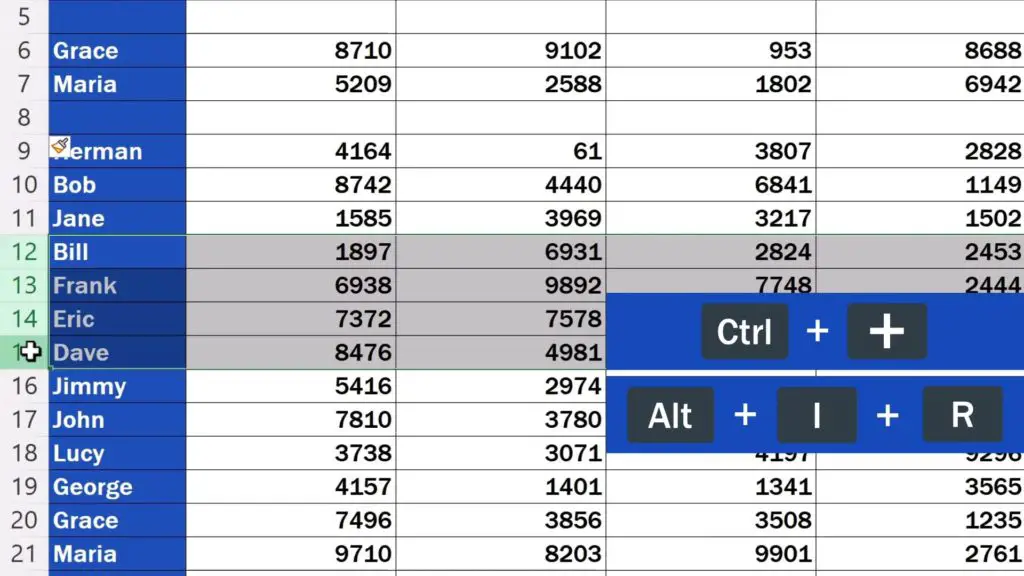
Four new rows are there!
For advice on other useful Excel Shortcuts, see more tutorials by EasyClick Academy! The links to the tutorials are in the list below.
Don’t miss out a great opportunity to learn:
- Shortcut Key for Filter in Excel (Excel Shortcuts)
- How to Insert Row in Excel
- How to Insert Multiple Rows in Excel (The Simplest Way)
If you found this tutorial helpful, give us a like and watch other tutorials by EasyClick Academy. Learn how to use Excel in a quick and easy way!
Is this your first time on EasyClick? We’ll be more than happy to welcome you in our online community. Hit that Subscribe button and join the EasyClickers!
Thanks for watching and I’ll see you in the next tutorial!


