How to Write Vertically in Excel (Quick and Easy)
Today we’ll have a look at how to write vertically in Excel. Let’s start!
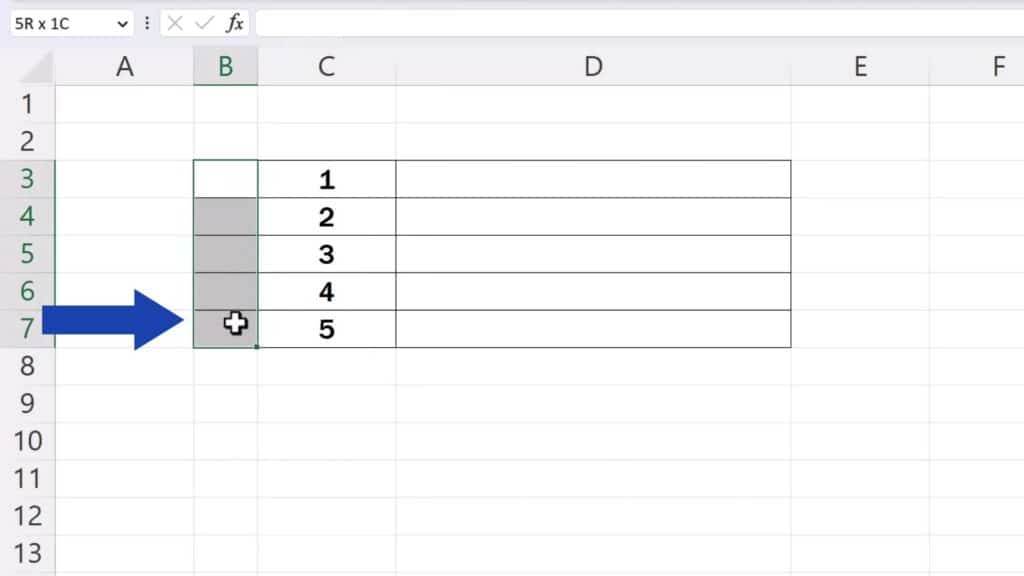
If you want to write a piece of text vertically in some of the cells in a data table, first you need to select the cells where you want the vertical text to appear.
How to Merge Cells in Excel
Next, merge the cells using the option ‘Merge & Center’ here at the top of the window.
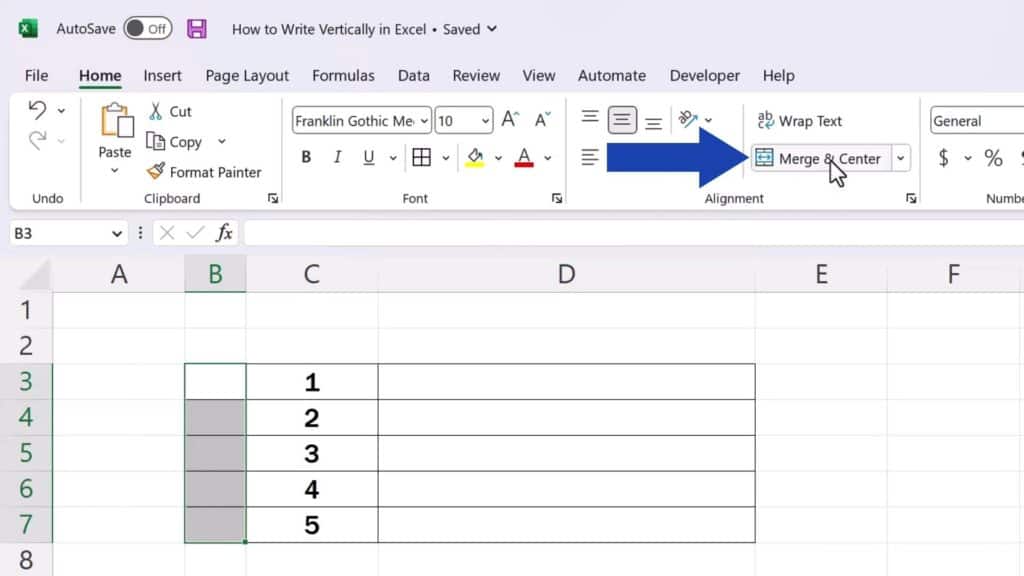
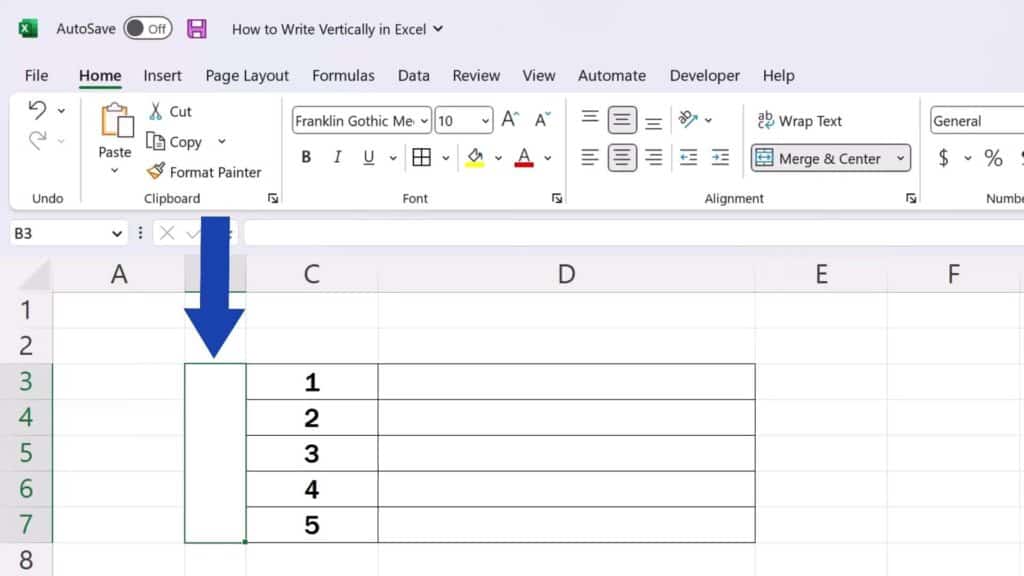
To learn more about how to merge cells, check out another tutorial by EasyClick Academy which you can find under the title ‘How to Merge Cells in Excel’. The link to the tutorial is in the list below.
Once merged, click into the cells and type in the text you need to display vertically.
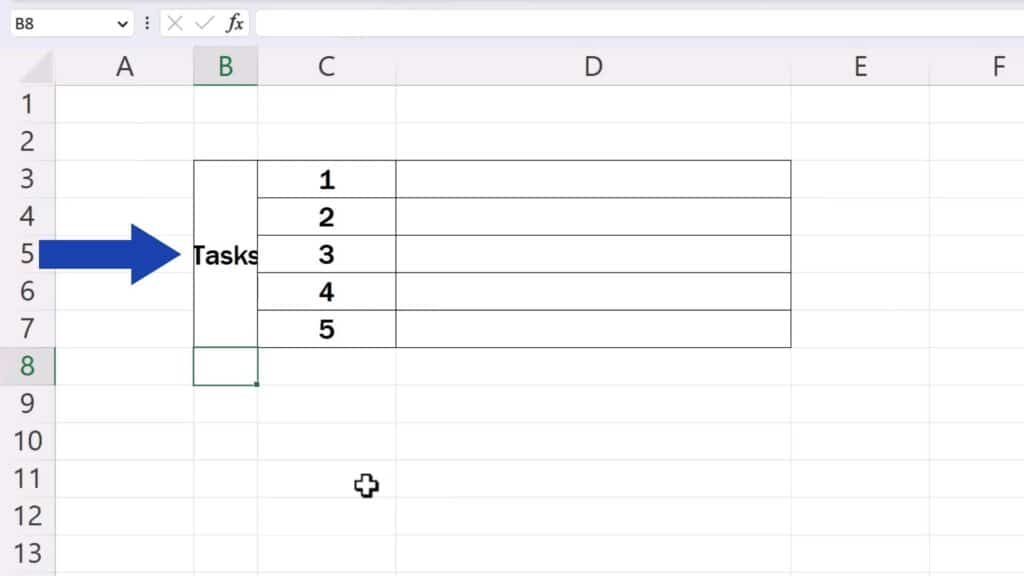
How to Display Text Vertically
Then click on the text again and up here on the Ribbon click on the option ‘Orientation’. Now you can choose the exact way the text will be displayed.
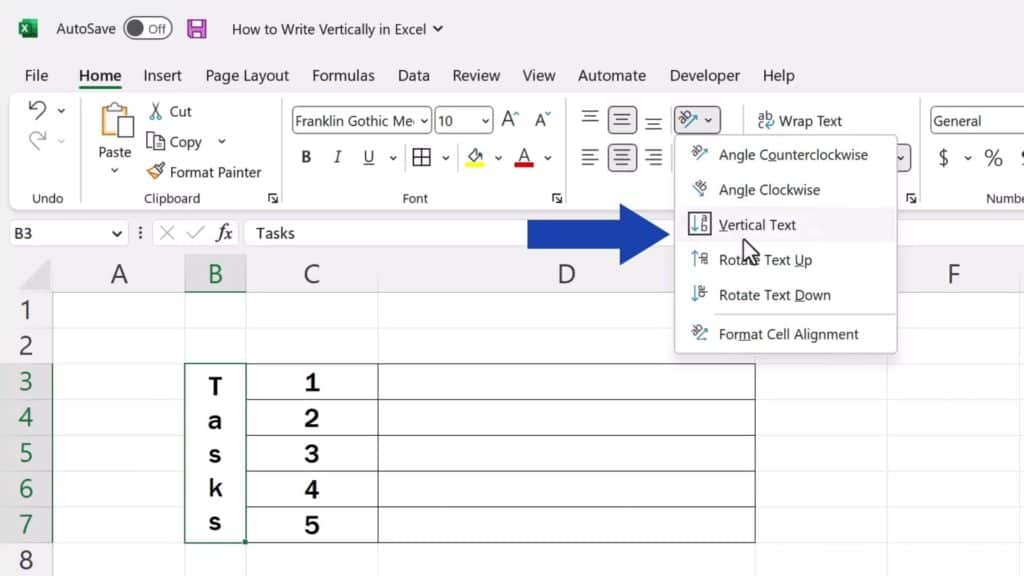
The text can appear vertically like this, or you can use the option ‘Rotate Text Up’ or click on another option – ‘Rotate Text Down’.
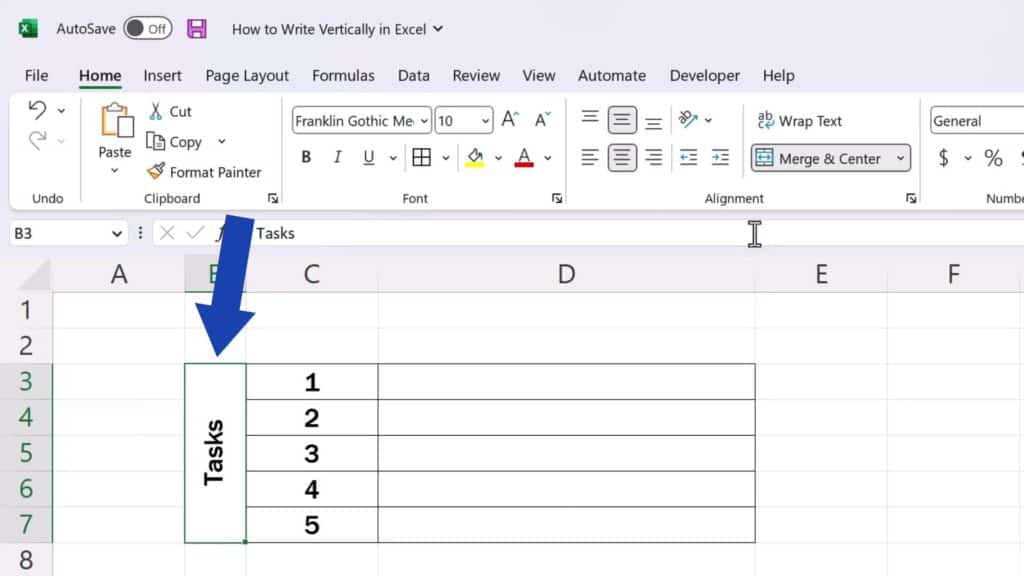
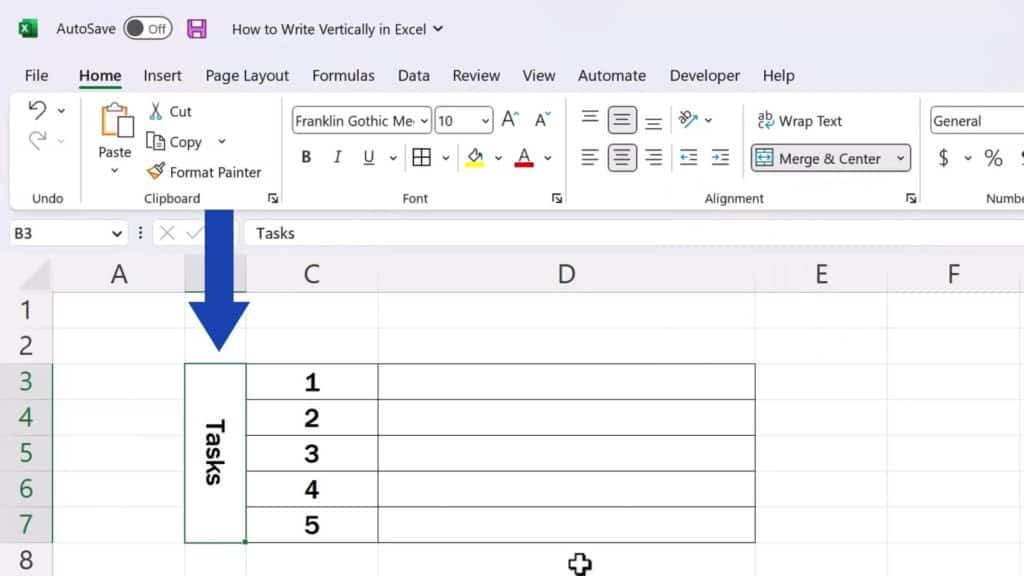
Of course, the text can be aligned in any way you need.
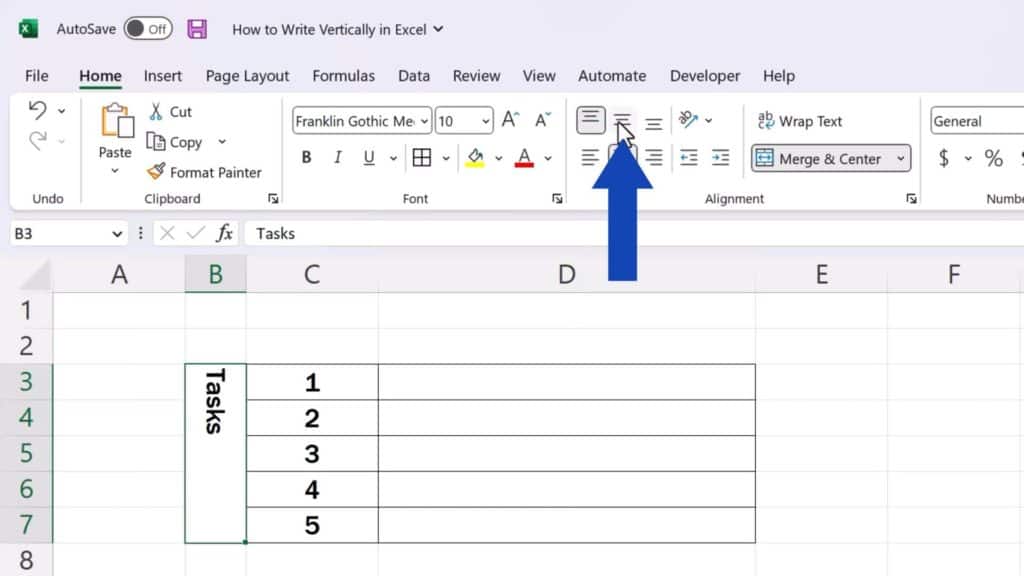
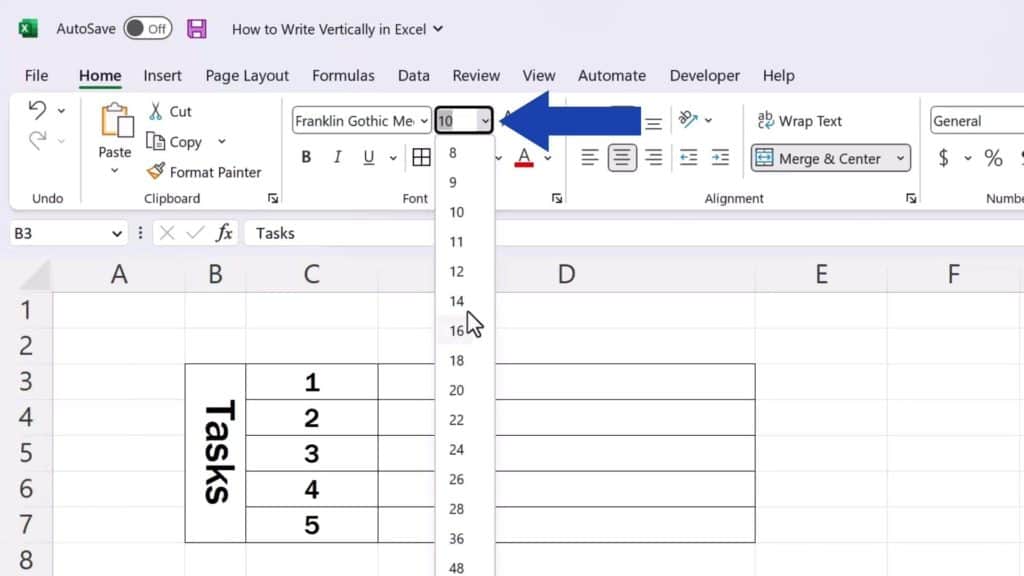
You can also change its size or modify it as necessary.
And if you’d like to know how to rotate texts at various angles, we recommend look at the tutorial titled How to Change Text Direction in Excel. The link to this tutorial can also be found in the list below.
Don’t miss out a great opportunity to learn:
If you found this tutorial helpful, give us a like and watch other tutorials by EasyClick Academy. Learn how to use Excel in a quick and easy way!
Is this your first time on EasyClick? We’ll be more than happy to welcome you in our online community. Hit that Subscribe button and join the EasyClickers!
Thanks for watching and I’ll see you in the next tutorial!


