How to Unprotect Excel Sheet
In today’s tutorial, you’ll see how to unprotect a sheet in Excel, which will be useful if you need to edit information stored in a table on the spreadsheet.
Let’s begin!
See the video tutorial and transcription below:
See this video on YouTube:
https://www.youtube.com/watch?v=Y0gWVg-wMwU
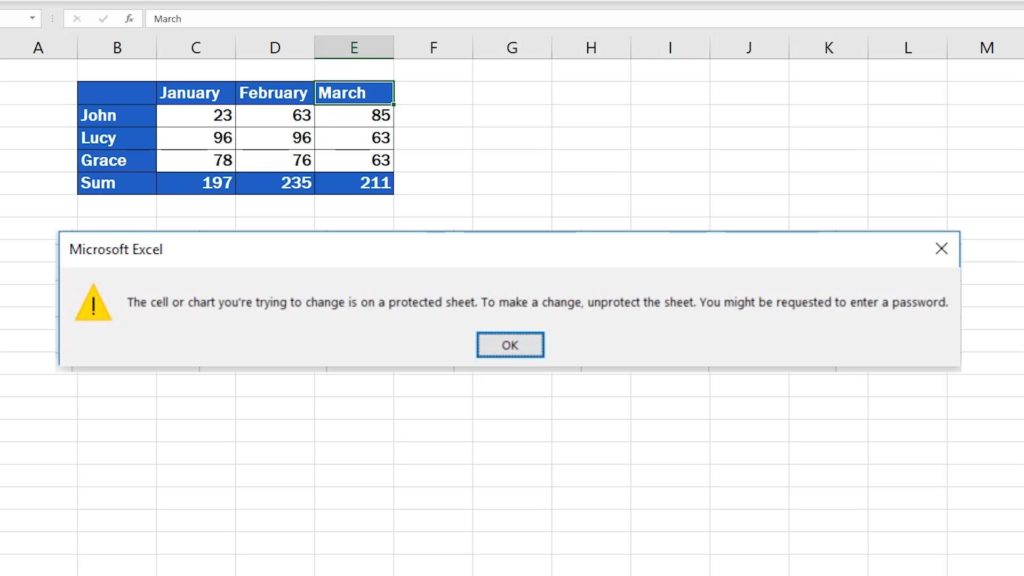
From time to time, we might need to edit information on a locked and protected spreadsheet. If that’s the case now, we need to remove the spreadsheet protection, so that we could make the necessary changes.

There are two ways how a spreadsheet can be protected. One of them is using no password, so basically anyone can unprotect it. In the other case, we’re dealing with a password-secured sheet, which means you’ll need to have the password at hand or ask for it from the person who locked the sheet.
To unprotect the spreadsheet, you’ll have to follow the same steps whether the sheet is password-protected or not.
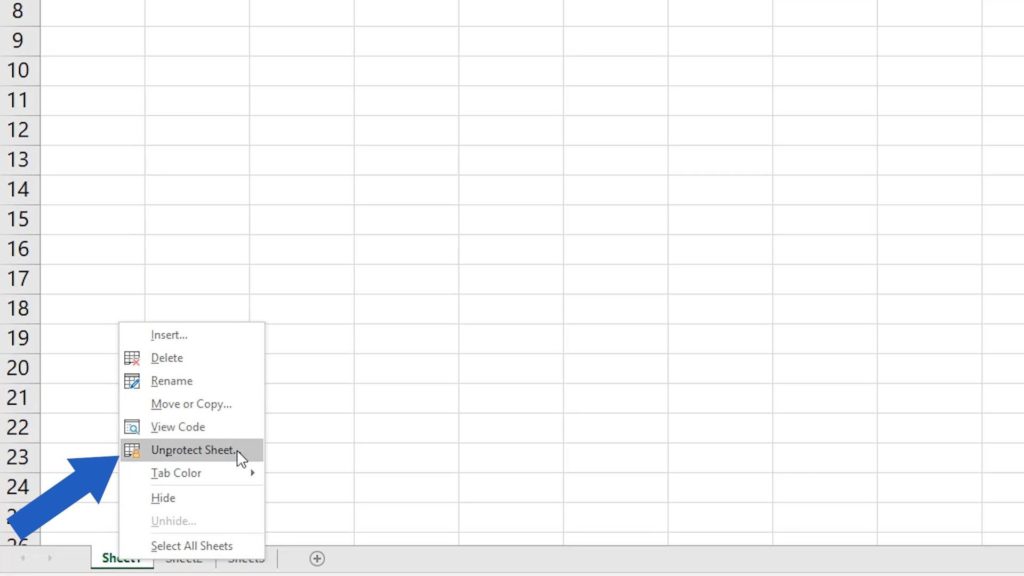
Right-click at the bottom, where you can see the sheet name. Find and select the option ‘Unprotect Sheet’.

If there’s no password, the sheet becomes editable right away.
How to Unprotect Password-secured Sheet
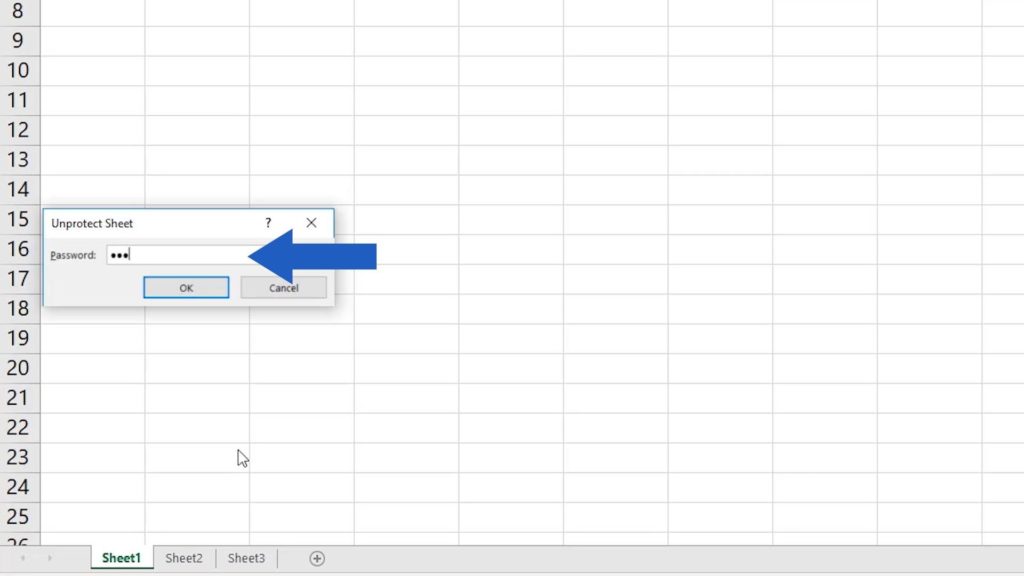
However, in the previous tutorial on how to protect a spreadsheet with a password, we set a password for this sheet. Therefore, you now need to enter the password to unprotect it.
We’ll type it in and here we go!

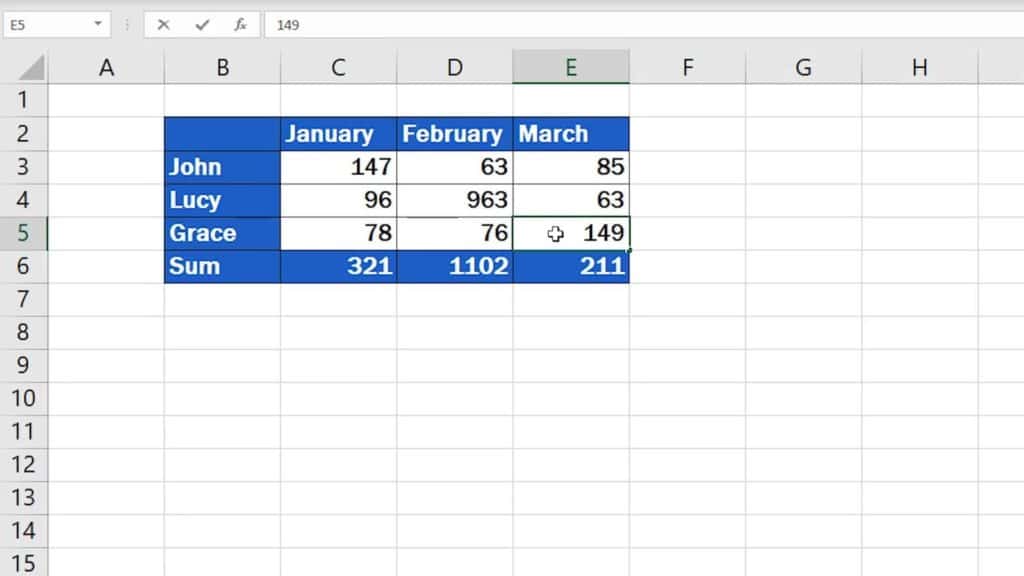
The spreadsheet has been unlocked, which means you can edit it and make any necessary changes.

Don’t miss out a great opportunity to learn:
- How to Protect Excel Sheet with Password
- How to Hide Sheets in Excel
- How to Unhide Sheets in Excel
- How to Delete Sheet in Excel
- How to Rename Sheet in Excel
- How to Lock Cells in Excel
If you found this tutorial helpful, give us a ‘like’ and watch other video tutorials by EasyClick Academy. Learn how to use Excel in a quick and easy way!
Is this your first time on EasyClick? We’ll be more than happy to welcome you in our online community. Hit that Subscribe button on our YouTube channel and join the EasyClickers!
See you in the next tutorial!


