How to Remove a Page Break in Excel (One by One or All at Once)
In today’s tutorial, we’re going to have a look at how to remove a page break in Excel – the horizontal or the vertical one or, if needed, all of them at once.
Get ready to start!
Would you rather watch this tutorial? Click the play button below!
How to Work with Page Breaks in Excel
To work with page breaks in Excel, first we need to switch the view mode to see them. Go to the tab ‘View’ and click on ‘Page Break Preview’.
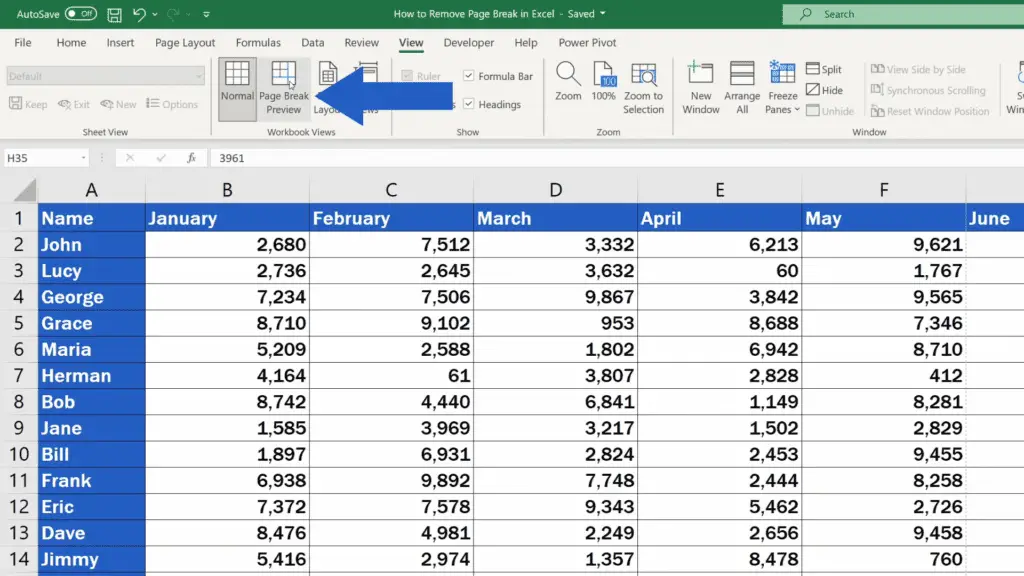
This way we’ll be able to see all the page breaks present in the current document. Now, here’s an important thing to remember.
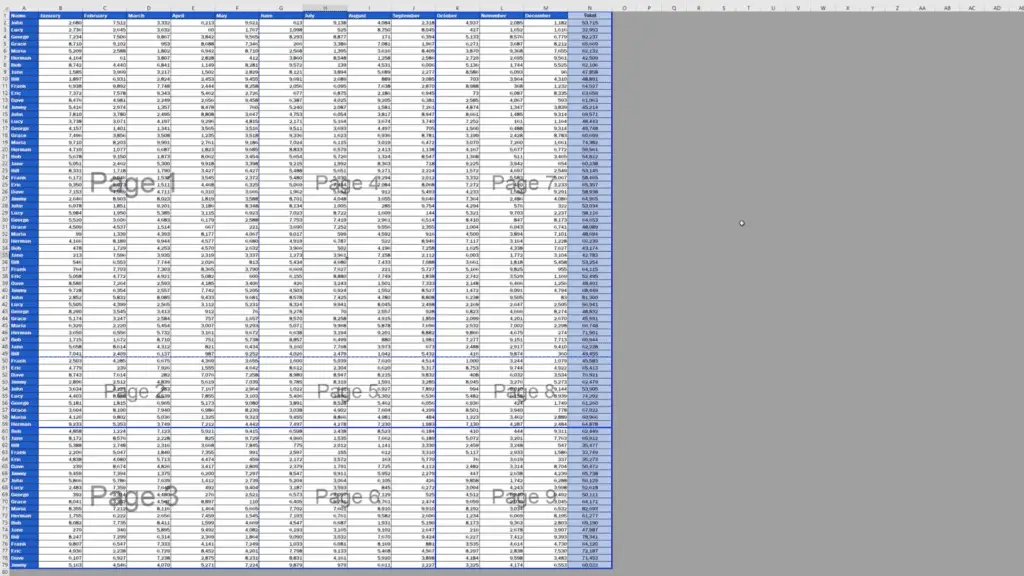
The blue dotted lines are automatically inserted page breaks. These are displayed based on the general settings such as the paper size, margins, page orientation, and others.
The blue solid lines are manually inserted page breaks.
How to Remove the Manually Inserted Horizontal Page Breaks
Let’s have a look first at how to remove the manually inserted page breaks and then we’ll go through how to work with the automatically inserted page breaks.
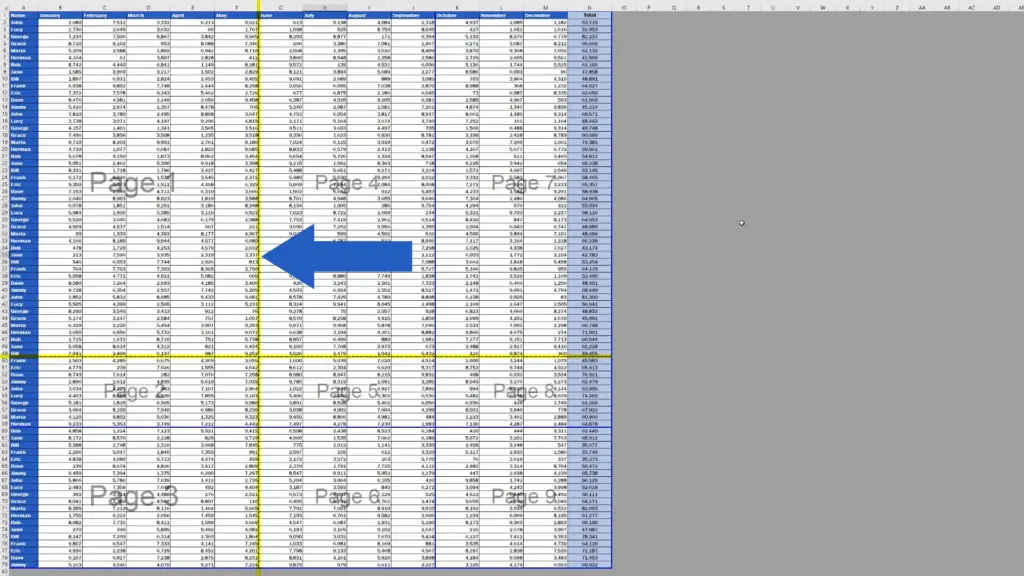
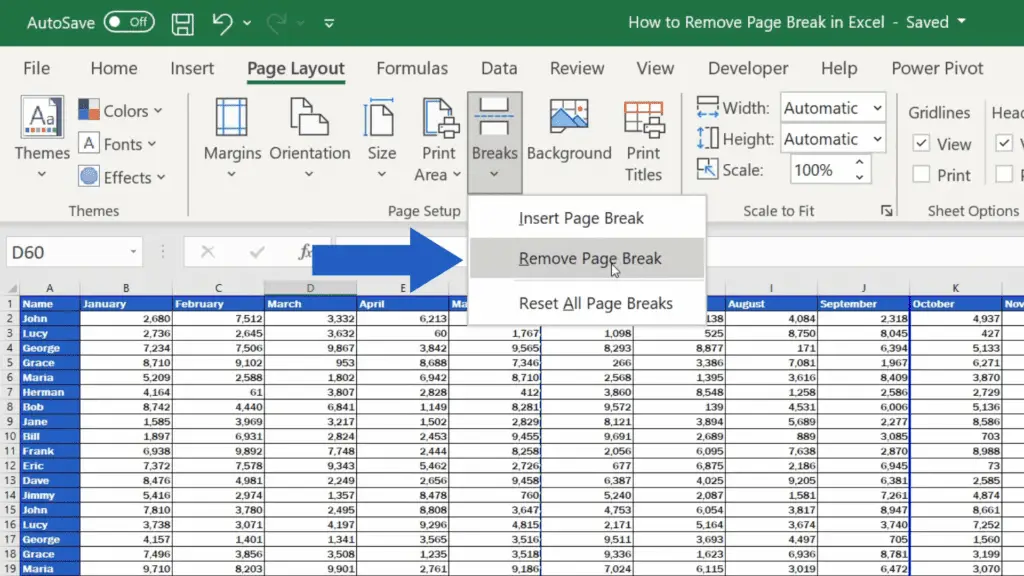
To remove a manually inserted horizontal page break, we need to click on the cell below it. Then go to the tab ‘Page Layout’, click on ‘Breaks’ and select ‘Remove Page Break’.
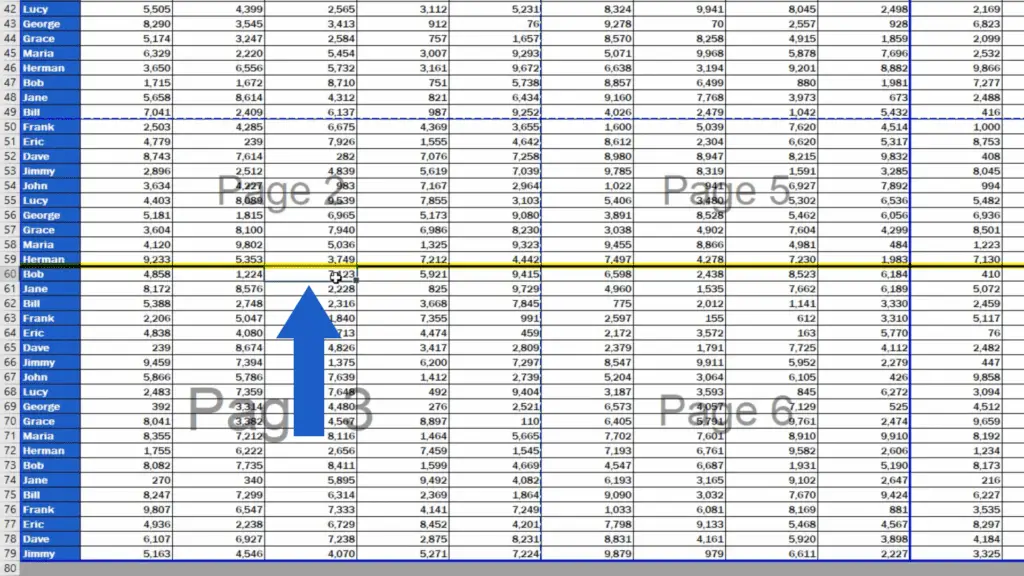
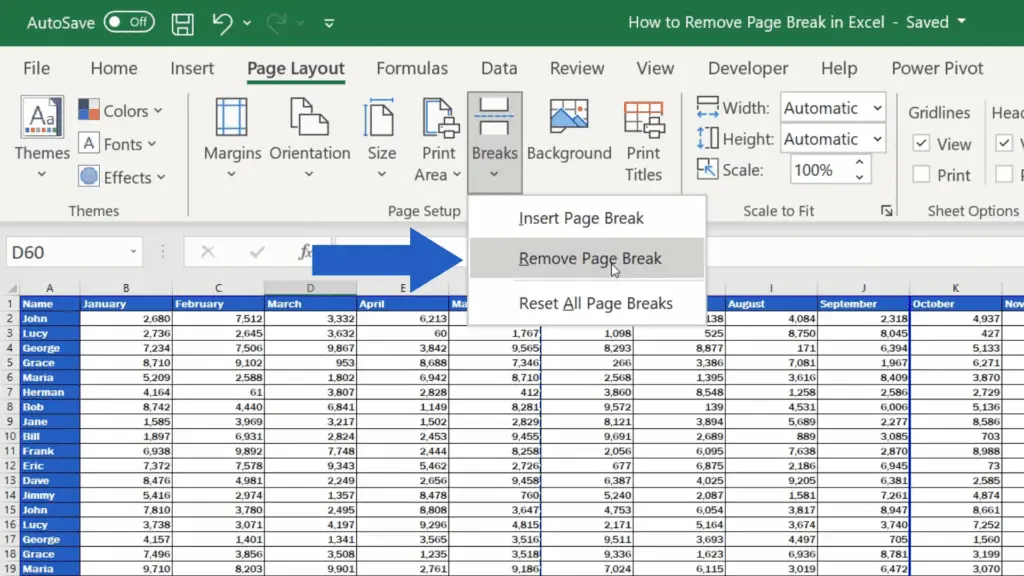
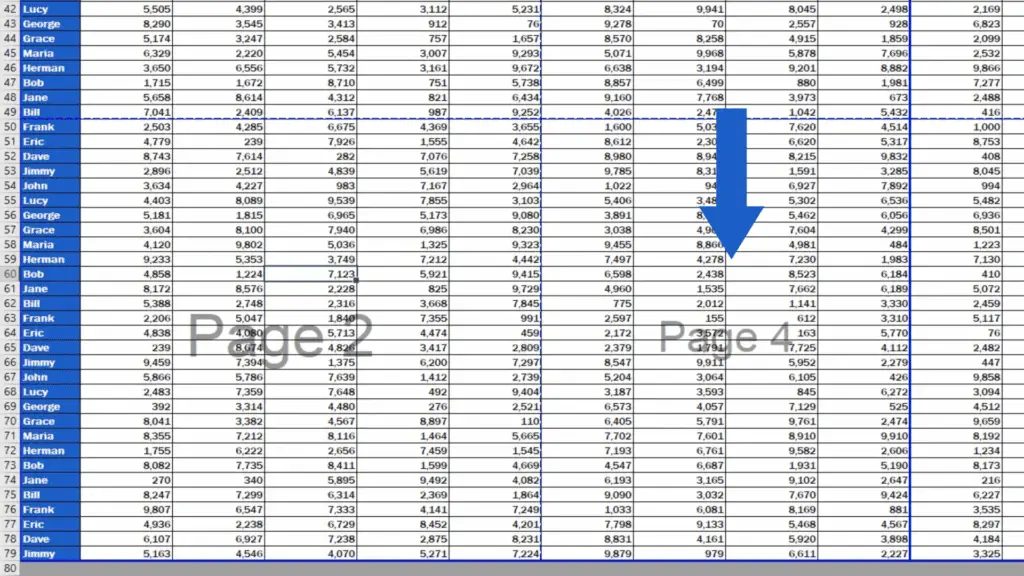
So, the page break’s gone now.
How to Remove the Manually Inserted Vertical Page Breaks
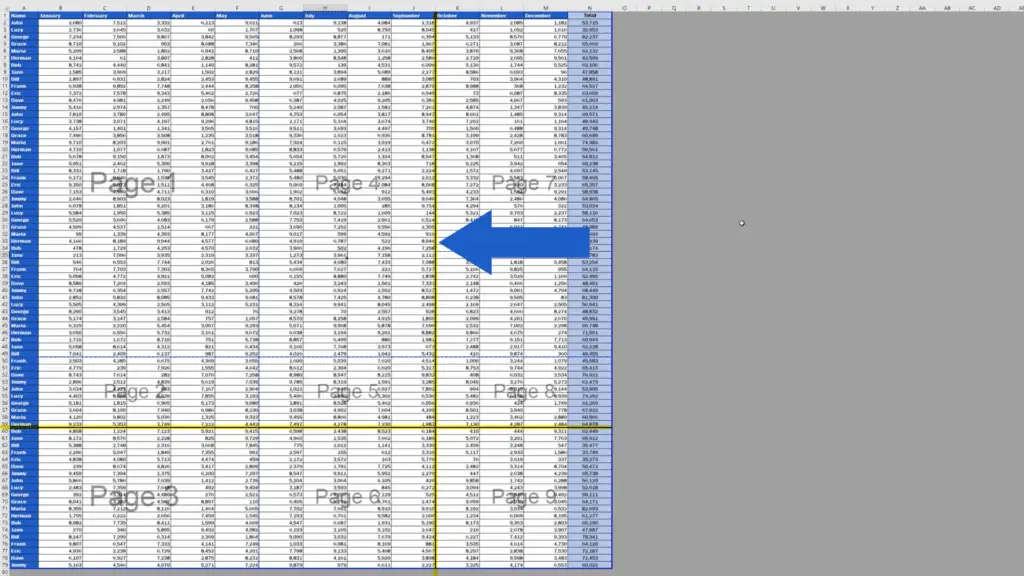
We can remove any manually inserted vertical page break practically the same way, but we need to click on a cell located to the right of the page break line. The rest you already know. In the tab ‘Page Layout’, click on ‘Breaks’ and then ‘Remove Page Break’ and that’s all it takes!
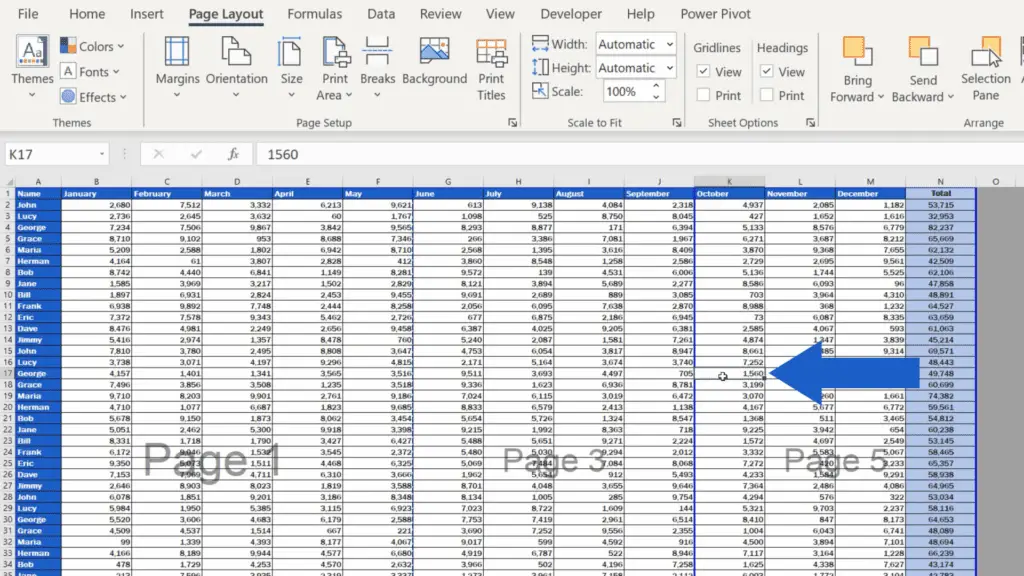
The manually inserted vertical page break has disappeared.
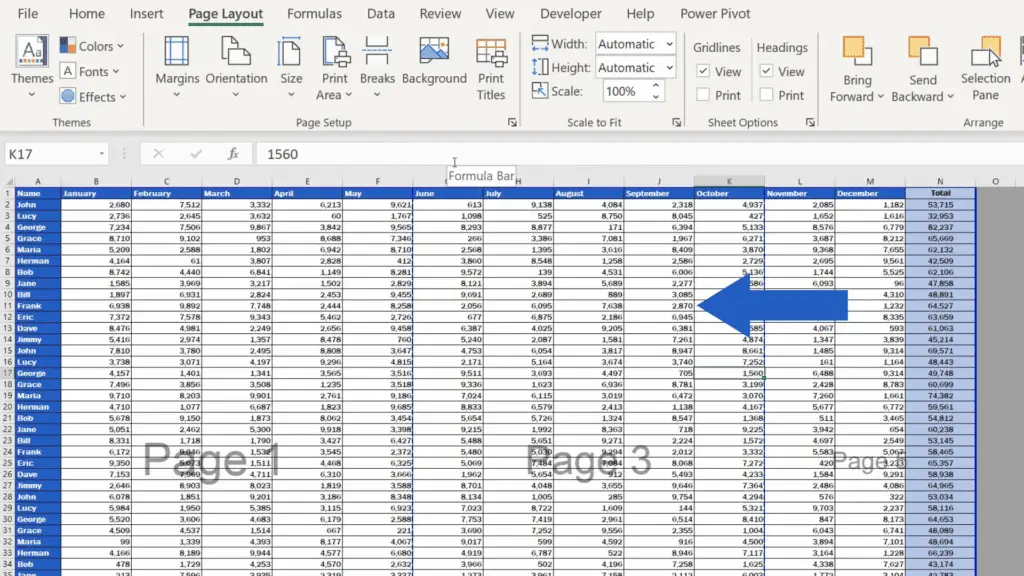
But let’s carry on and have a look at what happens if we want to remove the dotted line, which is an automatically inserted page break.
How to Remove the Dotted Line (Automatically Inserted Page Break)
We can’t do that for one reason – every large document has to have some page breaks.
What we can do though is move the automatically inserted page breaks around and place them exactly where we need.
For example, we’ll click on this horizontal page break and the cursor changes into a double-headed arrow. Now we can move the page break up or down, depends on where we need to place it.
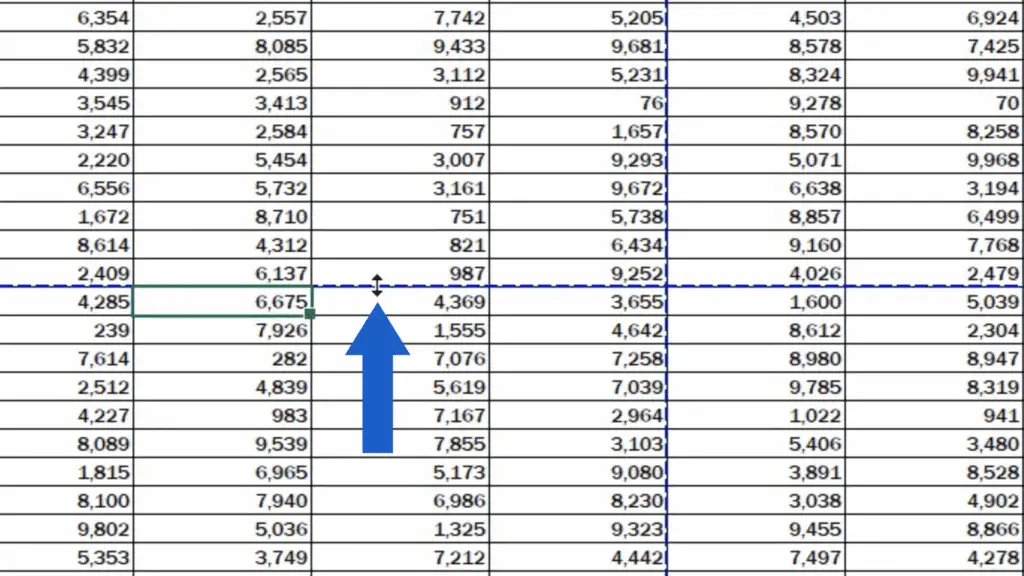
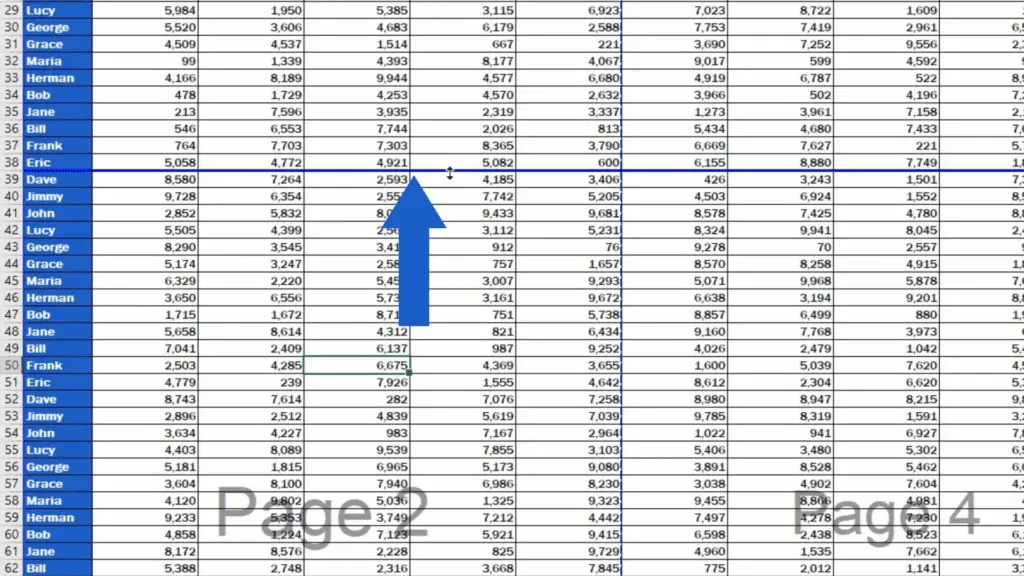
Once moved, the dotted line changes into a solid one, because by manipulating it, we turn the page break into a manually inserted one.
And before we wrap it up, we’d like to show you a useful little trick.
How to Remove All Manually Inserted Page Breaks at Once
If you need to remove all manually inserted page breaks at once, go to the ‘Page Layout’ tab, click on the option ‘Breaks’ and select ‘Reset All Page Breaks’.
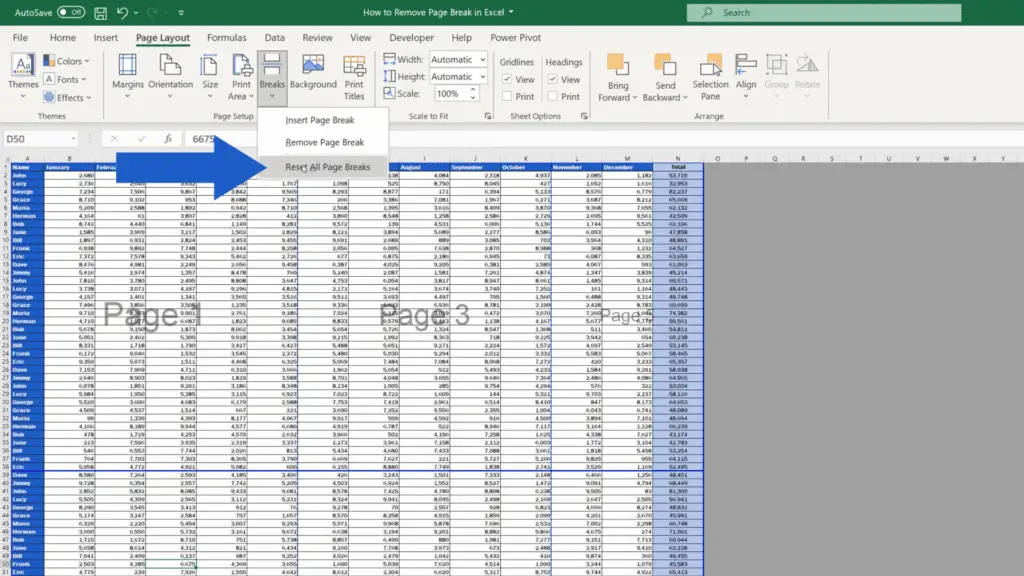
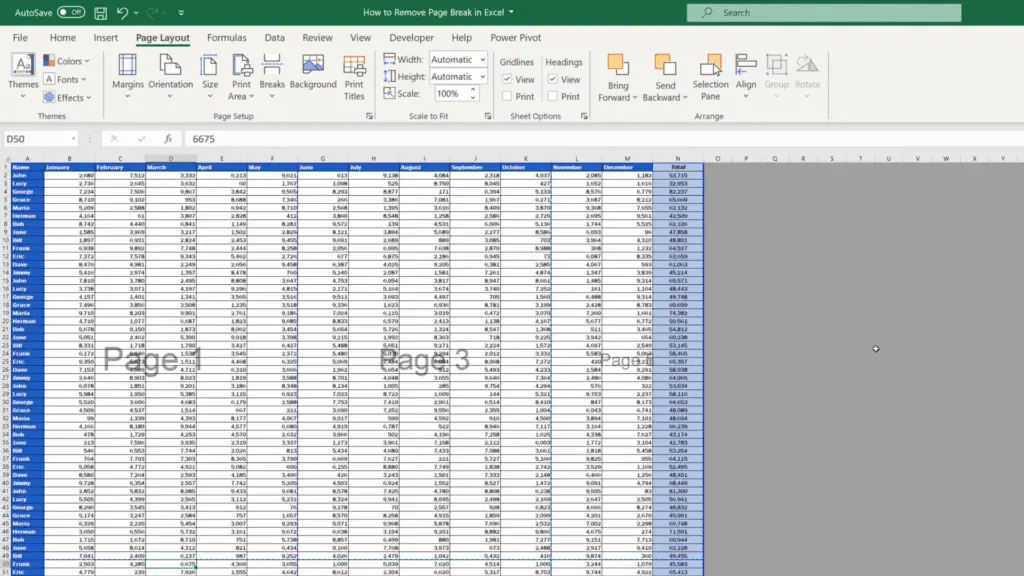
All manually inserted page breaks have now been removed.
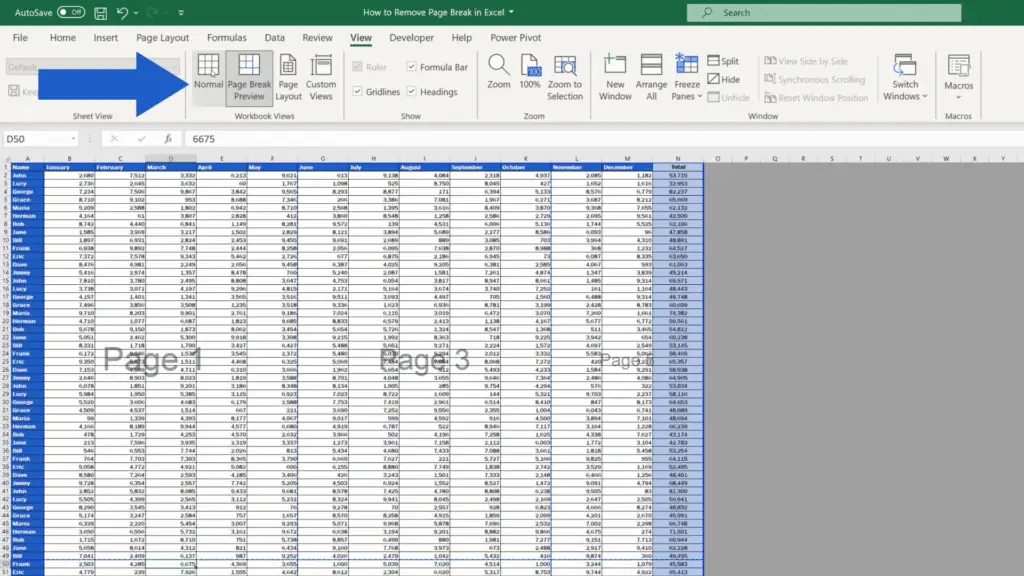
To switch the view to normal, go to the ‘View’ tab and click on ‘Normal’.
If you’d like to learn more about how to set the print area in Excel, watch the tutorial by EasyClick Academy. You can find the link in the list below.
Don’t miss out a great opportunity to learn:
- How to Set the Print Area in Excel (Step by Step)
- How to Convert an Excel File into PDF
- How to Hide Columns in Excel
If you found this tutorial helpful, give us a like and watch other tutorials by EasyClick Academy. Learn how to use Excel in a quick and easy way!
Is this your first time on EasyClick? We’ll be more than happy to welcome you in our online community. Hit that Subscribe button and join the EasyClickers!
Thanks for watching and I’ll see you in the next tutorial!


