How to Move Columns in Excel
To learn how to move columns in Excel may not be that hard. Actually, what you’ll see here, in this tutorial, is the easiest way.
Ready to give it a try?
See the video tutorial and transcription below:
See this video on YouTube:
https://www.youtube.com/watch?v=QghAw–Ul0o
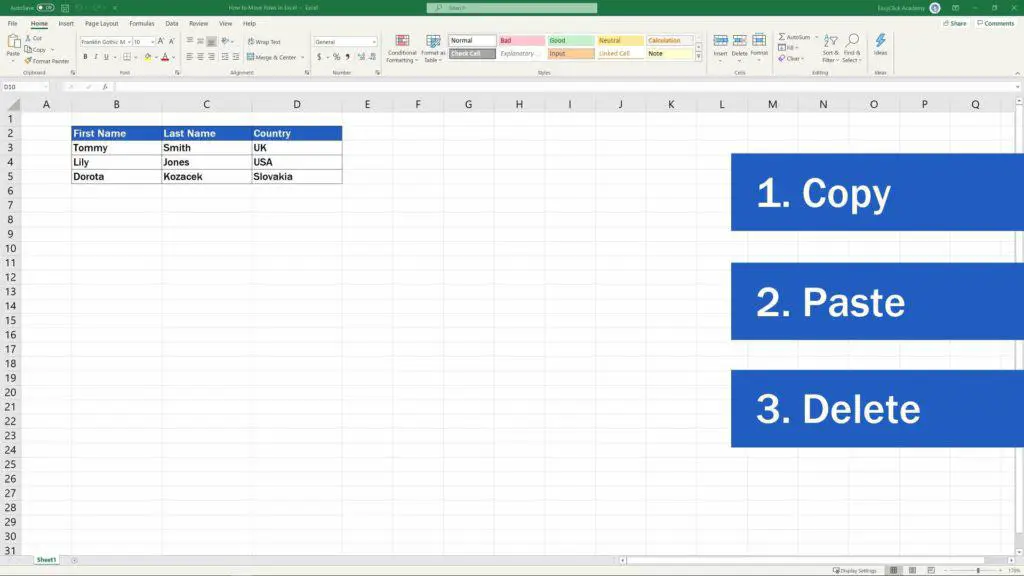
If you’d like to move a column in Excel, you don’t have to go to all the trouble of copying the column, pasting it in the chosen place and then deleting it from the table.

To Move the Selected Column – Press the ‘Shift’ Key
Excel offers a great way how to move columns by following a few simple and quick steps. So, here’s the pro tip!
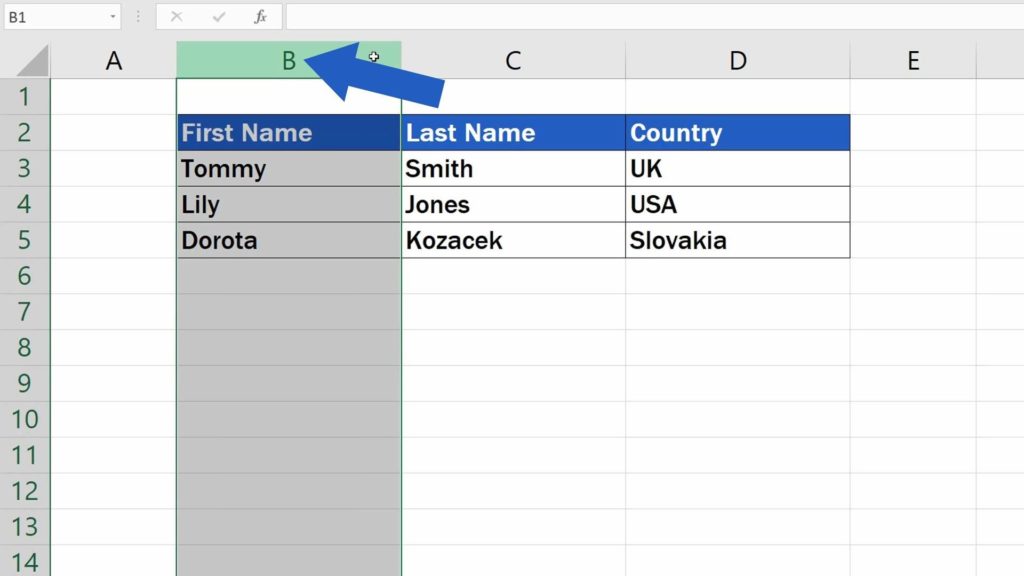
Select the column you want to move. Here we’ll select the column B, which contains the information about first names

and we’ll move it right after the column C, the ‘Last Name’ column. You can select and move one or more columns at once in a table of any size.
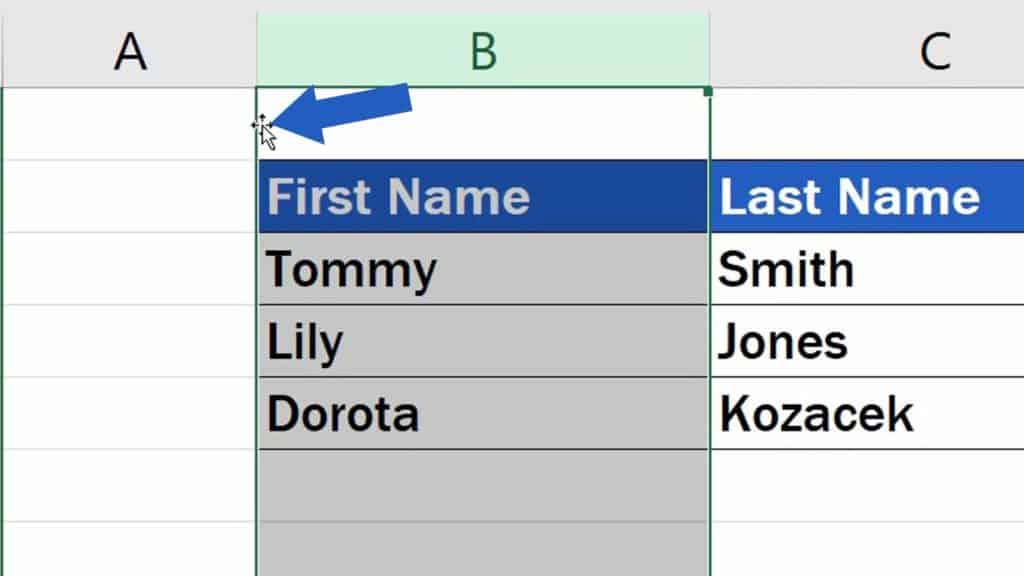
And here comes the trick that does it all! To move the selected column, press the ‘Shift’ key,

keep it pressed and position the cursor on the column border to the right or left until you see this cross-arrow pointer.

Then use the left mouse button to drag and drop the column right where you need it.
That’s it! Easy, right? You can use the same trick to move rows, too.
And now it’s your turn! What handy time savers do you use in Excel?
Make sure you’ll leave a comment in the section below. Our team will be excited to hear from you!
Don’t miss out a great opportunity to learn:
- How to Highlight Blank Cells in Excel (Conditional Formatting)
- How to Use AutoFill in Excel (Best Practices)
- How to Use Color Scales in Excel (Conditional Formatting)
If you found this tutorial helpful, give us a like and watch other video tutorials by EasyClick Academy. Learn how to use Excel in a quick and easy way!
Is this your first time on EasyClick? We’ll be more than happy to welcome you in our online community. Hit that Subscribe button and join the EasyClickers!
Thanks for watching and I’ll see you in the next tutorial!


