How to Hide Sheets in Excel
In this tutorial, you’ll get familiar with how to hide sheets in Excel. This can be quite useful if you need to make one or more of the sheets invisible to you or anyone else accessing the workbook.
You’ll see, it’s quite easy!
See the video tutorial and transcription below:
See this video on YouTube:
https://www.youtube.com/watch?v=GZdvMARxwkc
You can see that we have two sheets we’re working with – ‘Questionnaire’ and ‘Months’.
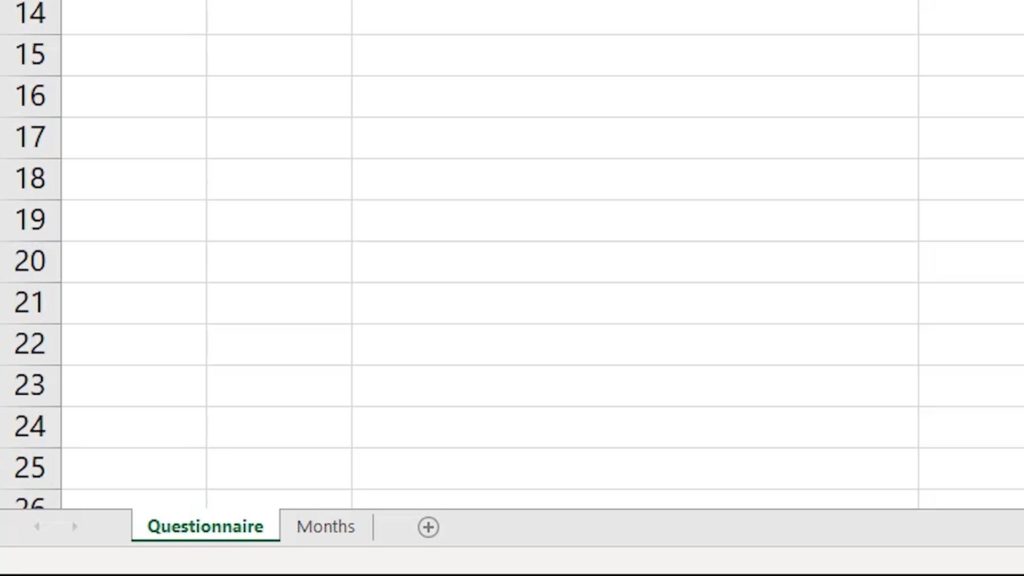
Now, we want the first sheet, ‘Questionnaire’ to show for everyone, because it contains the questions we want to ask and the drop-down list we created during one of our previous tutorials.
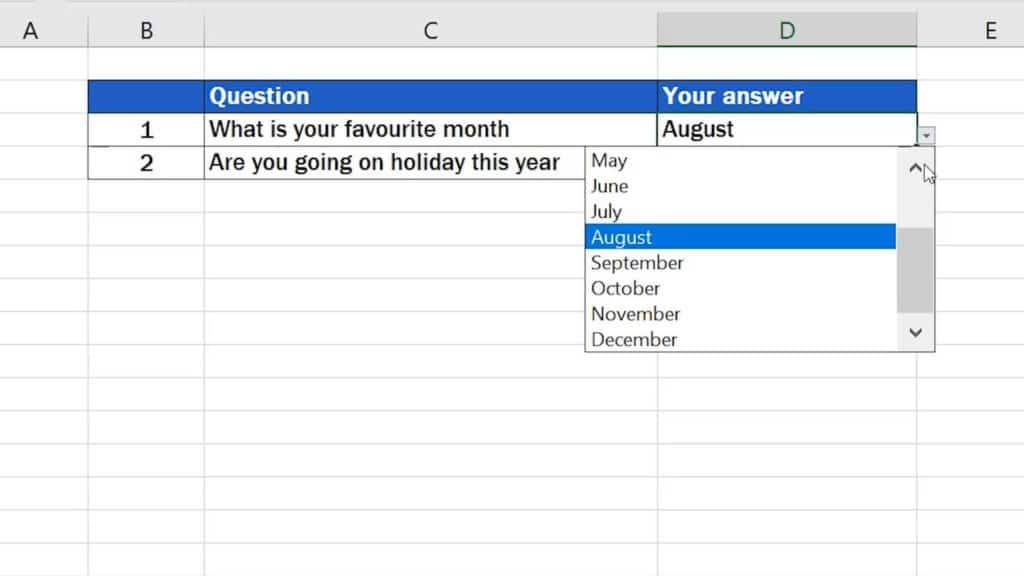
The other spreadsheet is called ‘Months’. This one doesn’t have to be visible for other people, because we created it to store our source data – the list of months for the drop-down menu.
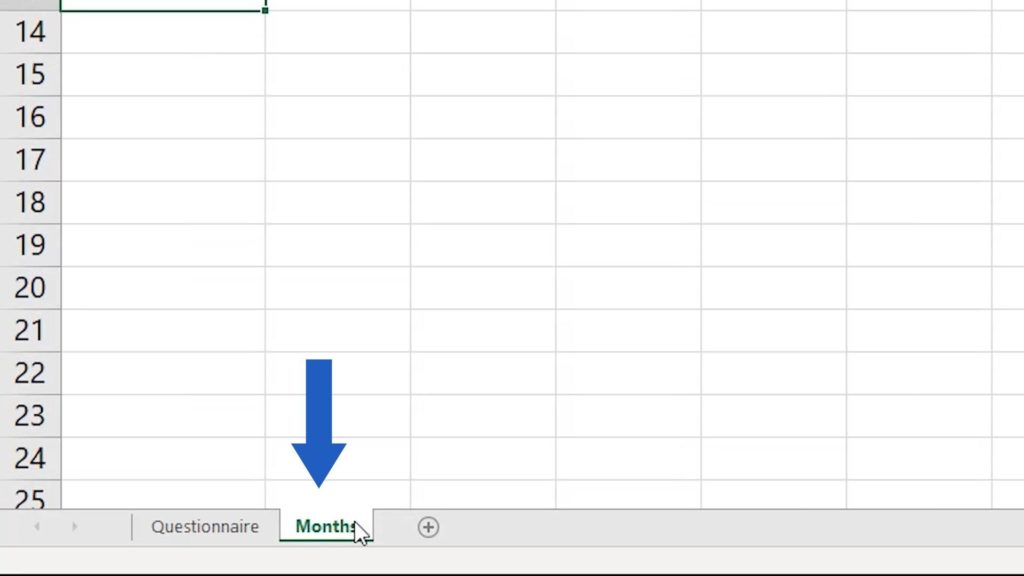
To make the workbook look neat and professional, we’ll hide the ‘Months’ sheet.
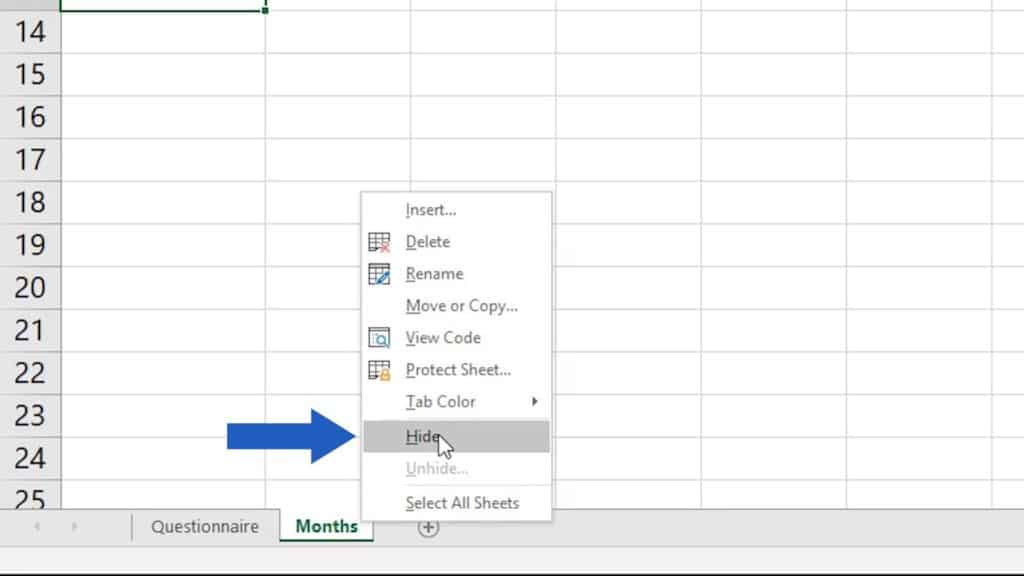
We’ll select the sheet by clicking on it, then right-click and choose the option ‘Hide’.
Perfect!
The sheet with the list of months has been hidden. Only the first sheet, ‘Questionnaire’, is still visible.
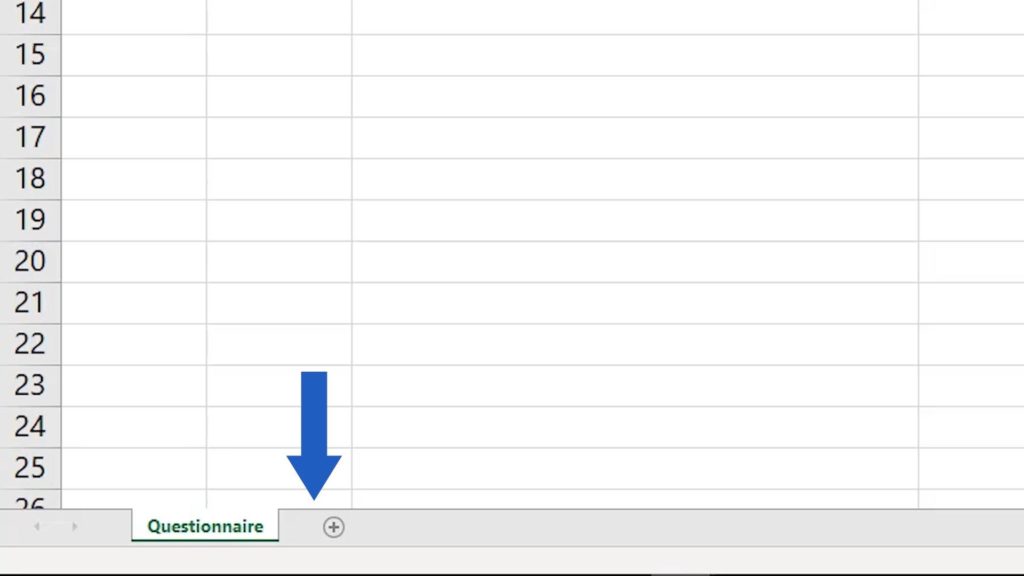
There is one more thing to remember, though.
A Little Tip that Is Good to Know
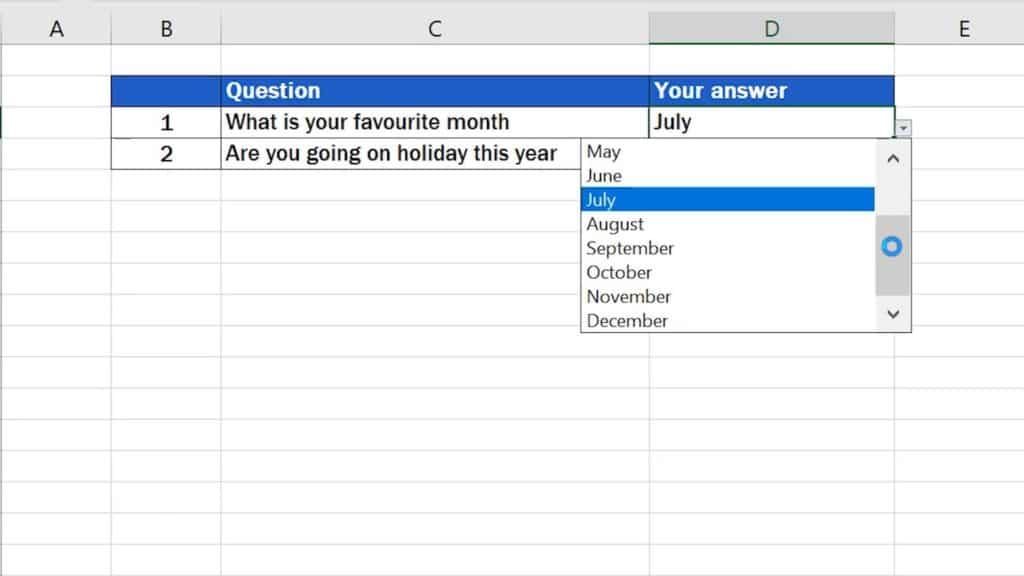
Data from the sheet ‘Months’ are still available and you can still work with them, even though the spreadsheet has been hidden. So, what does it mean for you?
Practically, the drop-down list still works, despite the fact that the source data for this list are on the hidden spreadsheet.
If you’re curious to see more on how to work with spreadsheets, like how to unhide, rename or completely delete a spreadsheet, watch our upcoming EasyClick video tutorials!
- How to Unhide Sheets in Excel
- How to Insert Sheet in Excel
- How to Delete Sheet in Excel
- How to Rename Sheet in Excel
If you found this tutorial helpful, watch other video tutorials by EasyClick Academy. Learn how to use Excel in a quick and easy way!
Is this your first time on EasyClick? We’ll be more than happy to welcome you in our online community. Hit that Subscribe button on our YouTube channel and join the EasyClickers!
See you in the next tutorial!


