How to Group Rows in Excel (Automated and Manual Way)
This video tutorial is about how to group rows in Excel, which is very handy when it comes to data organisation.
Shall we start?
Generally, there are two ways to group rows in Excel – automated and manual. Let’s have a look at both to learn their advantages and downsides, so that you’d be able to choose the one that suits you best.
We can start right away with the automated way.
How to Group Rows in Excel (The Automated Way)
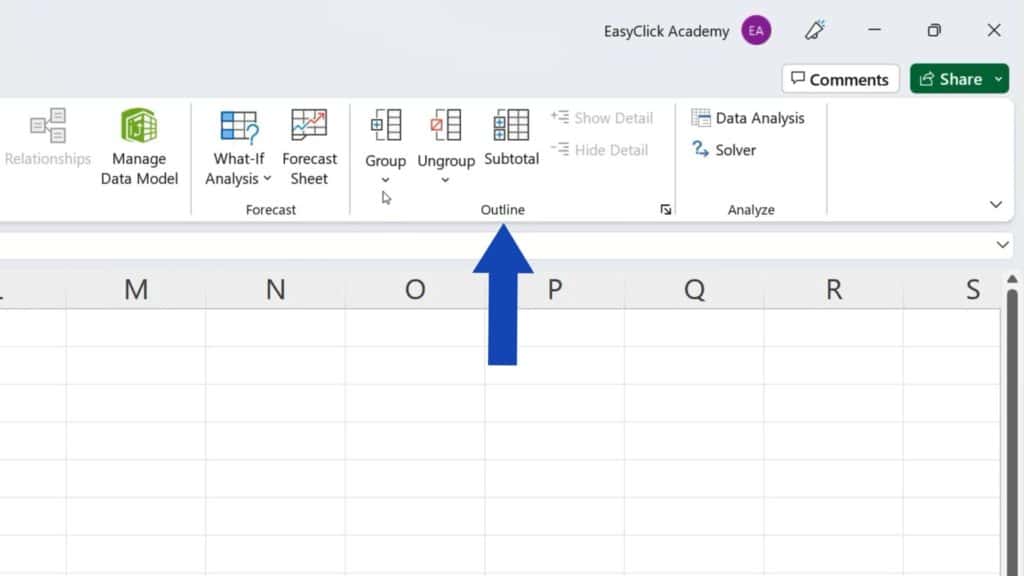
First, we need to click anywhere in the sheet and go to the Data tab. In the section ‘Outline’, we click on ‘Group’ and select ‘Auto Outline’.
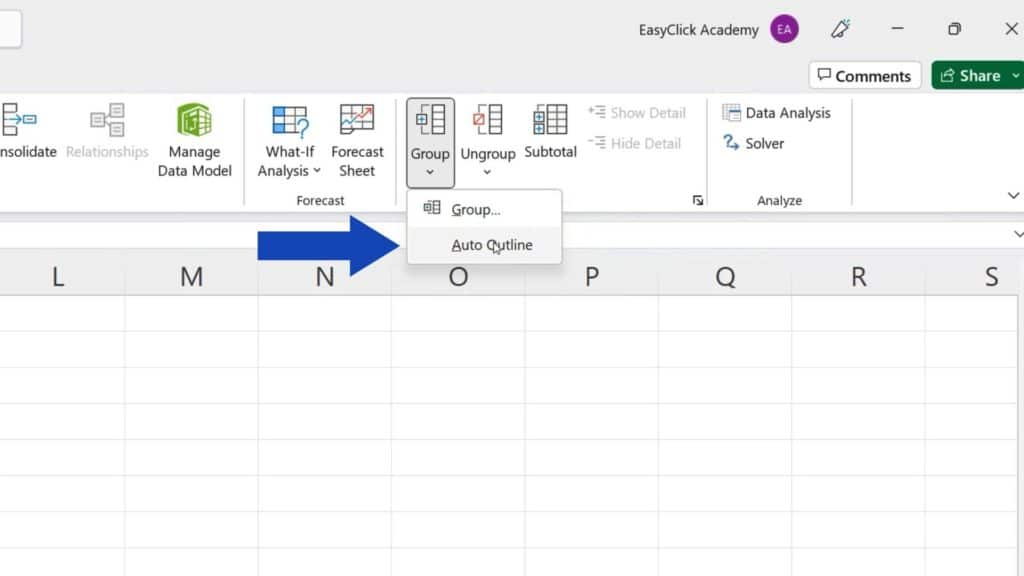
And that’s all it takes!
Excel has automatically grouped rows and we can expand or collapse them just as we need thanks to the buttons on a panel on the left.
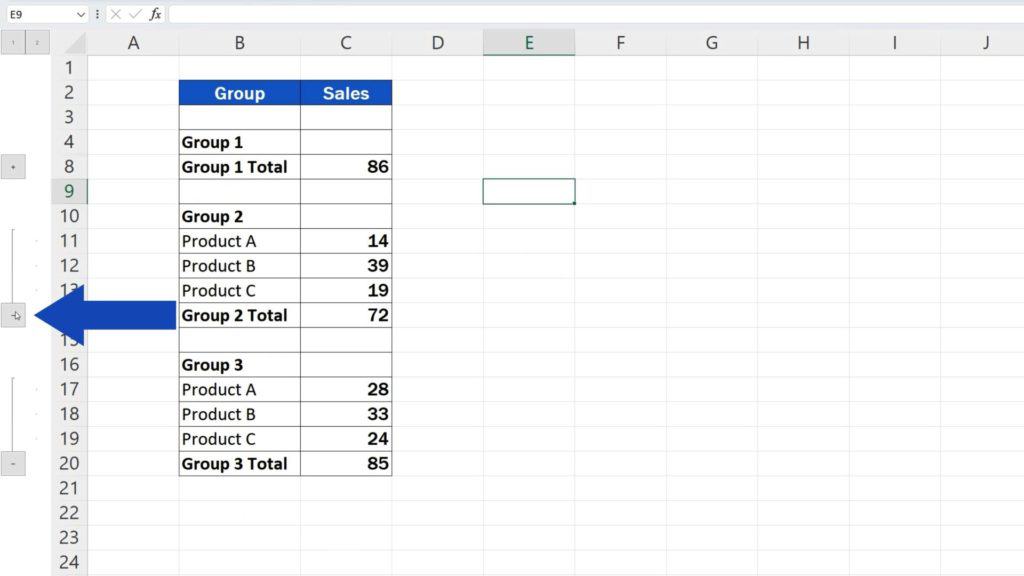
And what’s great about the automated way to group rows in Excel? This way, we can easily group a large amount of data. Now, the downside is that the rows don’t necessarily have to get grouped exactly as you wish.
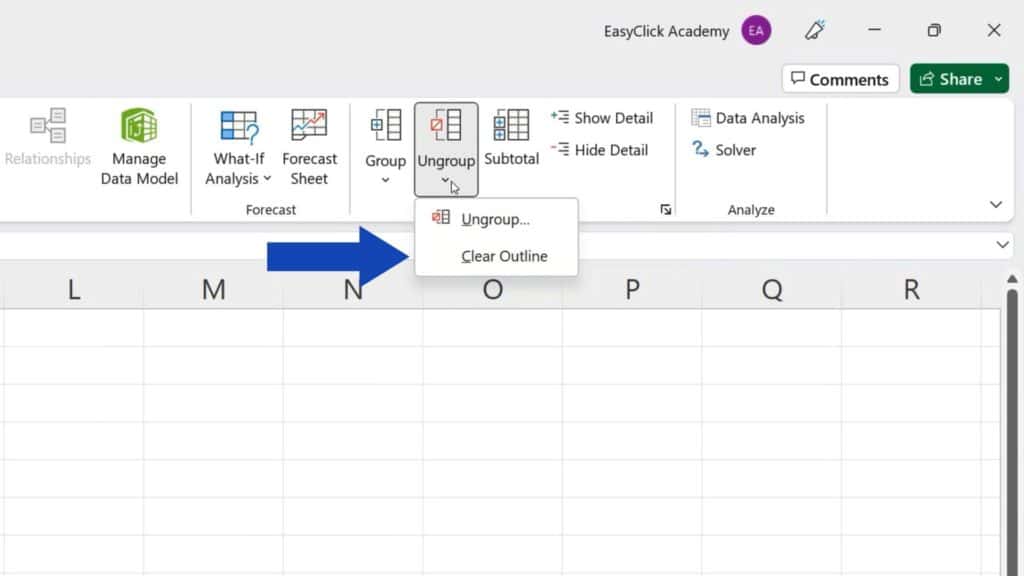
Let’s remove the groups now by clicking on ‘Ungroup’ and selecting ‘Clear Outline’ and let’s have a look at the other way to group rows in Excel – the manual way.
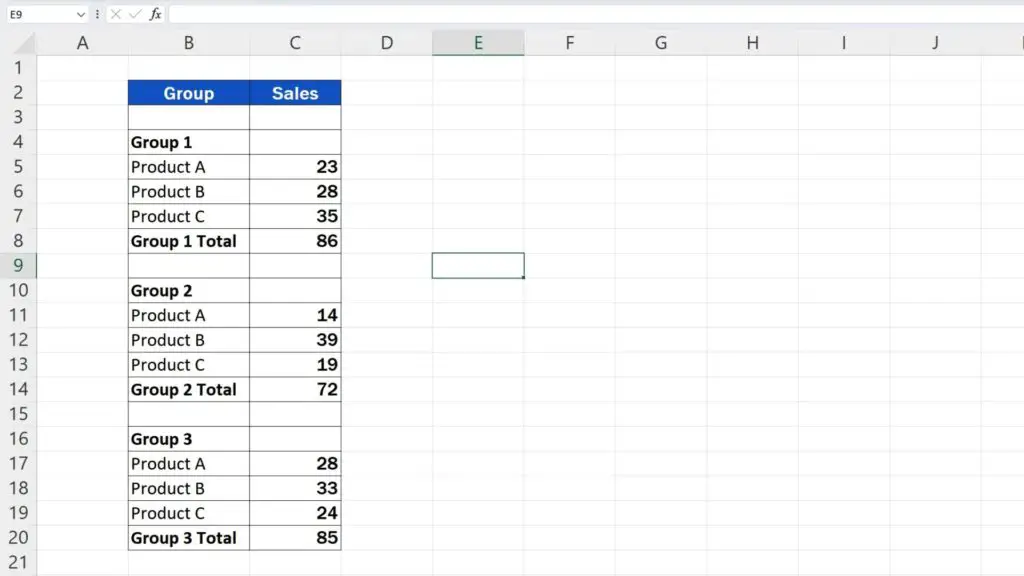
How to Group Rows in Excel (The Manual Way)
The greatest advantage of the manual way is that you can create groups of rows according to what you actually need.
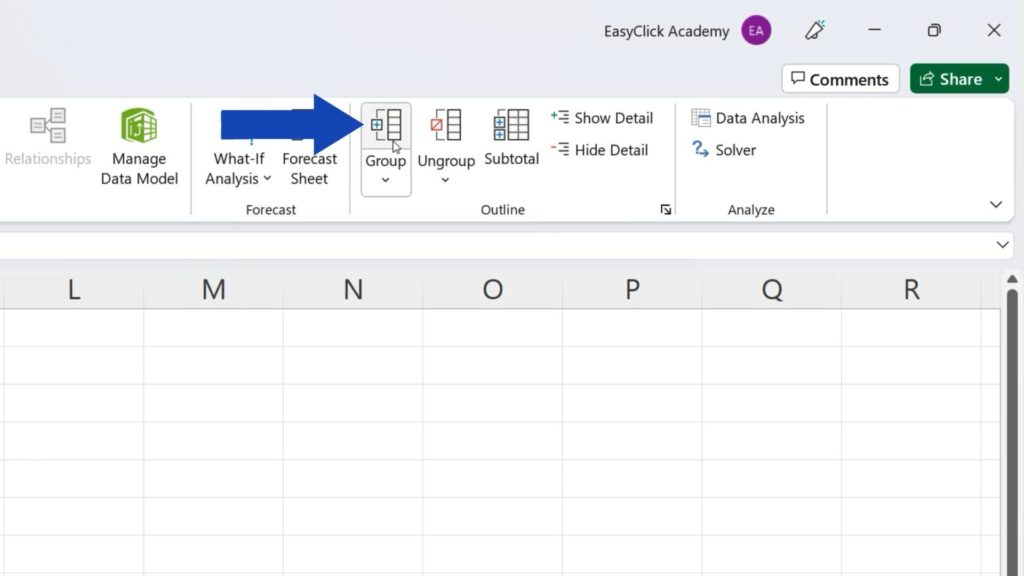
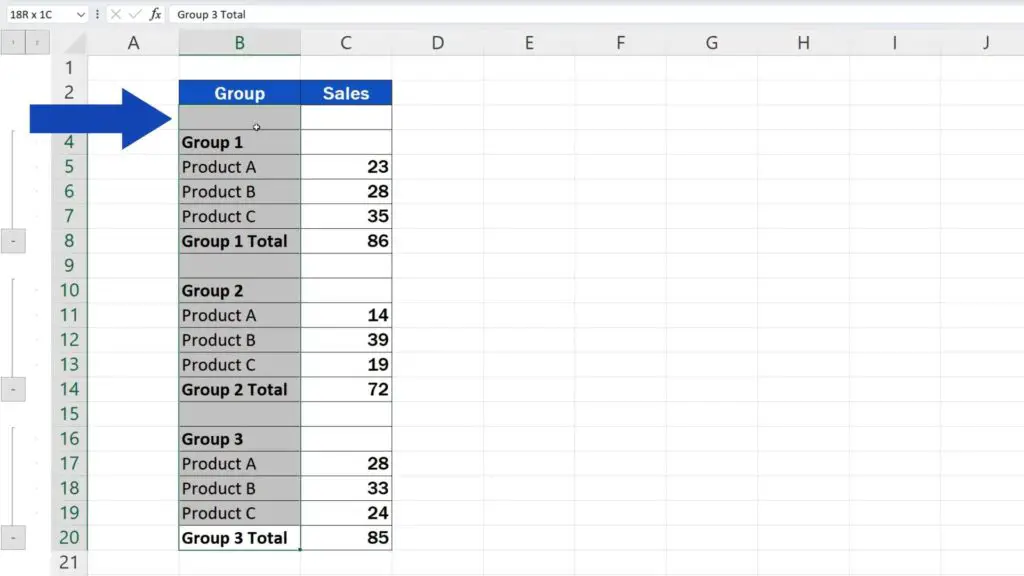
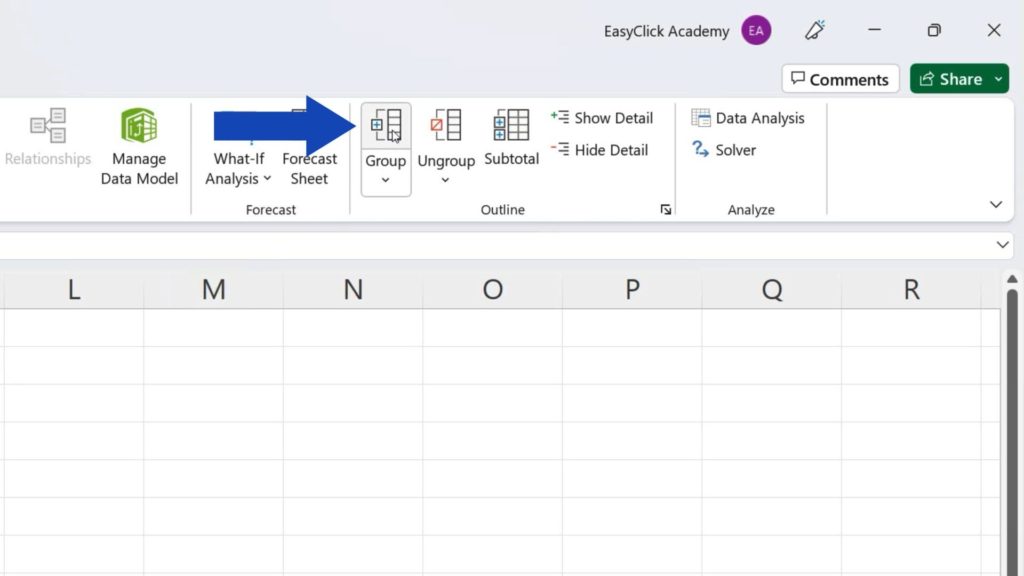
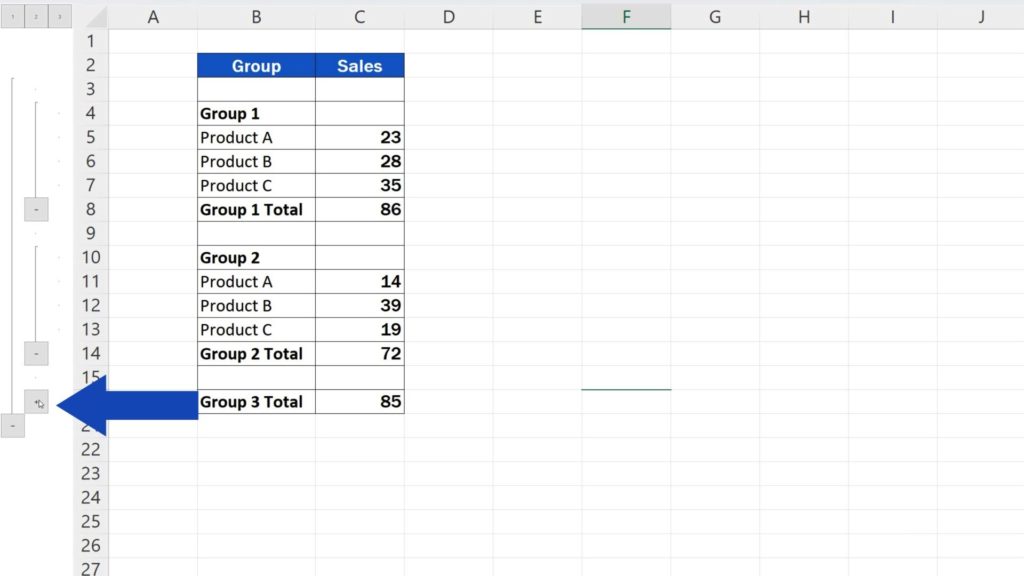
Here, we just need to select the rows we want to group, then simply click on the ‘Group’ button on the Data tab and here we are with the first group of rows!
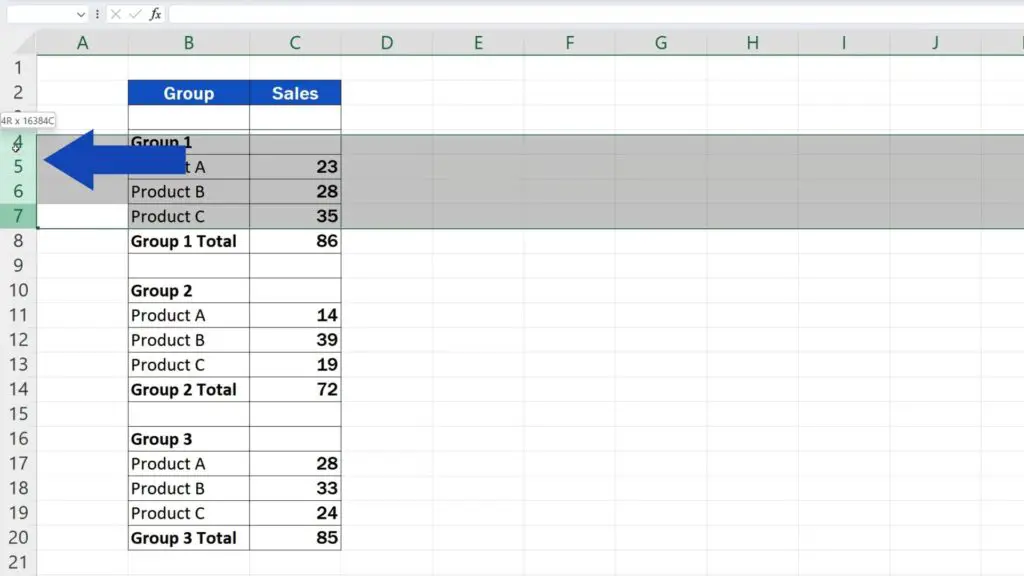
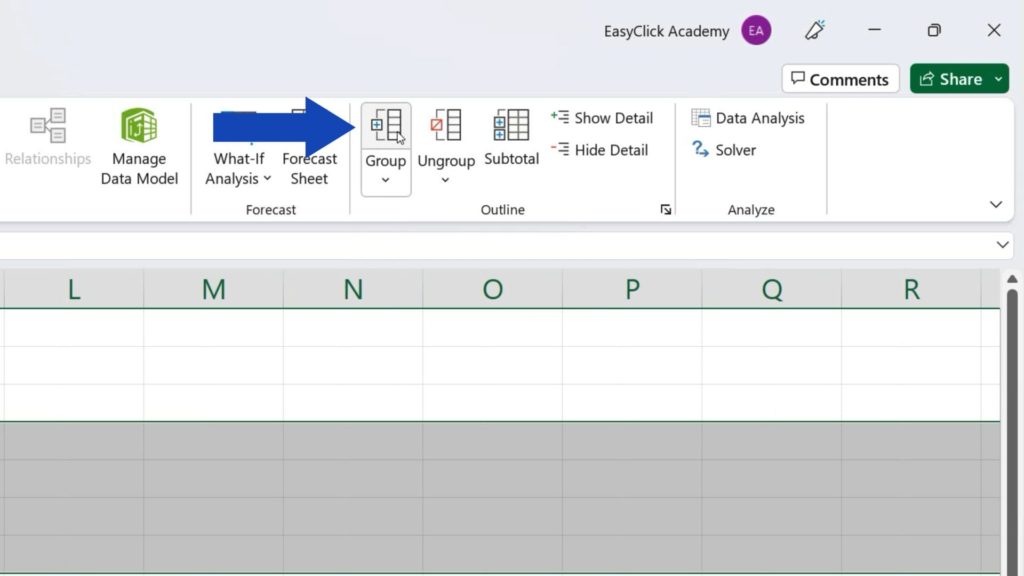
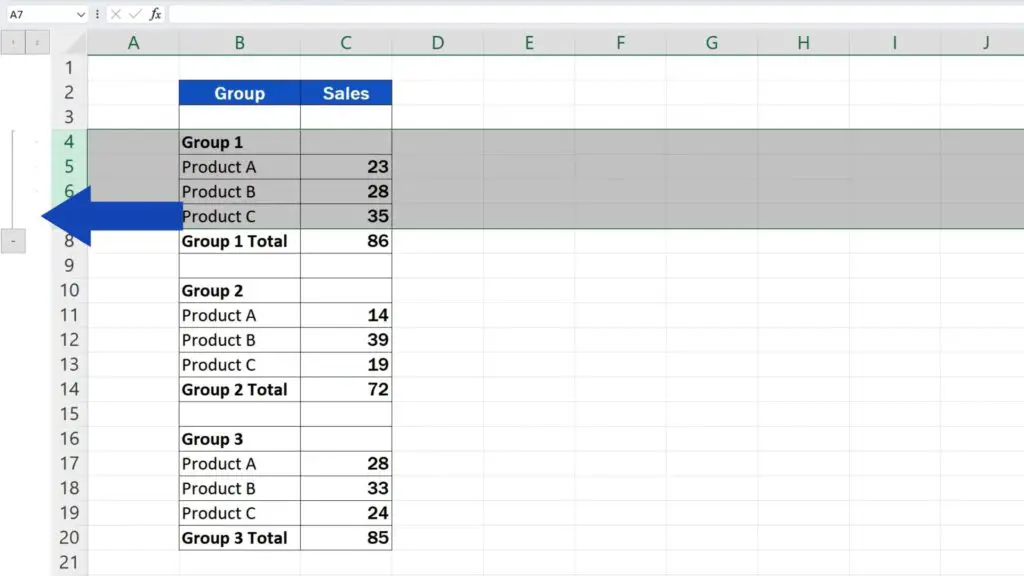
There’s no need to select the whole rows here on the bar on the left. The whole thing will work if you select only the relevant data, like this.
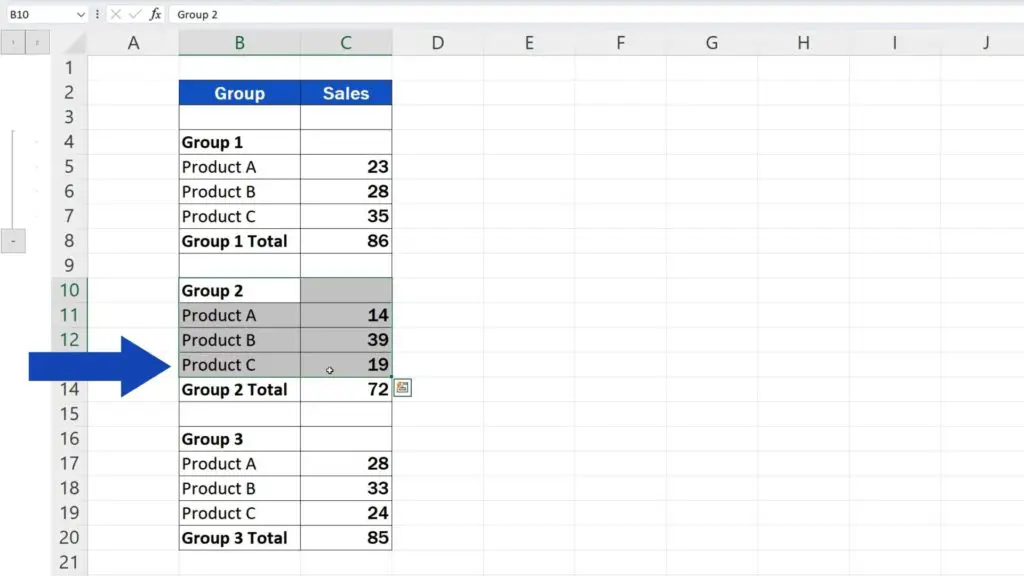
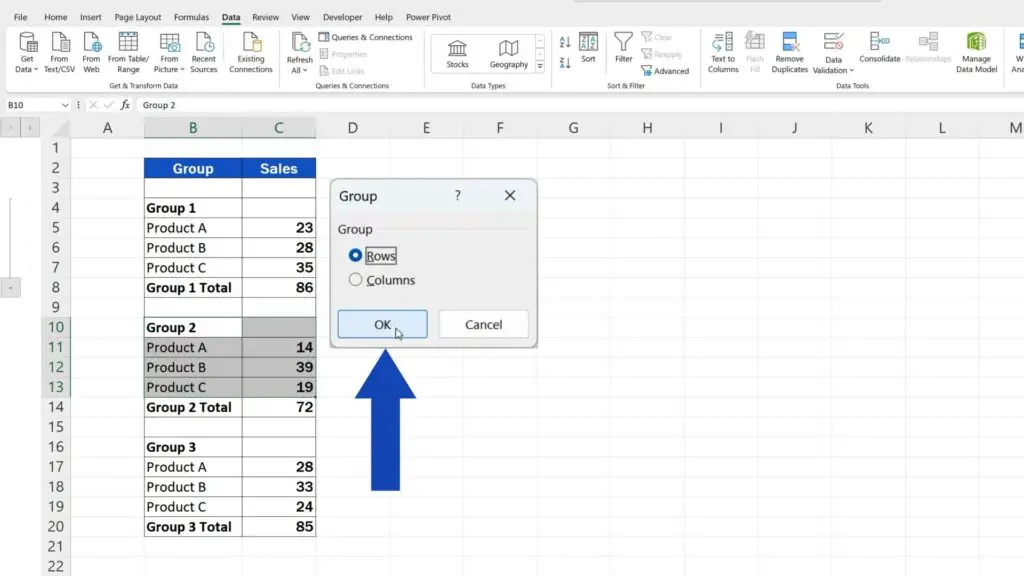
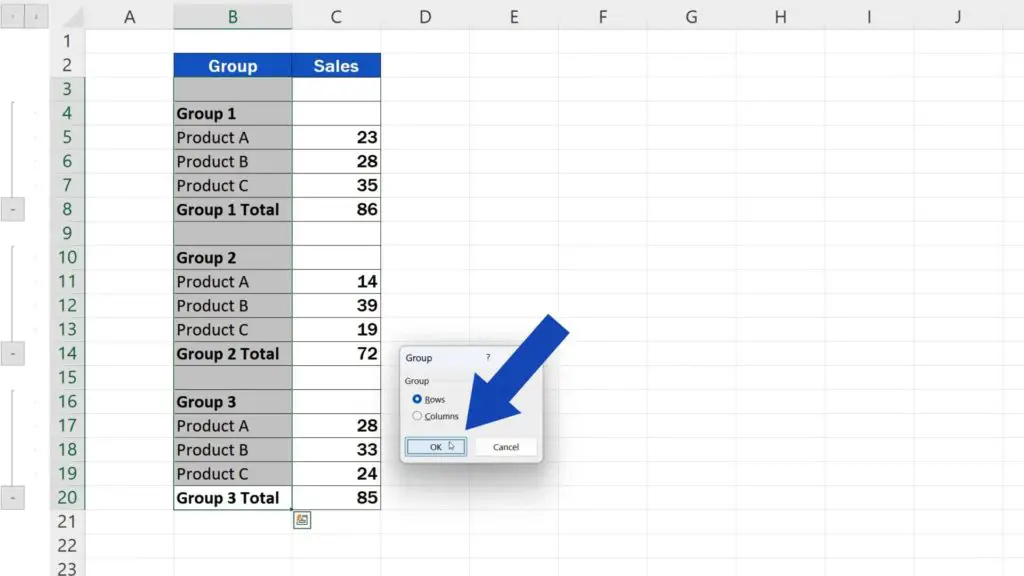
Now just click on the ‘Group’ button, but you’ll be asked whether you want to group rows or columns, which is rows for us here, so we’ll confirm with OK and the second group’s here.
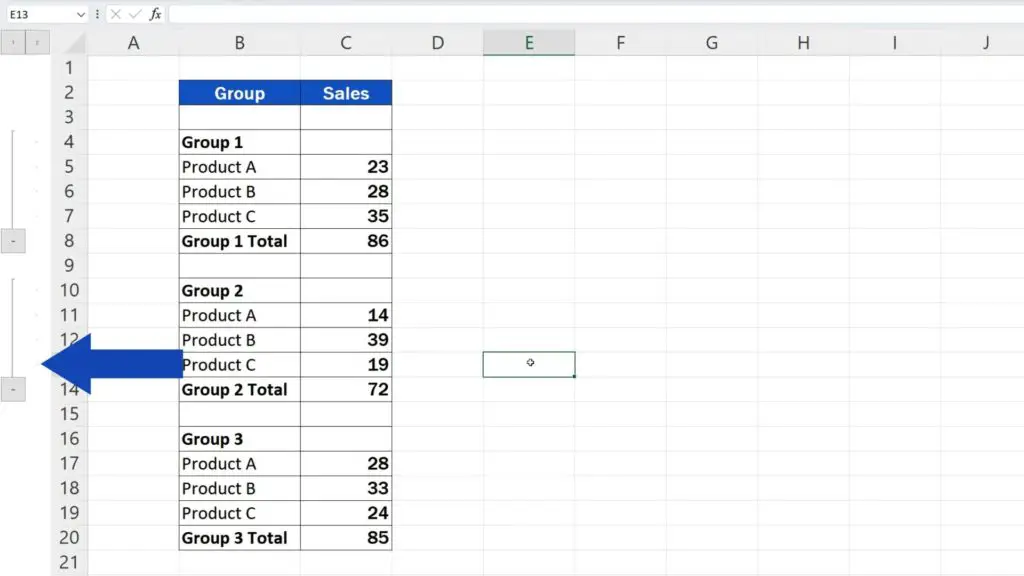
Let’s make the third group of rows and if needed, we can make even different levels of groups – again, no need to select the whole rows. It’s sufficient if you select the data in the rows you want to group.
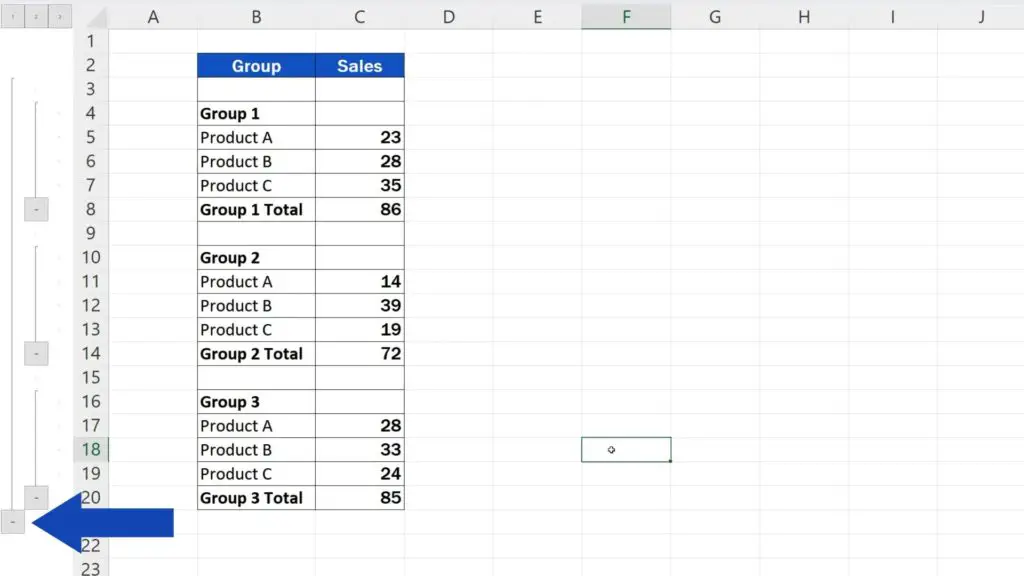
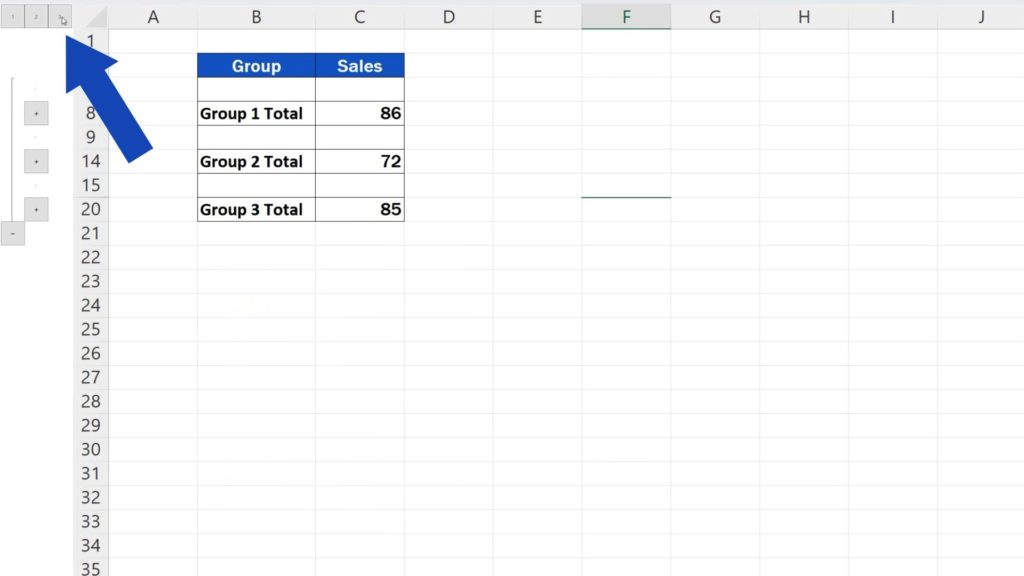
Any group can be expanded or collapsed with this plus or minus button, or you can use these numbers here at the top to expand or collapse whole levels of groups.
And let’s move on now.
How to Clear One Group Only
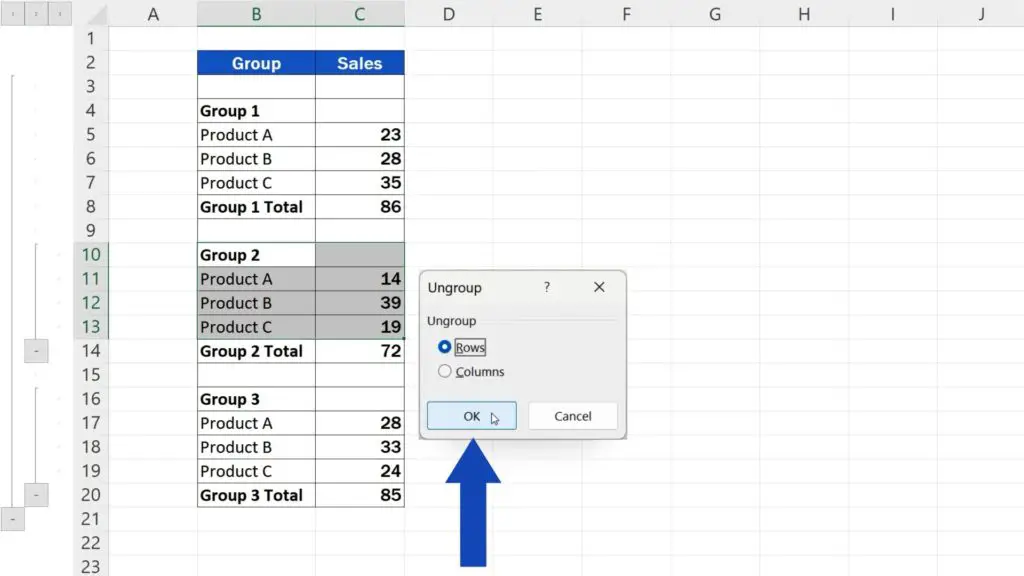
We’ve already covered how to clear the groups in the sheet completely, but it’s as easy to clear one group only. First, select all the rows you need to ungroup, then click on ‘Ungroup’ here at the top and we’re
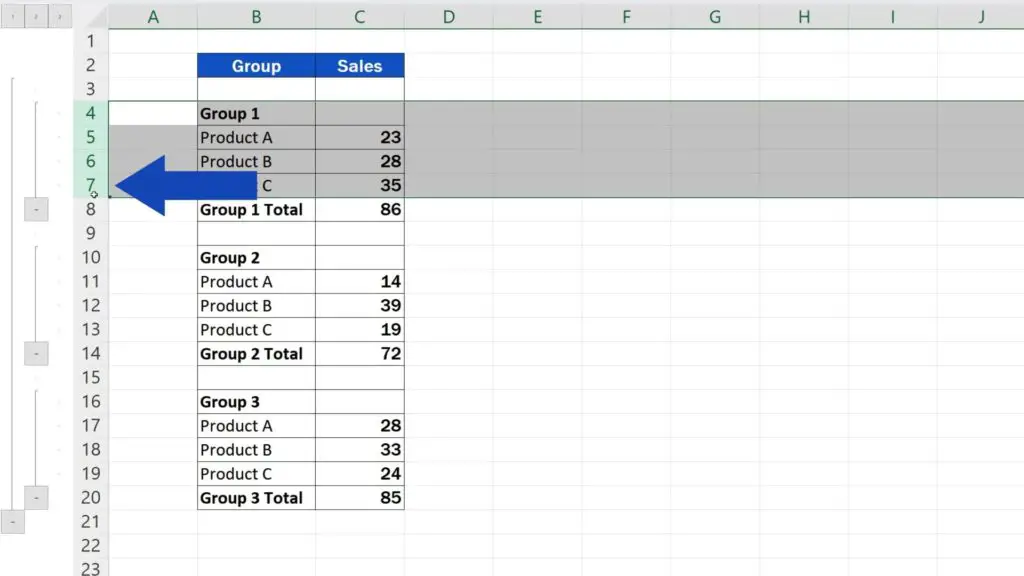
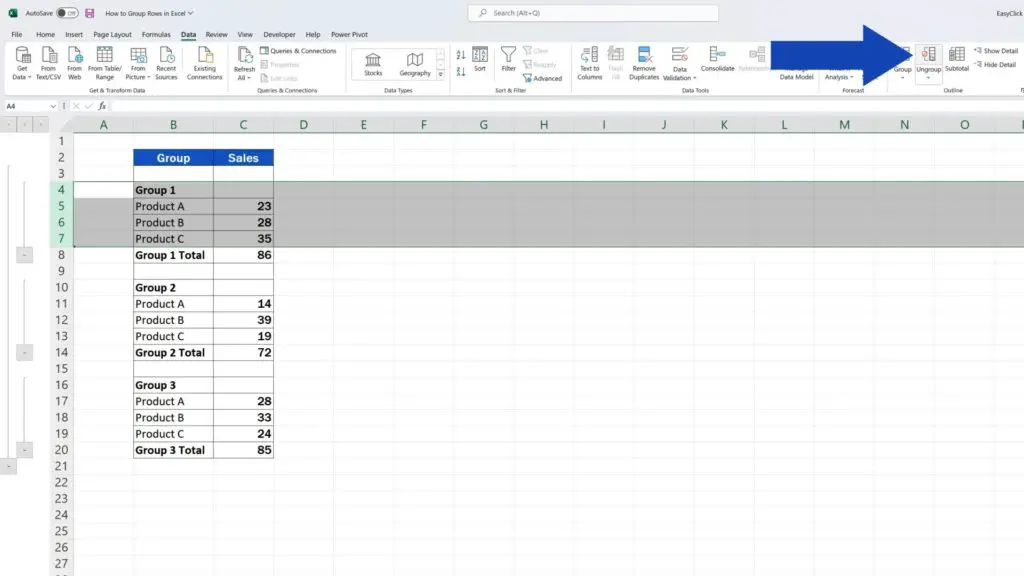
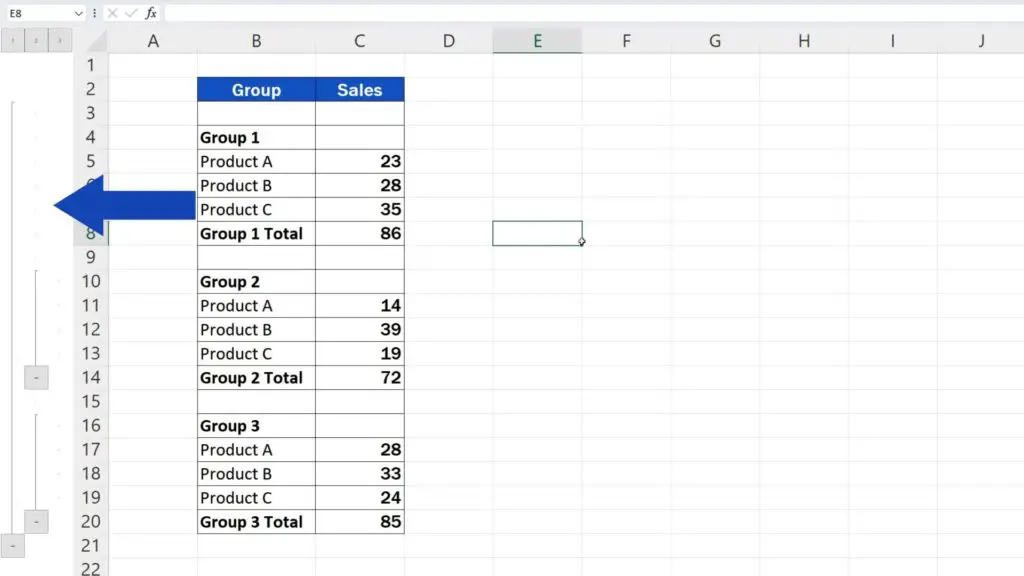
Again, the group can be removed if you select only the data – you don’t need to highlight whole rows. But again, you’ll need to confirm whether you want to ungroup rows or columns. We’re removing a group of rows, so we’ll click on OK and here we go!
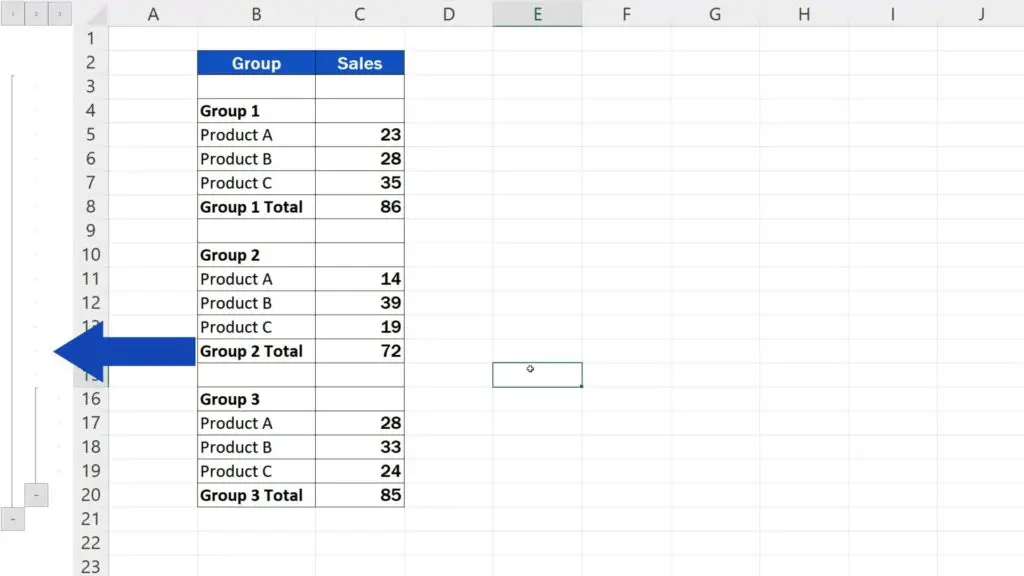
The same ways work to group columns in Excel – all quick and easy.
And if you’d like to learn how to hide and unhide rows in Excel, which is another way to make rows in a sheet disappear, watch a separate video tutorial by EasyClick Academy. The link to the video is in the description below.
Don’t miss out a great opportunity to learn:
If you found this tutorial helpful, give us a like and watch other tutorials by EasyClick Academy. Learn how to use Excel in a quick and easy way!
Is this your first time on EasyClick? We’ll be more than happy to welcome you in our online community. Hit that Subscribe button and join the EasyClickers!
Thanks for watching and I’ll see you in the next tutorial!


