How to Enable Dark Mode in Excel (The Ultimate Guide)
This video tutorial is about how to enable dark mode in Excel. You’ll see how to switch to dark mode and use the ribbon, all the bars and headers or even the whole worksheet in dark colours.
Let’s have a look then!
How to Change Excel Theme
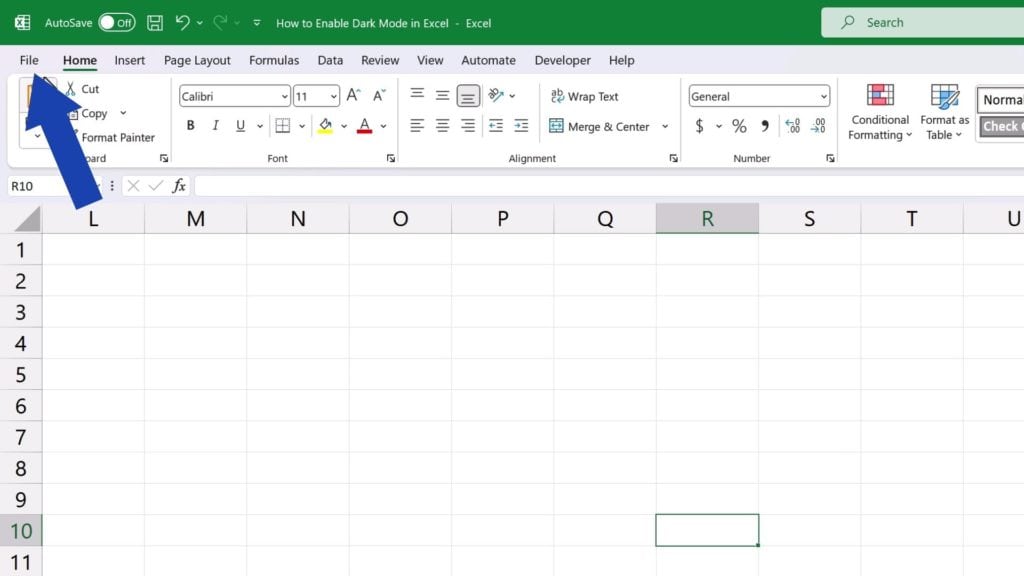
If you’d like to enable dark mode on the ribbon, row and column headers and other interface components of Excel, first click on ‘File’ up here and then click on ‘Account’ in the bottom left-hand corner.

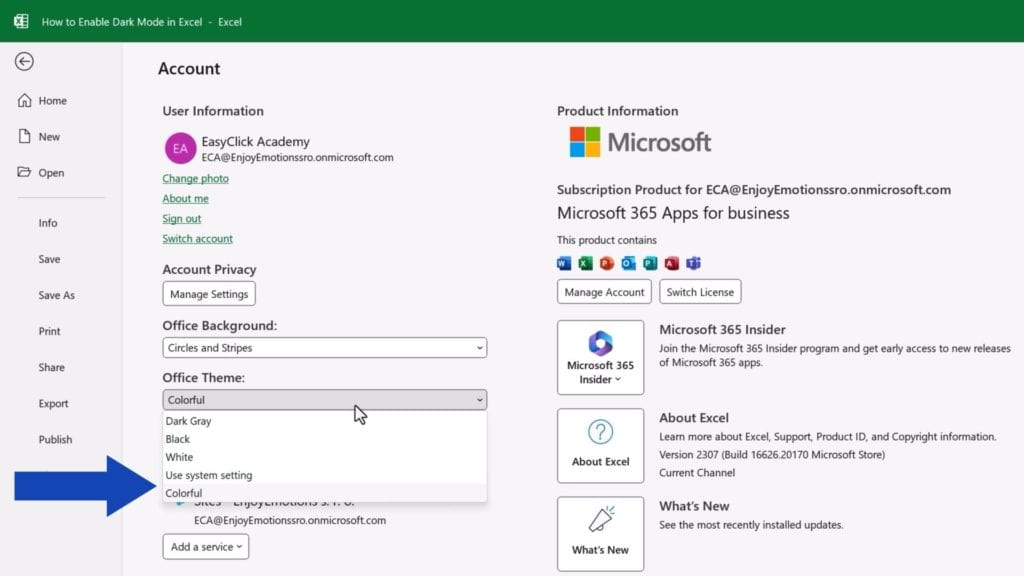
Here in the field ‘Office Theme’ you can choose from multiple themes to apply to your Excel.
If you’d like to enable dark mode, go for the option ‘Black’, which will show the Excel interface in dark colours.
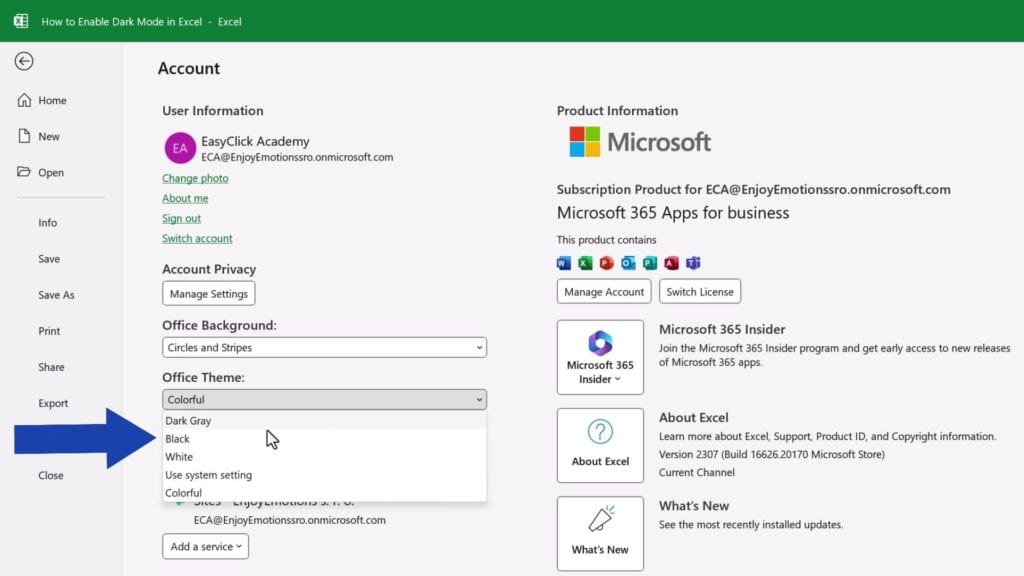

You can also pick ‘Dark Gray’, which will make your Excel interface look like this.

And of course, if you opt for ‘White’, the interface will appear all in white.

If you select ‘Colorful’, Excel will become more colourful.

Let’s now switch to black again and let me tell you two important things.
First, if you change the interface this way, the same theme will apply to all other Microsoft applications in your computer, like Word, PowerPoint and others.
Also, changing the Office theme does not mean the worksheet will appear in dark colours. If you need to change the colour of the worksheet, it’ll involve a few more clicks.

So, let’s have a look at a little trick on how you can change the worksheet background to black.
How to Change the Colour of the Worksheet
Click on ‘Page Layout’ up here, now go to ‘Background’.
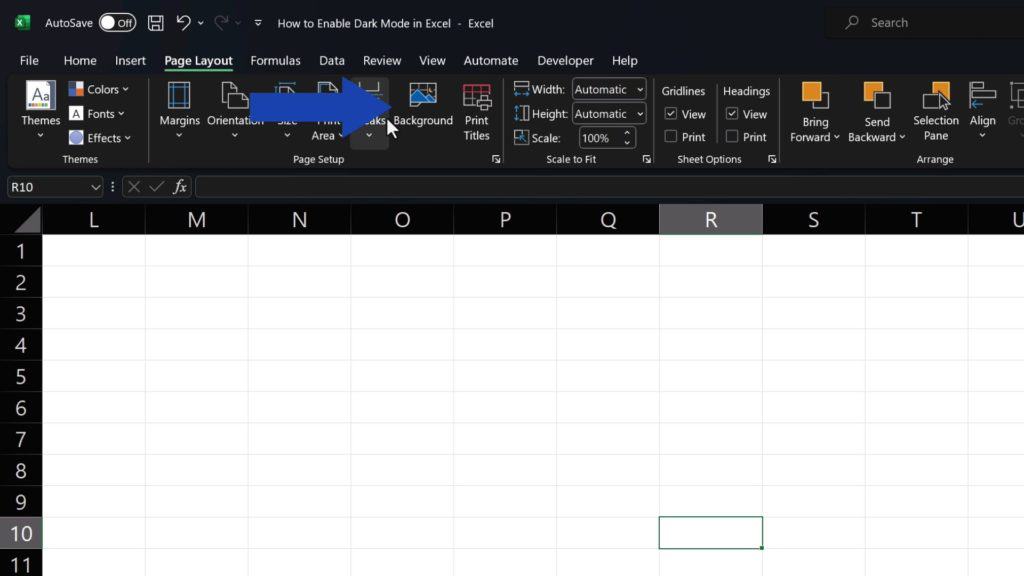
You’ll see a window where you can choose a picture to load as the background. If we want a black worksheet, we need to find a plain black picture. But if you want to, you can load a photograph as the background, too.
Now we want to load just a plain black picture, so we can look it up in our computer, on our OneDrive or we can use Bing to search for it. Here, we’ll use the third option, so we click in the search field and type in ‘black’. We press Enter and here we’ve got some plain black images ready to be used!

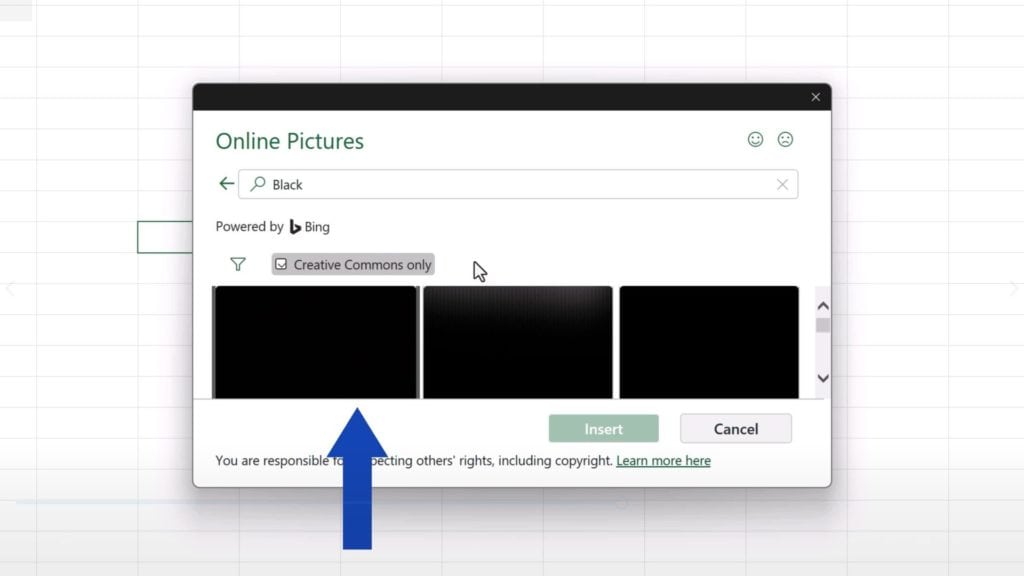
Let’s click on the first one, press ‘Insert’ and that’s done!
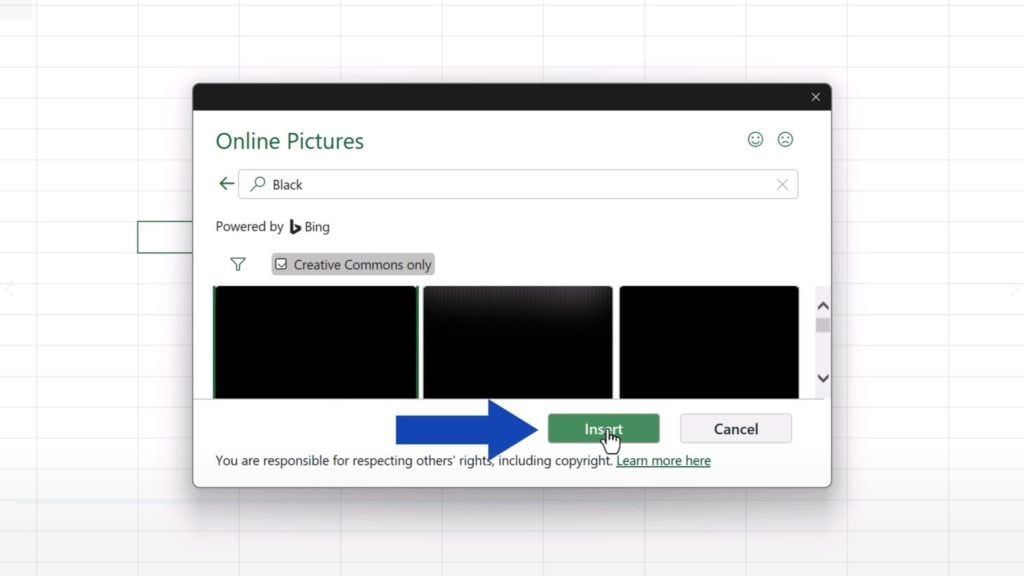
The worksheet background has changed to black. Again, you can use the same way to load any image or a photograph as the background.

But there are some things to keep in mind here.
If you type anything into a cell now, you won’t be able to see it. That’s because the font colour in Excel is automatically set to black, which is now the colour of the worksheet, too. So, the text blends with the background.
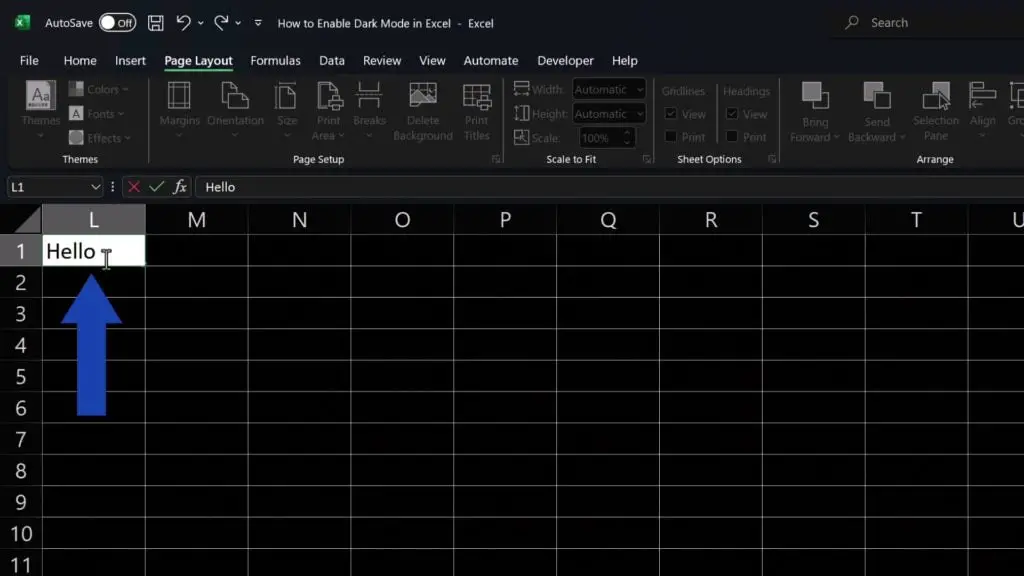
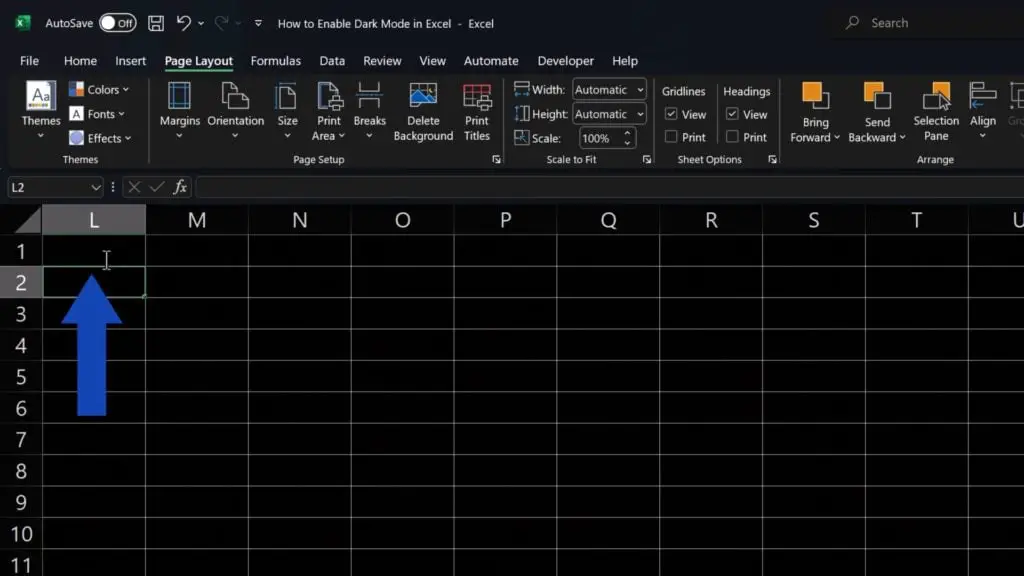
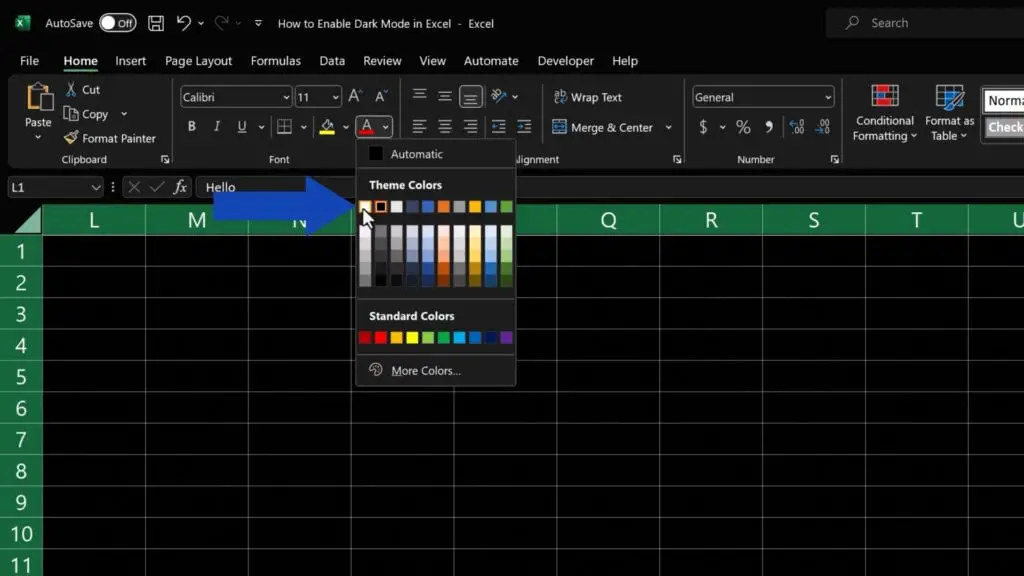
Therefore, you need to change the font colour to white.
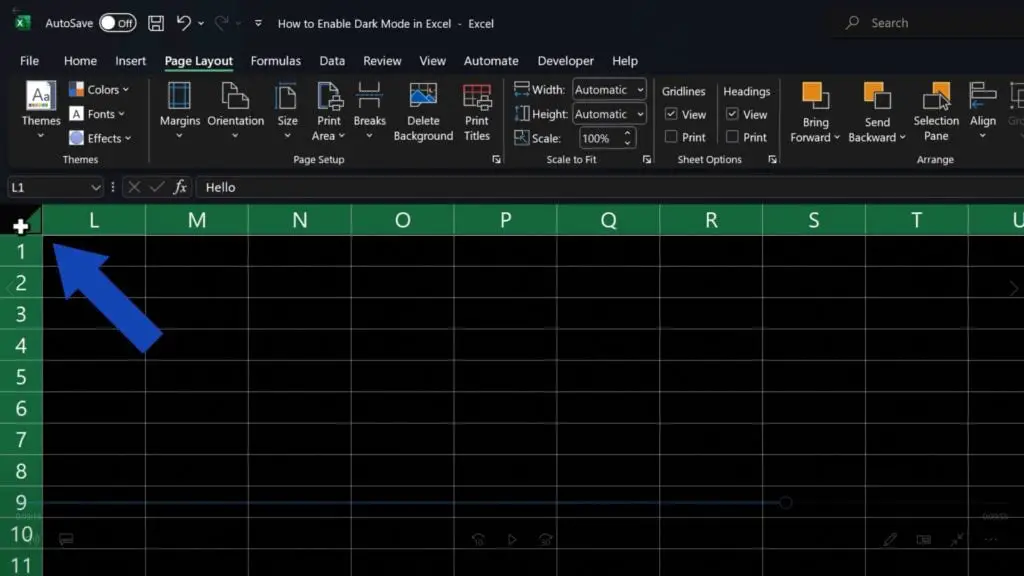
Let’s click into the upper left-hand corner to select all the cells in the spreadsheet. Then go to the Home tab and in the section ‘Font’, change the font colour to white.
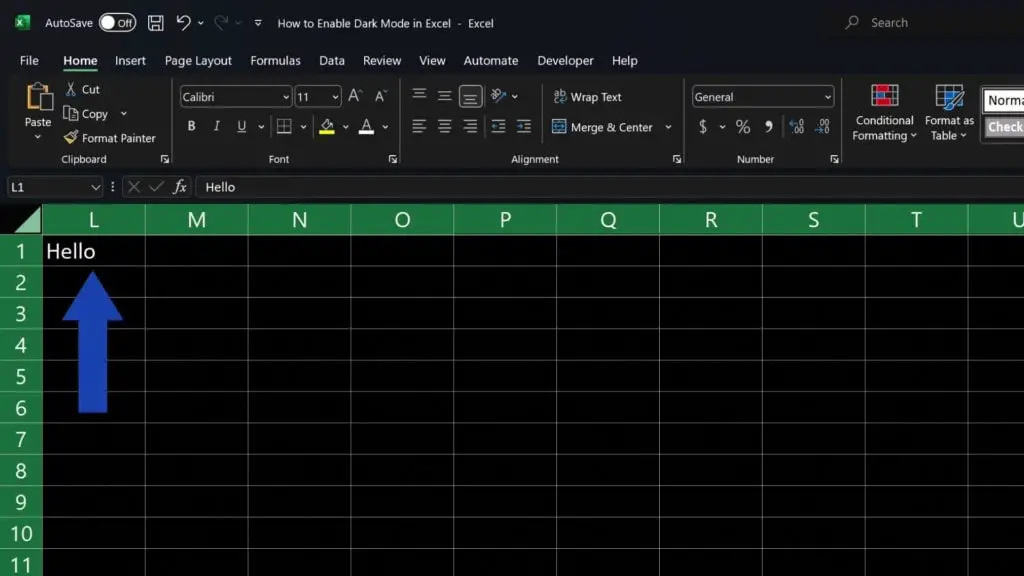
And here comes our ‘Hello’!
How to Change the Background Colour Back to White
If you’d like to change the background colour back to white, go to Page Layout again and click on ‘Delete Background’.
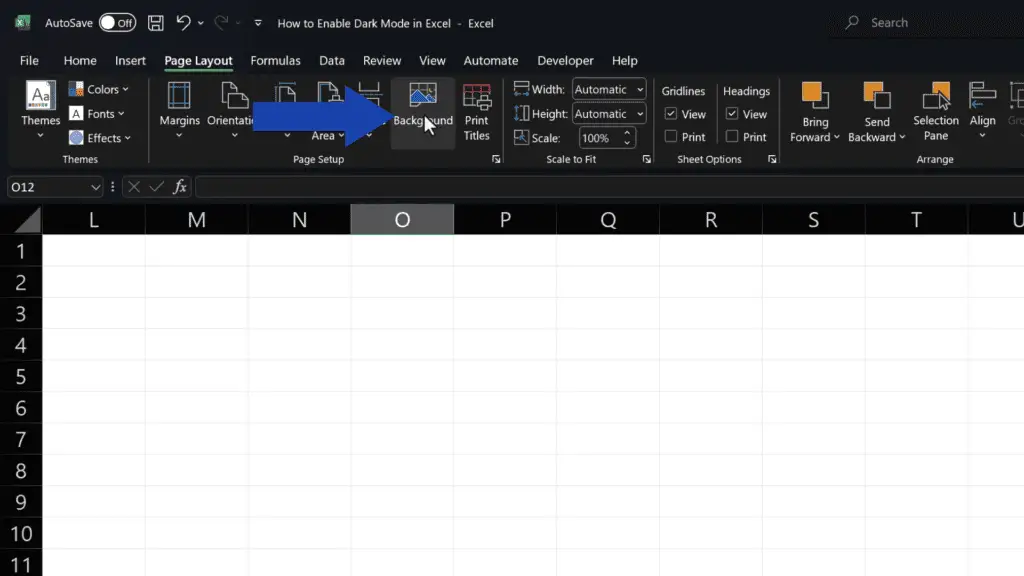
The theme can also be changed back to the default one the way we saw a while ago.
And remember to change the font colour to the automatic black, to see the text written in cells, too.
Don’t miss out a great opportunity to learn:
- How to Freeze Rows in Excel
- How to Freeze Columns in Excel (A Single or Multiple Columns)
- How to Use Flash Fill in Excel (And Save a Lot of Time)
If you found this tutorial helpful, give us a like and watch other tutorials by EasyClick Academy. Learn how to use Excel in a quick and easy way!
Is this your first time on EasyClick? We’ll be more than happy to welcome you in our online community. Hit that Subscribe button and join the EasyClickers!
Thanks for watching and I’ll see you in the next tutorial!


