How to Delete Sheet in Excel
Here’s another tutorial on how to work with spreadsheets. Today you’ll see how you can easily delete a spreadsheet in Excel and make your workbook more organized.
Let’s start!
See the video tutorial and transcription below:
See this video on YouTube:
https://www.youtube.com/watch?v=rzyHM4P8C-0
If you don’t need one or more of the spreadsheets in your workbook anymore, you can simply delete them.
Here’s how to do it!
An Important Thing to Know Before You Delete a Spreadsheet
First of all, it’s important to know that once you delete a spreadsheet, you’ll lose all the data stored in it and you won’t be able to retrieve them. Also, you won’t be able to use the data from the deleted spreadsheet in other sheets.
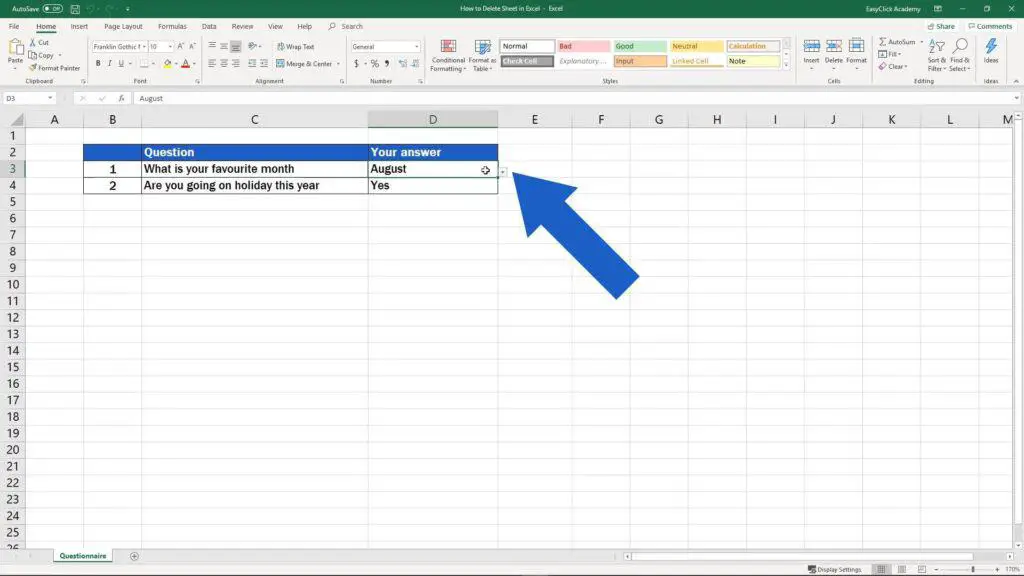
Take a look at the sheet ‘Questionnaire’. It contains a drop-down list created in one of the previous tutorials. To keep the workbook organized, the items in this drop-down menu are stored as a list of data in another spreadsheet called ‘Months’.
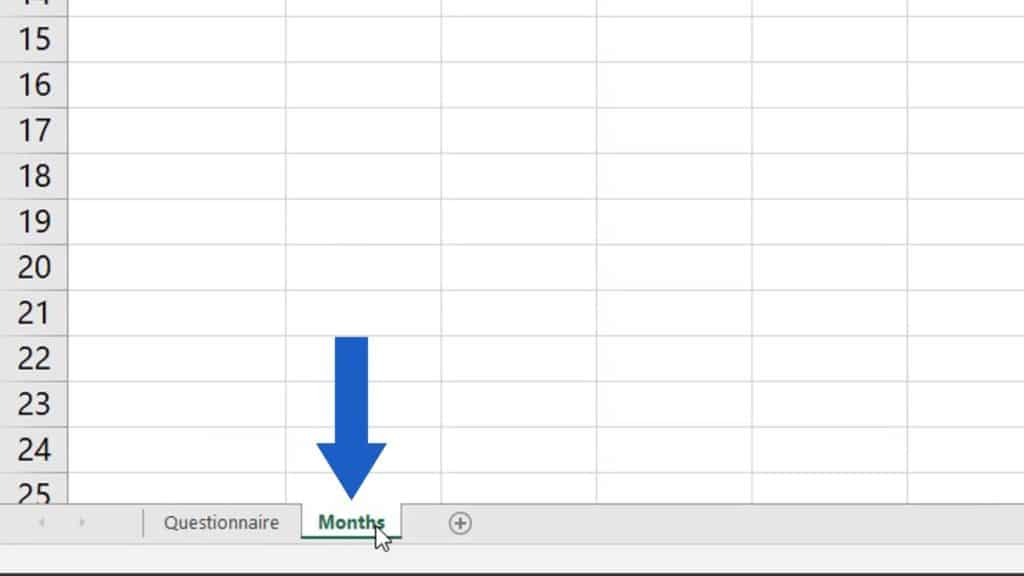
If we delete the sheet ‘Months’ which you’ll see shortly, the drop-down list in the sheet ‘Questionnaire’ will stop working.
That’s why it’s important to make sure you’ll choose only such a sheet which contains data you won’t need anymore.
So, how can I delete the sheet?
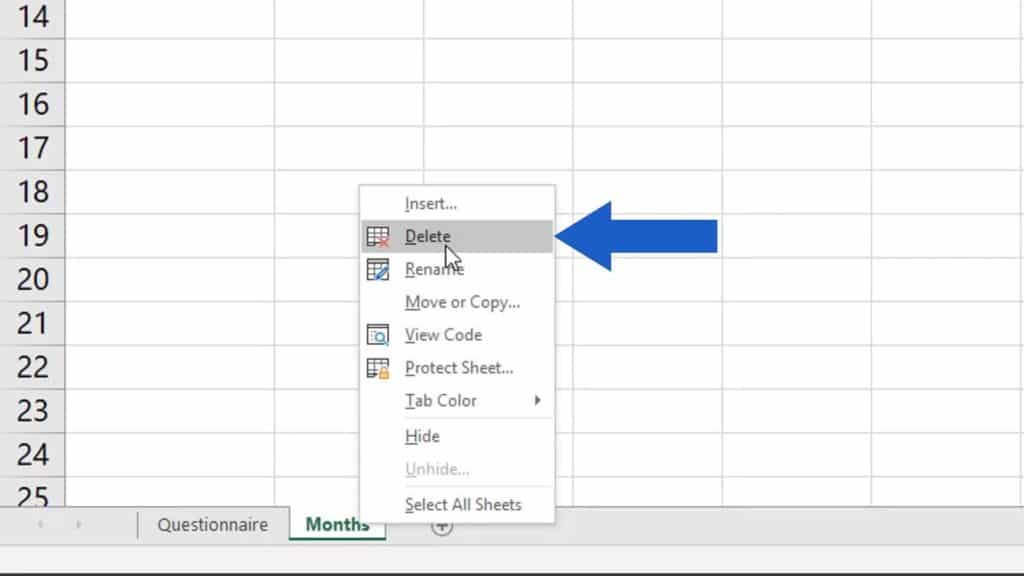
First, select it by clicking on it. Right-click and choose ‘Delete’.
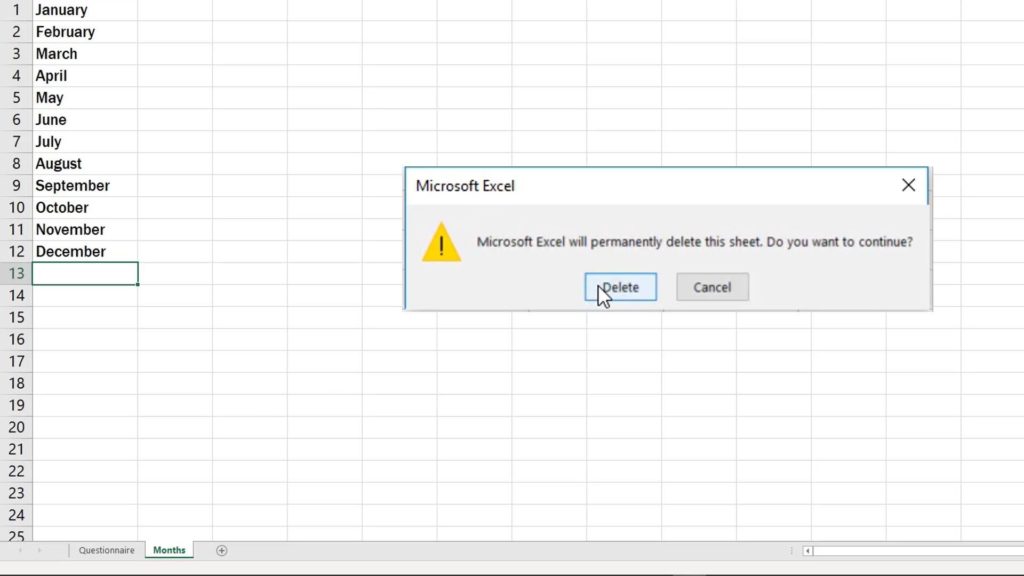
Excel will show a warning and ask whether you’re sure you want to delete the sheet permanently.
Confirm by clicking on ‘Delete’ and you’re done!
The sheet has been deleted from the workbook.
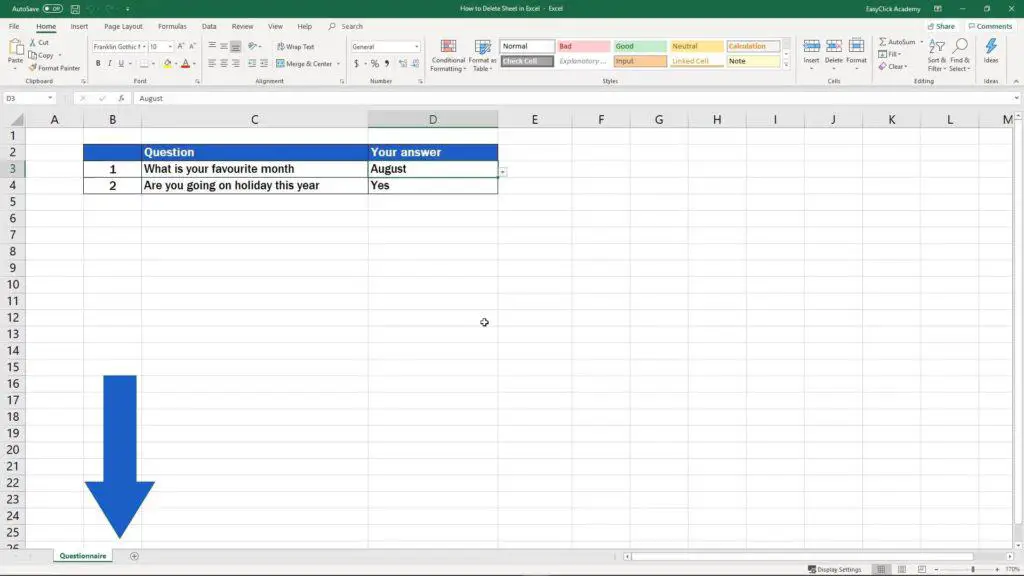
But the drop-down list has also been disabled. You cannot pick any other option apart from the one that had been chosen before we deleted the sheet.
Do you want to know more about:
- How to Hide Sheets in Excel
- How to Unhide Sheets in Excel
- How to Insert Sheet in Excel
- How to Rename Sheet in Excel
If you found this tutorial helpful, watch other video tutorials by EasyClick Academy. Learn how to use Excel in a quick and easy way!
Is this your first time on EasyClick? We’ll be more than happy to welcome you in our online community. Hit that Subscribe button on our YouTube channel and join the EasyClickers!
See you in the next tutorial!


