How to Check Spelling in Excel and Avoid Typos
This tutorial provides a quick guide on how to check spelling in Excel. The spellcheck function is an invaluable help when it comes to avoiding typos or grammatical issues in texts within data tables.
Well, let’s give it a go then!
Would you rather watch this tutorial? Click the play button below!
How to Find the Spellcheck Function in Excel
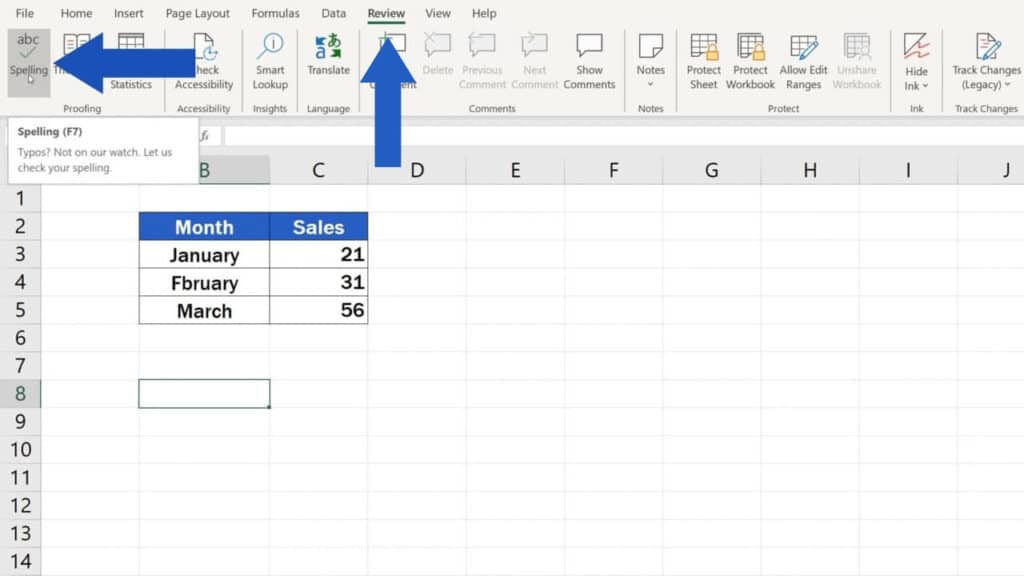
To use the spellchecker, click on the Review tab, find the section ‘Proofing’ where you’ll find the option ‘Spelling’. Alternatively, you can use the hot key F7 to start the function.

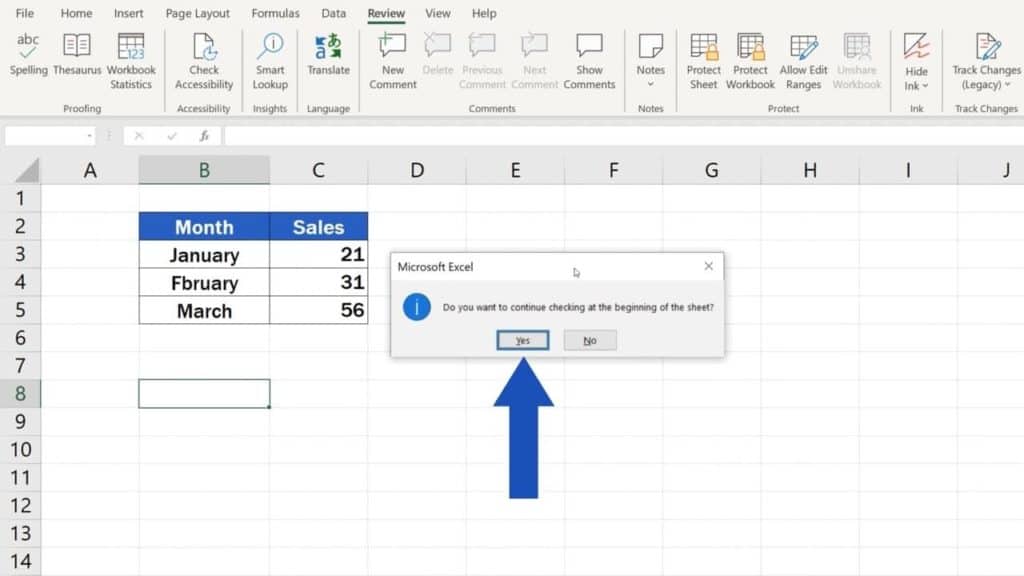
You might get a pop-up window which will ask whether you want to continue at the beginning of the sheet. Select ‘Yes’ to make sure Excel will go through all data in the spreadsheet.

How the Spellchceck Function Works
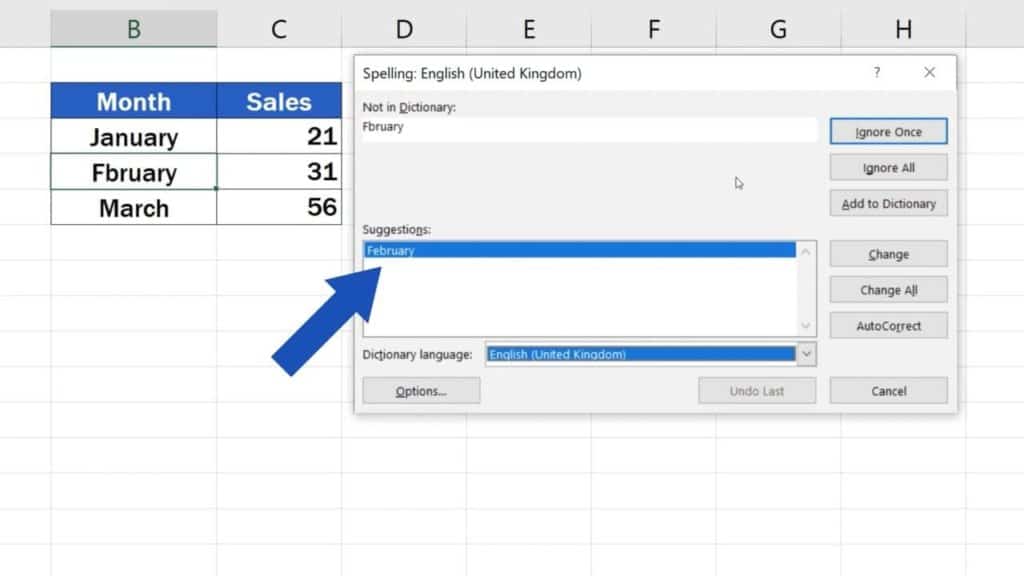
As you can see, Excel detects a typo immediately and shows you all possible options for correction, so that we could decide how we want to resolve this.
The typo here is in the month name ‘February’. On the top, we see how the word is actually spelled, and below we can find some suggestions to what we could change it.

Different Options of the Spellcheck Function
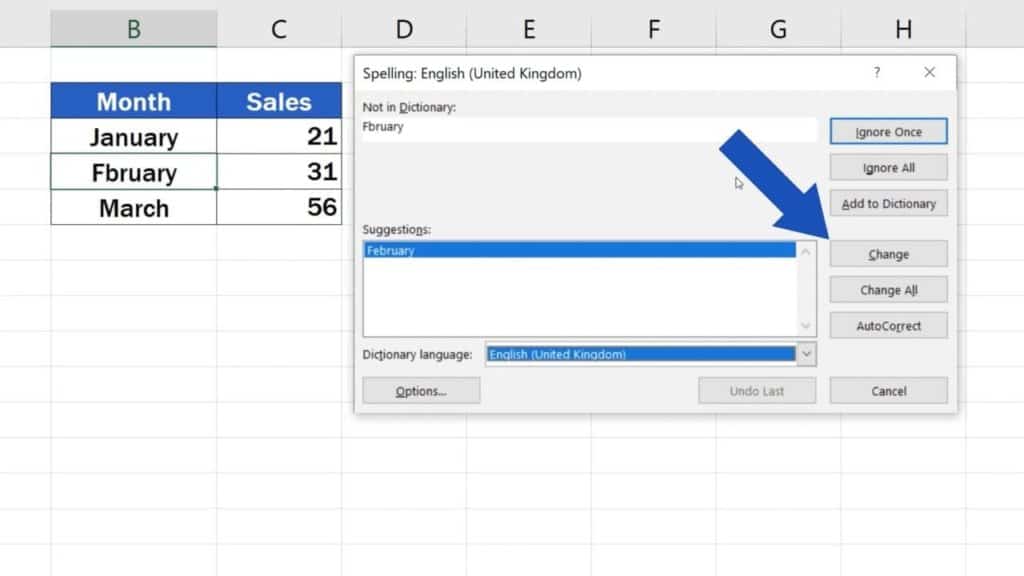
If you agree with what Excel suggests, you can click on ‘Change’, but you can also use other options, for example ‘Ignore’, or ‘Add to Dictionary’.

In this case, we’ll go for ‘Change’ and Excel will correct the typo right away. The month name ‘February’ is now spelled correctly and since this was the only error, Excel completed the check.

You can use this function to check spelling through any sheet in a quick and easy way.
And here’s a question for you – which of the functions from the Review tab is your favourite? Let us know in the comment section below! We’re happy to hear from you!
Don’t miss out a great opportunity to learn:
- How to Insert Comment and Note in Excel
- How to Use Track Changes in Excel
- How to Change Text Direction in Excel
If you found this tutorial helpful, give us a like and watch other video tutorials by EasyClick Academy. Learn how to use Excel in a quick and easy way!
Is this your first time on EasyClick? We’ll be more than happy to welcome you in our online community. Hit that Subscribe button and join the EasyClickers!
Thanks for watching and I’ll see you in the next tutorial!


