ChatGPT for Excel: How to Create Excel Formulas – Super Easy with AI
Today we’ll have a look at how to create Excel formulas in a super easy way using ChatGPT. Thanks to artificial intelligence, we can make use of Excel functions even more effectively.
Let’s get started!
Every day we create and use various formulas when working with Excel. We’re familiar with some of them, others we must learn on the go.
Artificial intelligence has come up with a new, revolutionary way to generate an Excel formula in a super easy way. The formula you need, but might not be familiar with yet, can be generated based on your description of what you need to do in a spreadsheet. You can use your own words and there’s no need to speak excellent English at all!
How ChatGPT Works
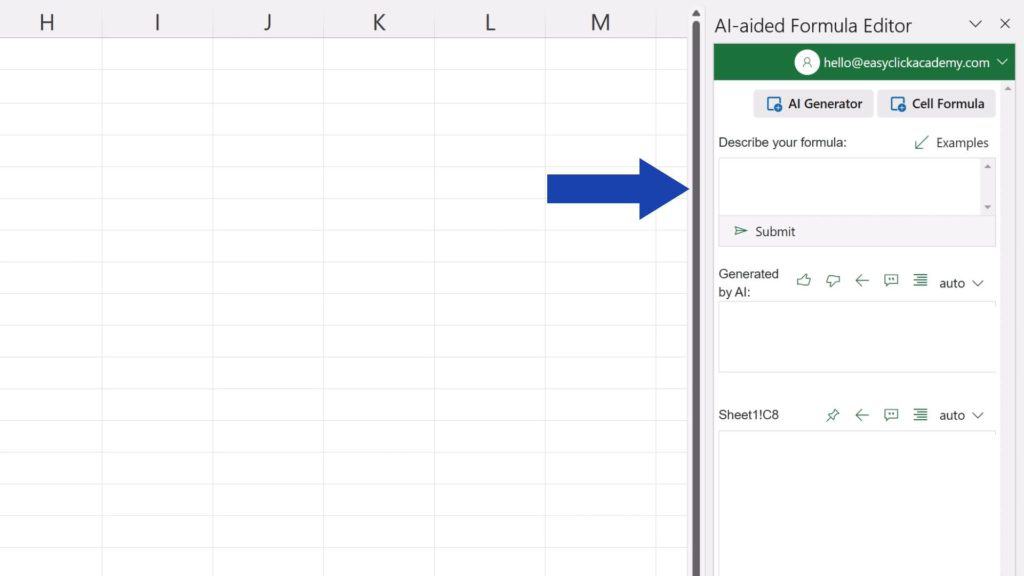
Let’s have a look at some specific examples which will show how we can use this amazing tool – ‘AI-Aided Formula Editor’, which uses ChatGPT. It’s important to note that even though this tool is not free, you can install it and try it out for free. First, we’ll start with how this tool works and at the end of the tutorial we’ll go through how to add this powerful AI tool to your screen.
But let’s do all this step by step to see how you can make the best use of it.
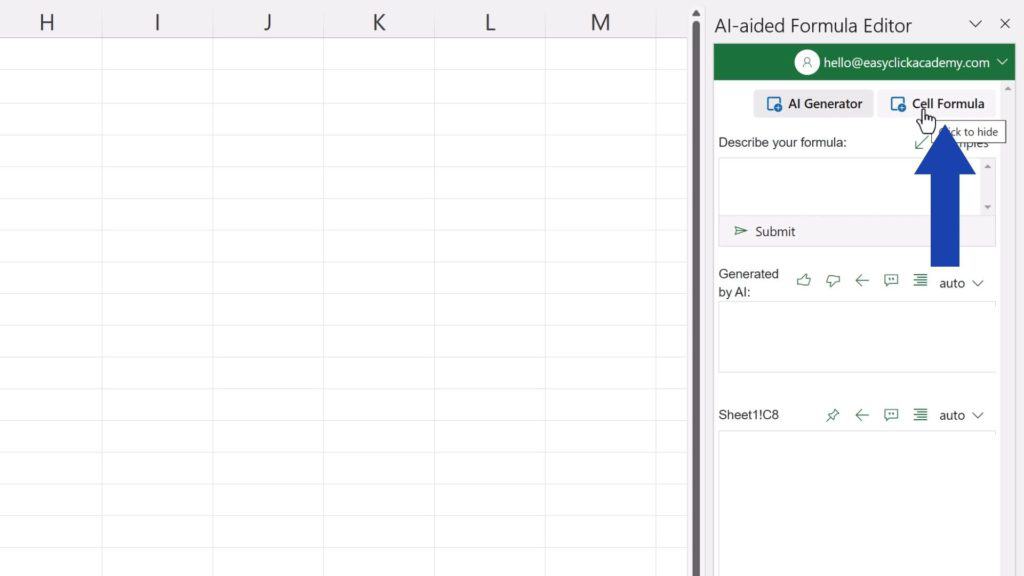
To begin, let’s make sure that the pane on the right shows only what we need, which means we’ll hide the ‘Cell Formula’ bit by clicking on it and we’ll leave the ‘AI Generator’ part on. We’re going to deal with generating formulas now and we’ll have a closer look at other elements of this tool later, in separate video tutorials.
Everything’s ready now, we can start!
How to Sum a Column in Excel with AI
Let’s say we need to find out the sum of the values in the range of cells C3 to C7.
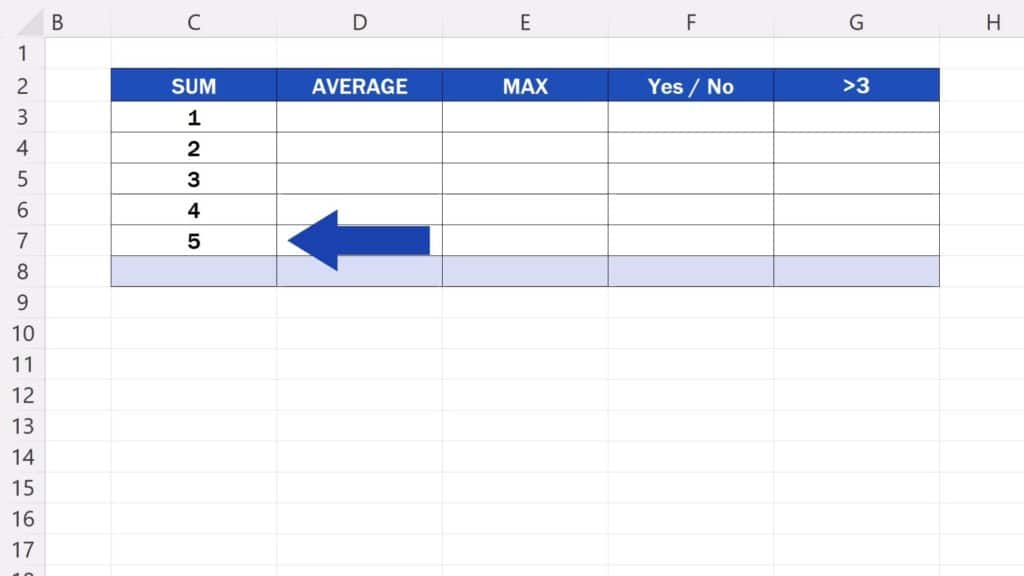
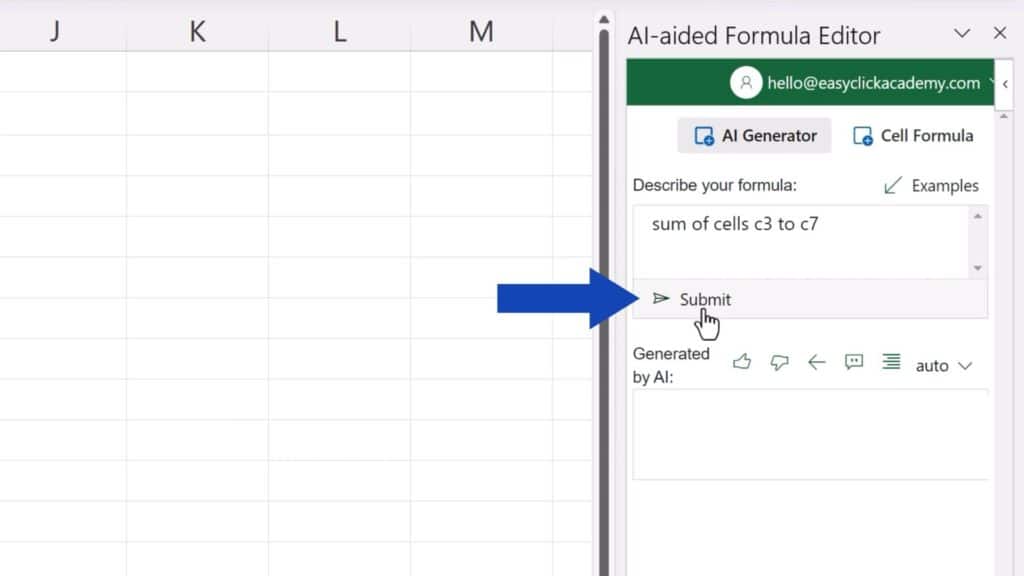
First, type in your own words what we need to do here, in the field ‘Describe your formula’.
For example, we can type ‘sum of cells C3 to C7’. Then we hit ‘Submit’ and in a couple of seconds, the AI responds in the field below with the right formula containing the correct range of cells we want to add up.
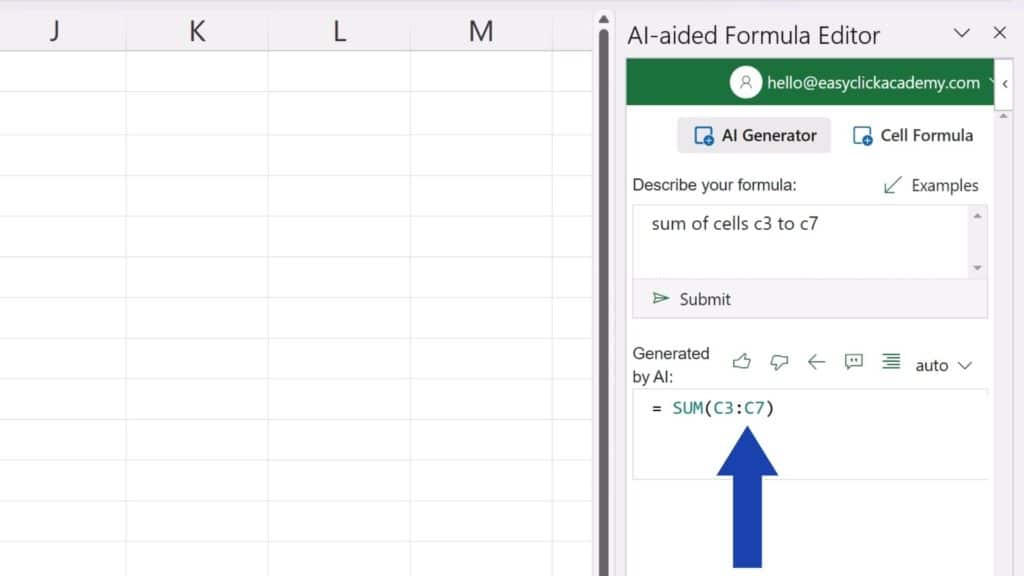
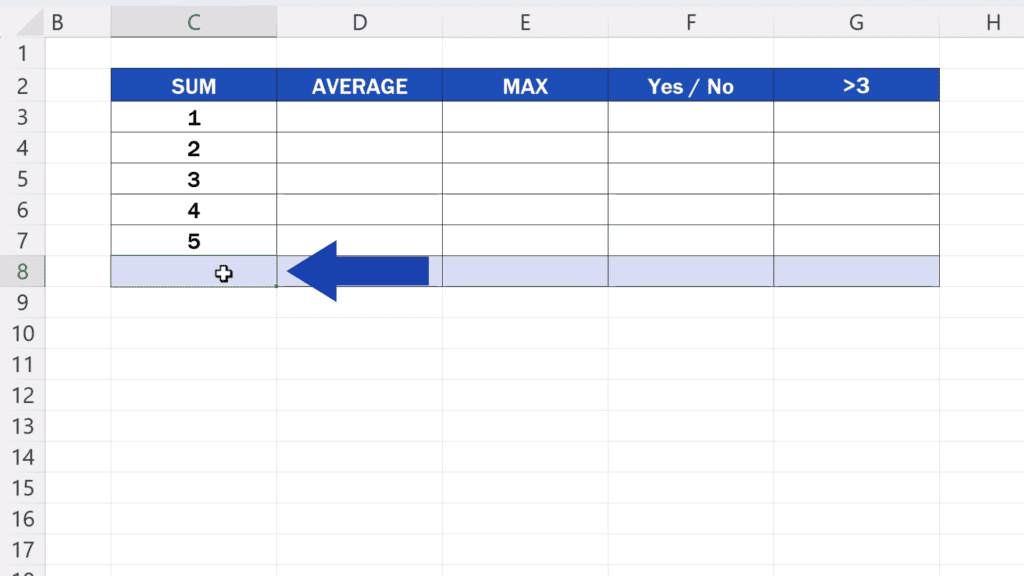
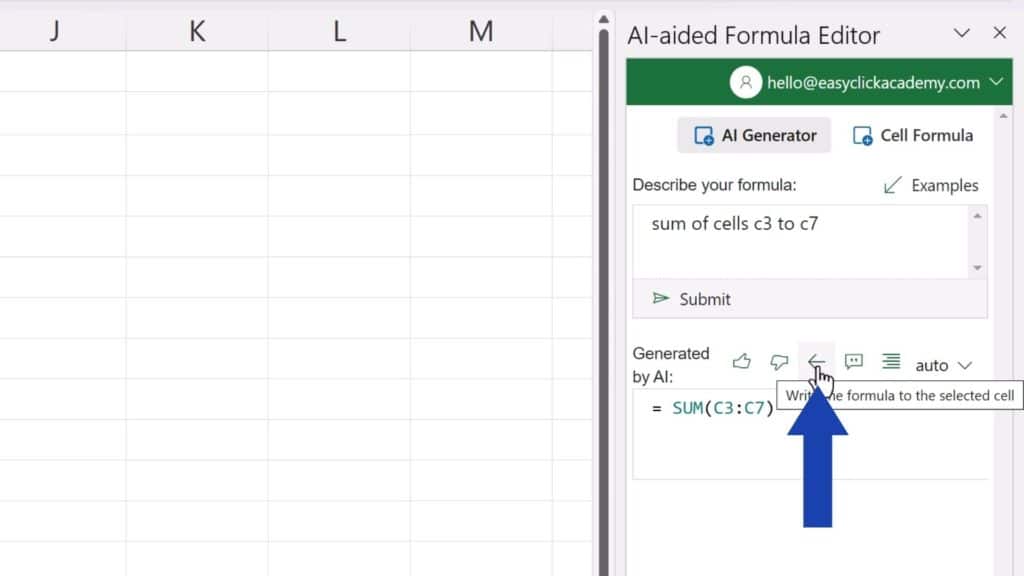
Now we can click on the target cell (the cell where we want to display the result), which in our case is C8. We use this arrow to copy the formula into the selected cell conveniently.
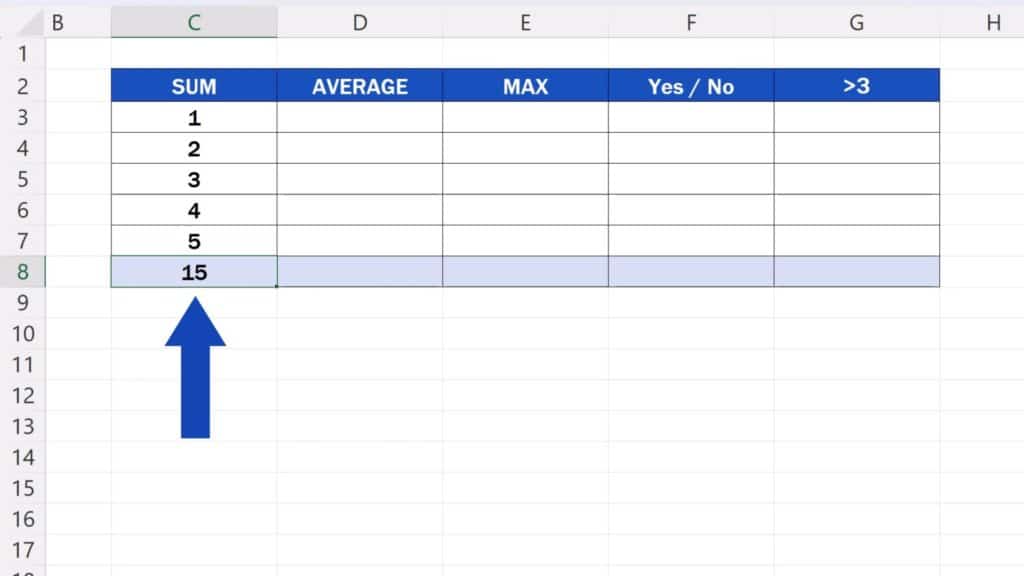
Click on this button and here we go – the formula’s been immediately copied there and the cell shows the result right away!
And let’s move on.
How to Calculate an Average in Excel with AI
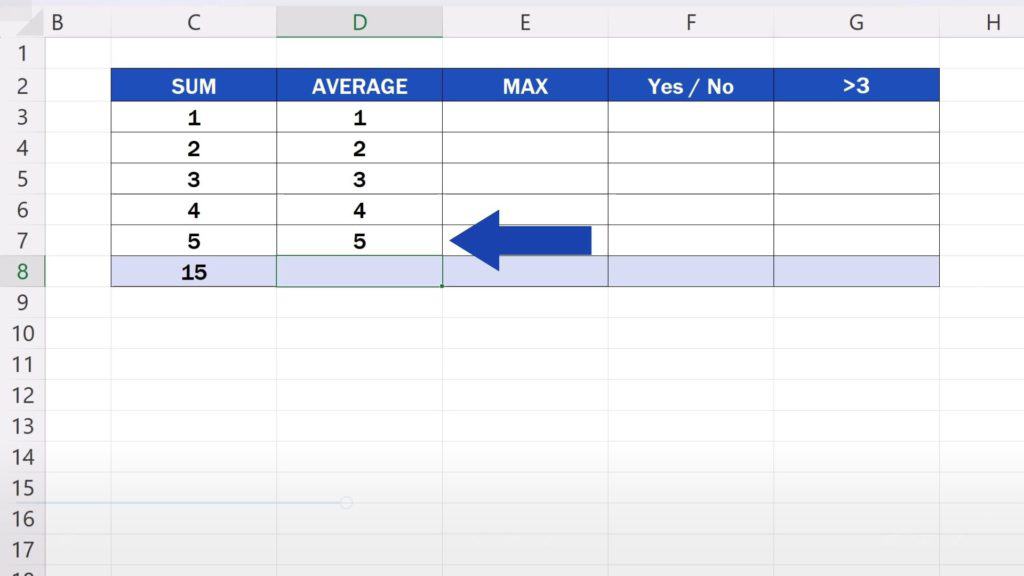
We fill the second column – column D – with data and here we’ll be looking for the average of these numbers. We delete the original request and type the description of a new task.
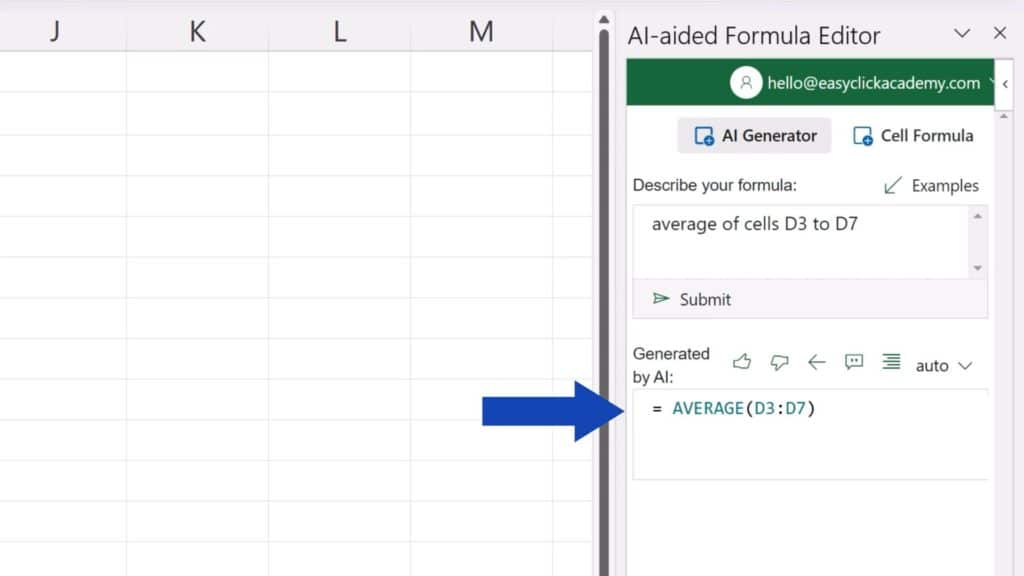
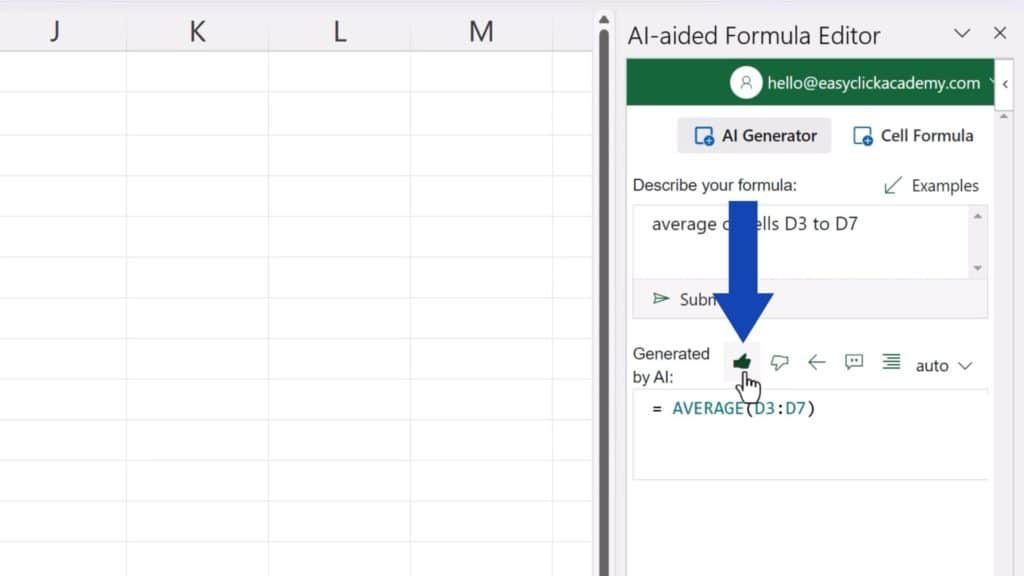
For example, we can type in ‘average of cells D3 to D7’. We press ‘Submit’ and the generated formula, which will do the work we want it to do, appears below again.
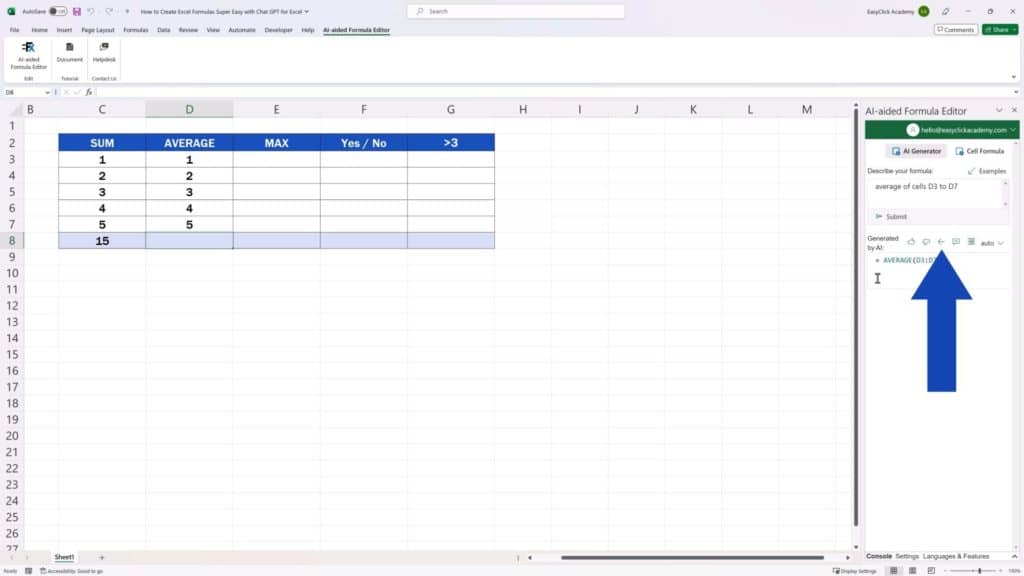
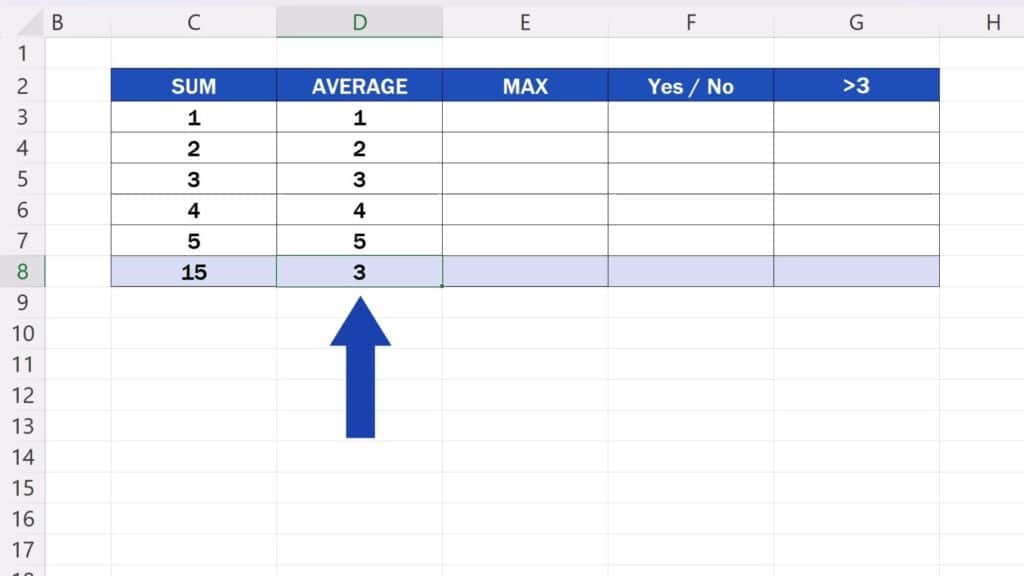
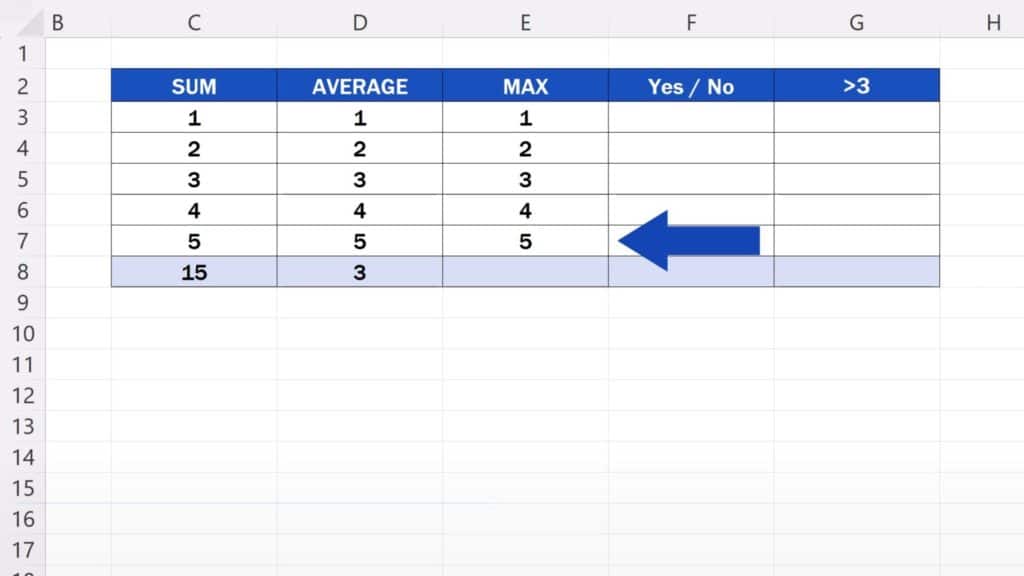
And again, we click on the target cell, in this case it’s D8, we press the arrow button and that’ll copy the formula into the cell. And here’s the result! The average of the cells D3 to D7 is 3.
However, we must be aware that one cannot rely on AI completely. It may not always generate the right formula. That’s why it’s important to learn how to use this tool, how to be precise when writing the description of a request and basically, to always use common sense to check the tool.
It’s also important to keep in mind that AI is learning, so if you’re happy with the generated formula, make sure to hit the Like button. If AI did not generate the right formula, press the Dislike button. Your feedback improves AI responses, so in fact, it’s being taught to come up with better and better results.
How to Find Maximum Value in Excel with AI
Now, let’s fill in the next column and let’s put in the description that we want to find out the maximum value in column E.
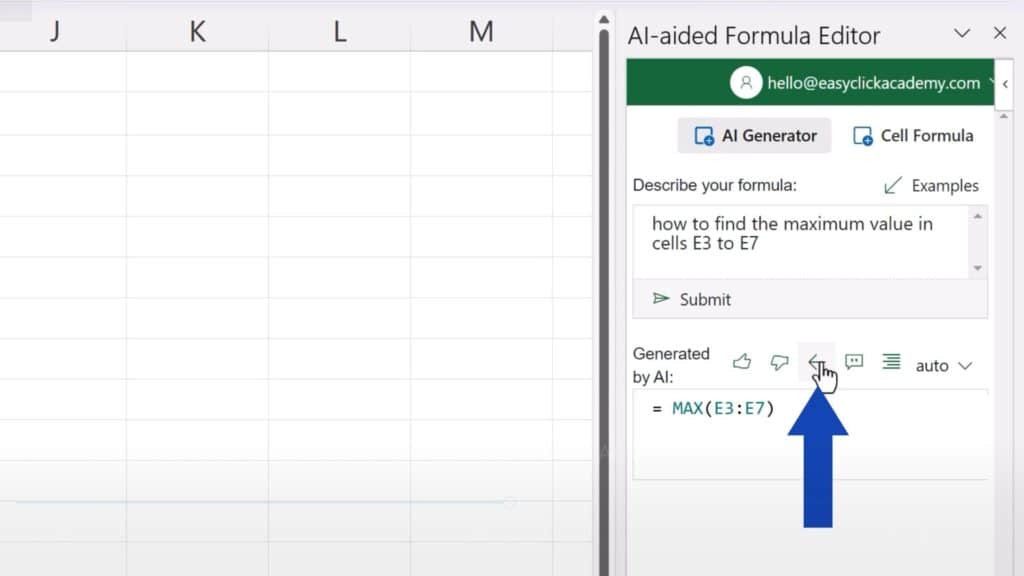
We type in ‘how to find the maximum value in cells E3 to E7’, press ‘Submit’ and copy the formula using the arrow button again.
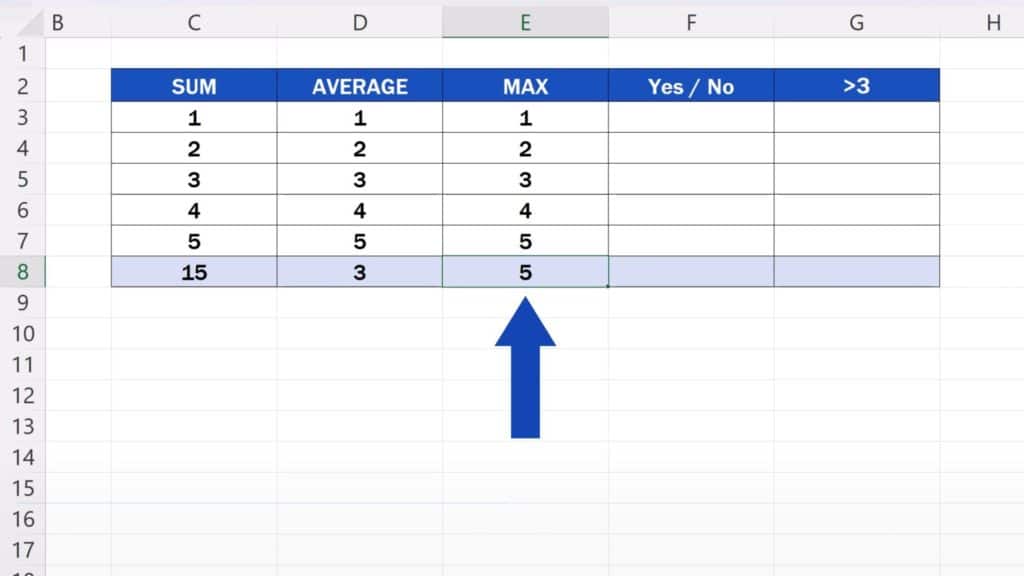
Here we go! The maximum value in column E is 5.
But let’s try something more complicated.
How to Find Out Whether There Is a Number 1 Among Specific Values
We can fill column F with data and we can try to find out whether there is a number 1 among these values. And we want the result as the answer ‘Yes’ or ‘No’.
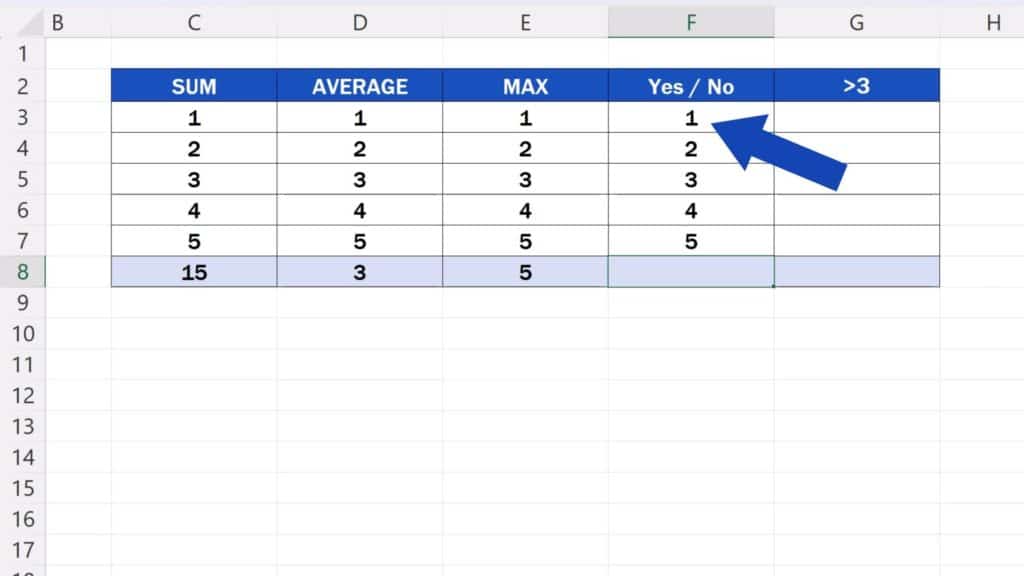
And this is how we can describe this request – write ‘if the number 1 is in cells F3 to F7 write “Yes”. Otherwise, write “No”’.
Again, we hit ‘Submit’ and voilà – AI has immediately generated the right formula. We can see that this one is a bit more complicated than the ones before.
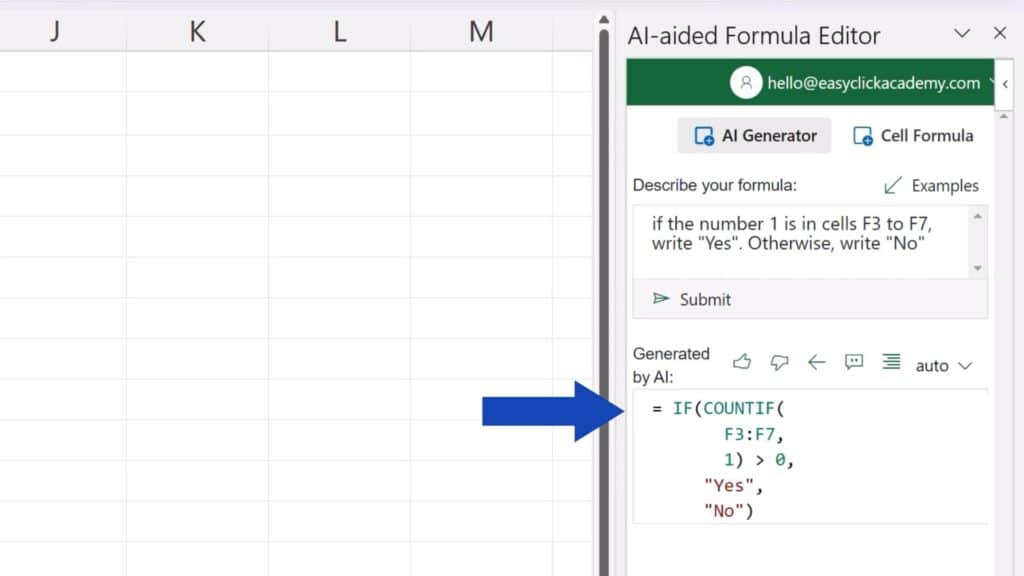
So, copy the formula in the target cell and we can check whether it works correctly.
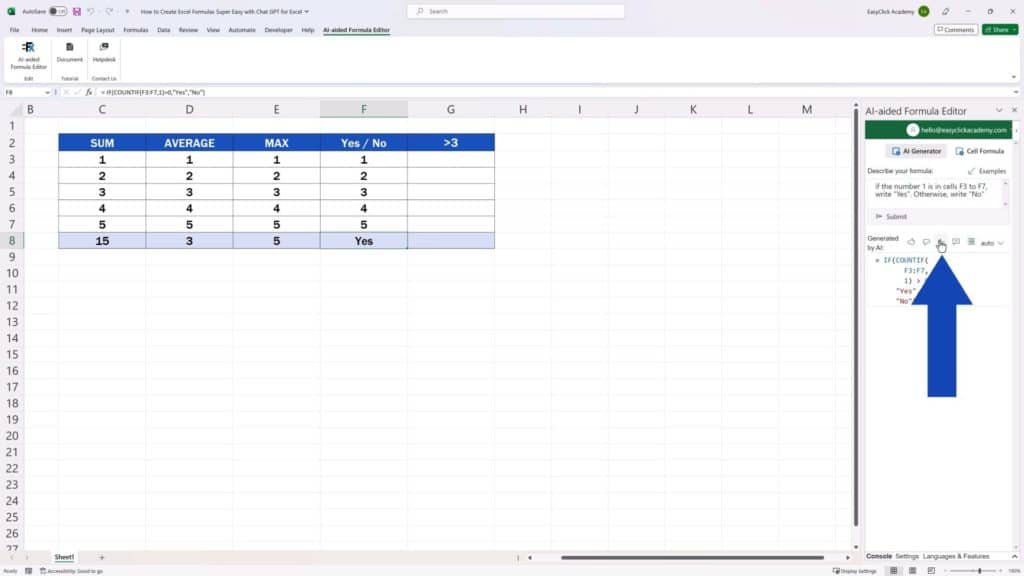
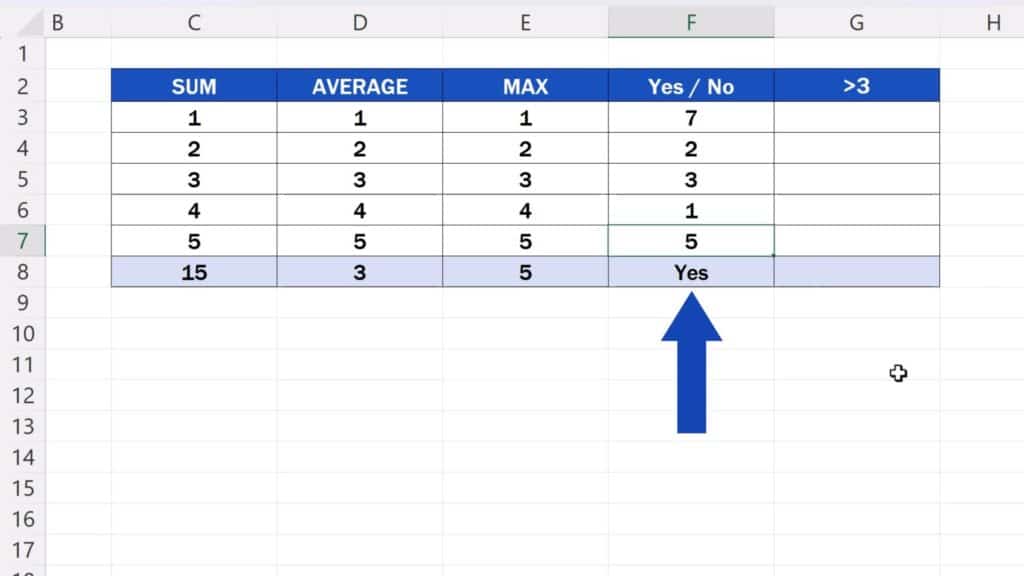
We can see that the result is ‘Yes’, because there IS a number 1 in the cell F3. If we rewrite the data and change it to let’s say number 7, the text in the cell F8 changes to ‘No’, because there’s no number 1 in column F now.
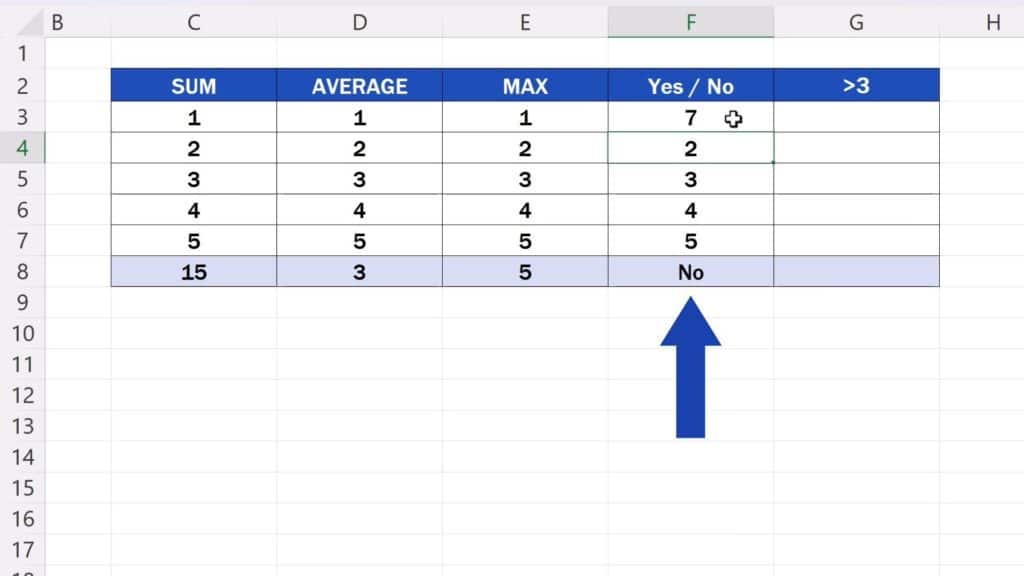
But let’s rewrite the number 4 in the cell F6 and put the value 1 instead, and the result changes back to ‘Yes’ again.
What’s great about this AI tool is that you don’t need to be familiar with all kinds of Excel formulas, but you’ve got them all at hand just by being able to describe in a couple of words what’s the result you need.
Well, let’s have a look at the last example and then, if you like the tool, we can go step by step through how to add it in your Excel immediately, for free and without complicated integration.
How to Find Out How Many Values In Column G Are Greater Than, For Instance, 3
So, back to the example. Here we want to find out how many values in column G are greater than, for instance, 3.
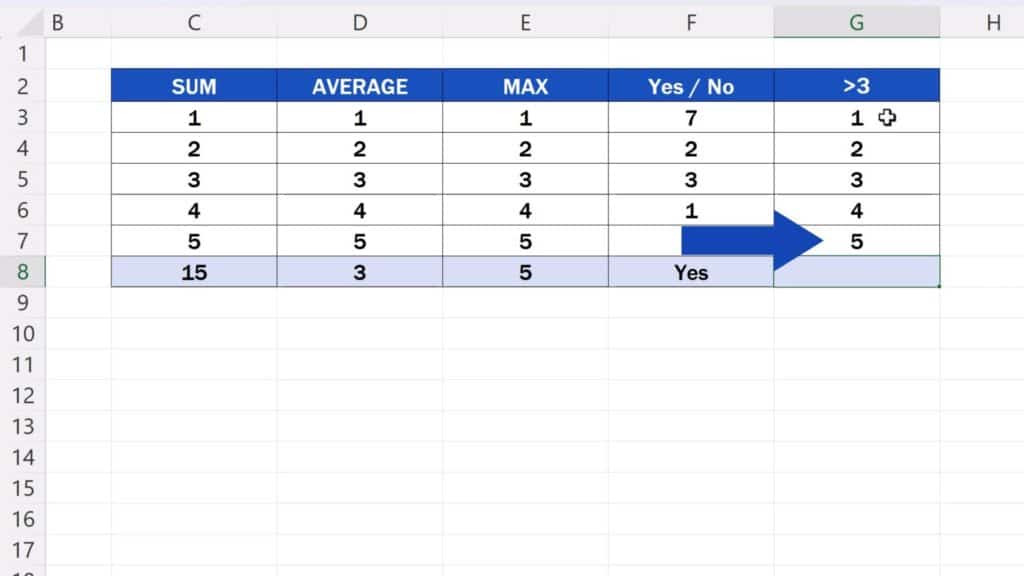
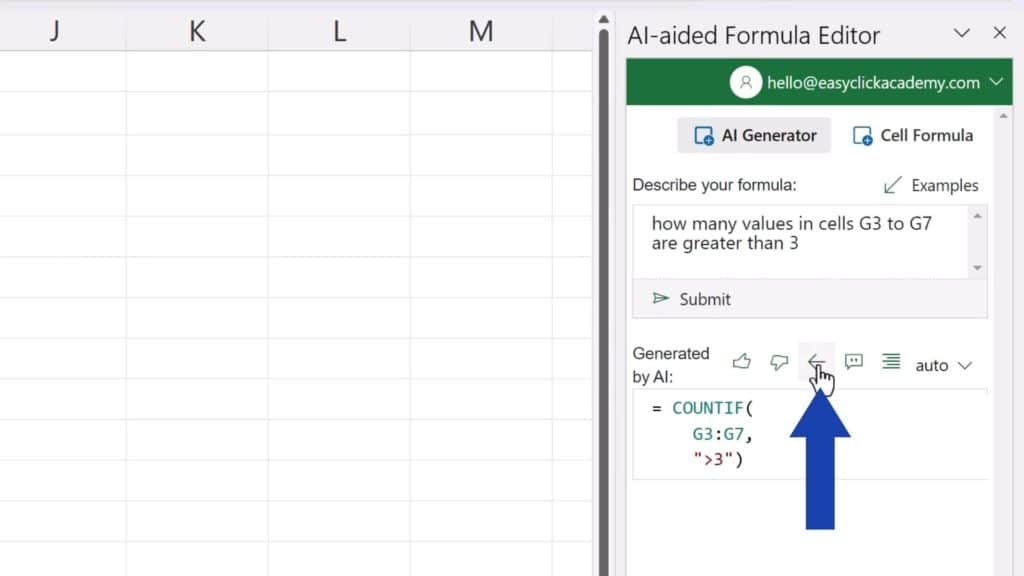
We can put in ‘how many values in cells G3 to G7 are greater than 3’ for description.
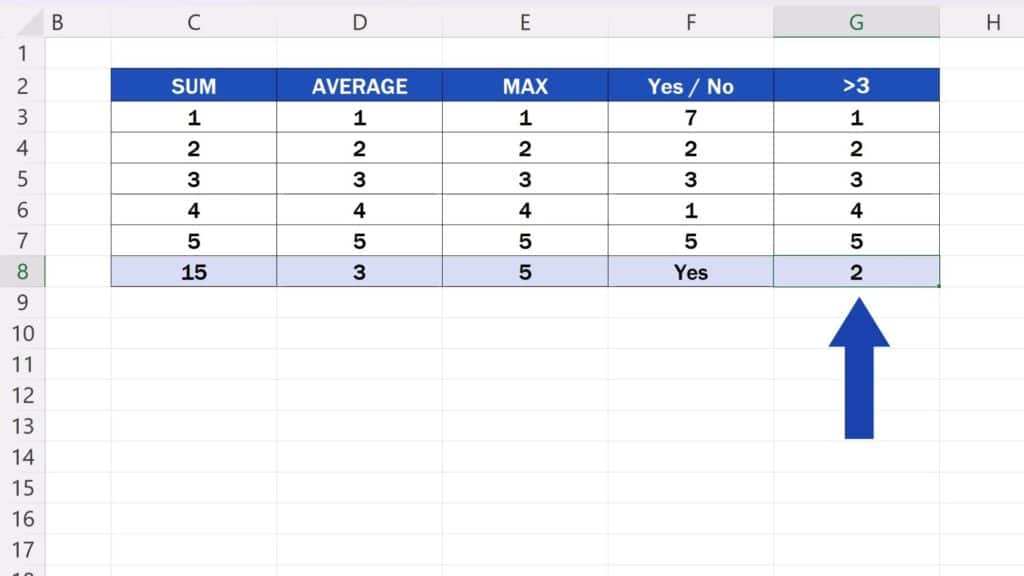
We press ‘Submit’ again and here’s our formula. We copy it in the target cell and we can see that there are two values greater than 3 in this column.
This is how AI can help you at work while using Excel. You can generate even more complicated formulas just by saying in a simple way what you need.
How to Integrate ChatGPT into Excel
If you like this tool that uses ChatGPT, we’re going to have a look at how you can add it to your Excel now.
Let me start with the information that there’s a monthly subscription if you want to use this tool. However, you can start using it for free. The trial ‘Basic Plan’ is limited to a maximum of eight AI requests per week.
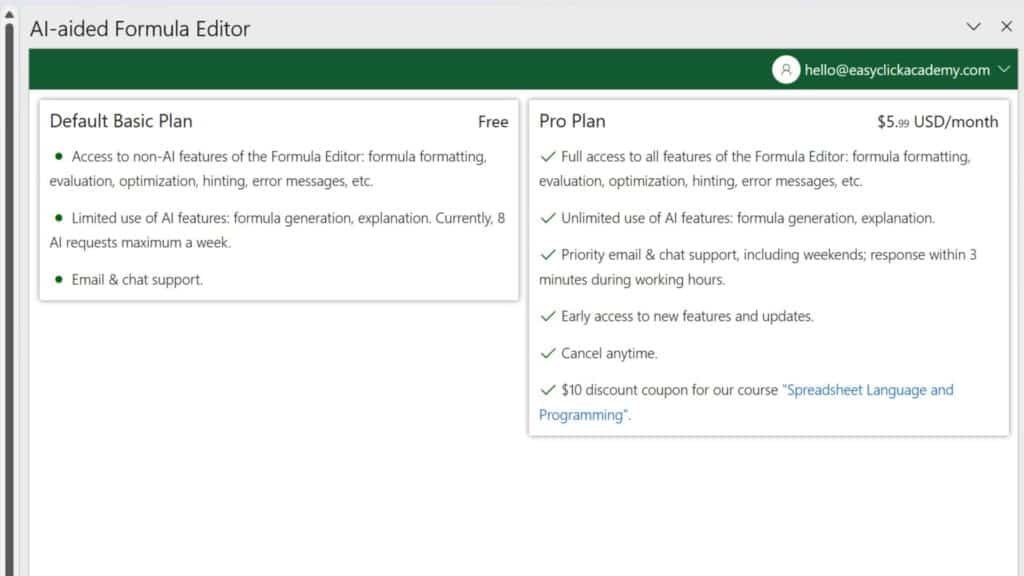
And now we can have a look at how to install it.
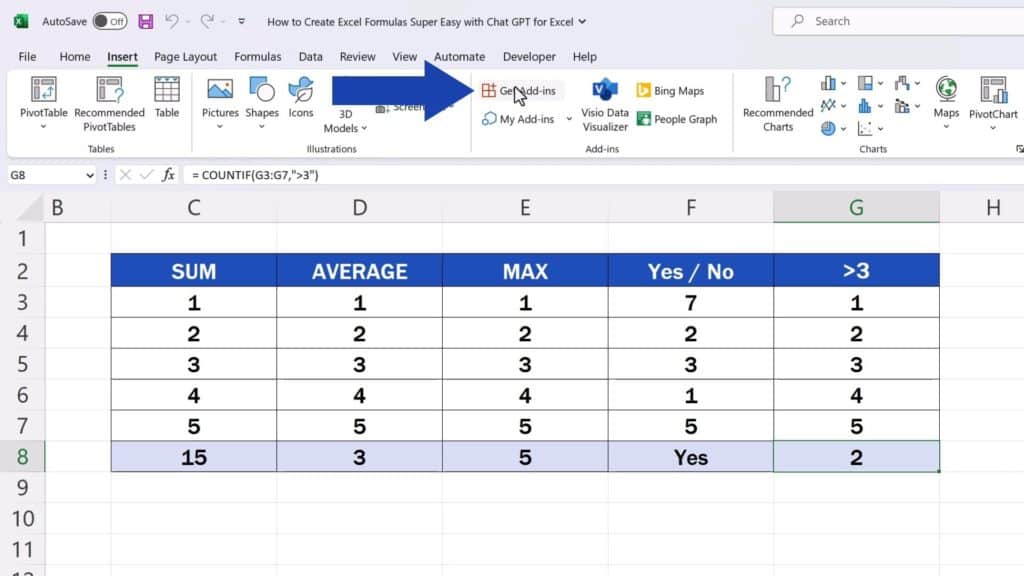
First, go to the Insert tab and select the option ‘Get Add-ins’.
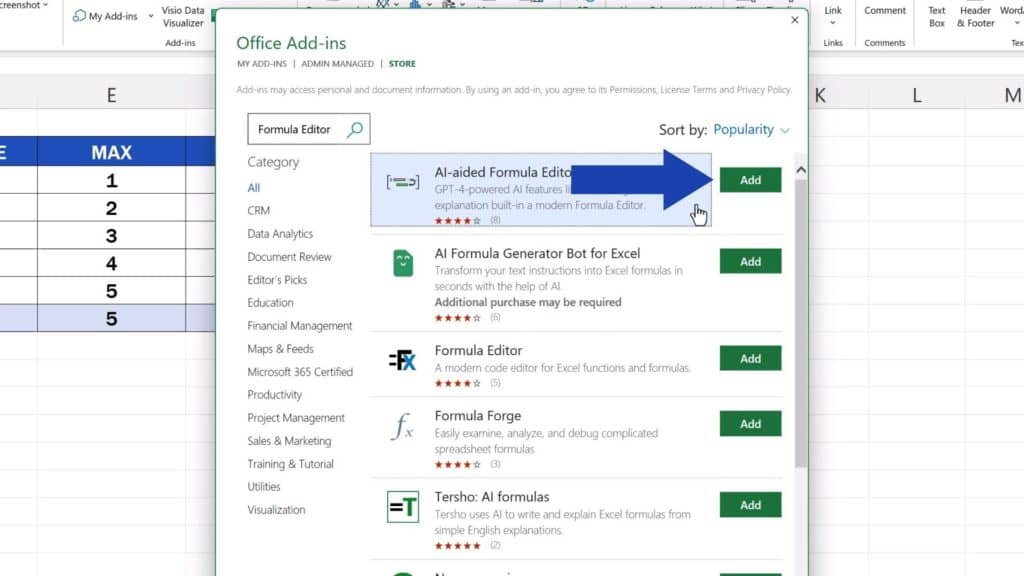
Then use the Search field to find ‘AI-Aided Formula Editor’. Press the ‘Add’ button, read and confirm Terms & Conditions, and click on ‘Continue’.
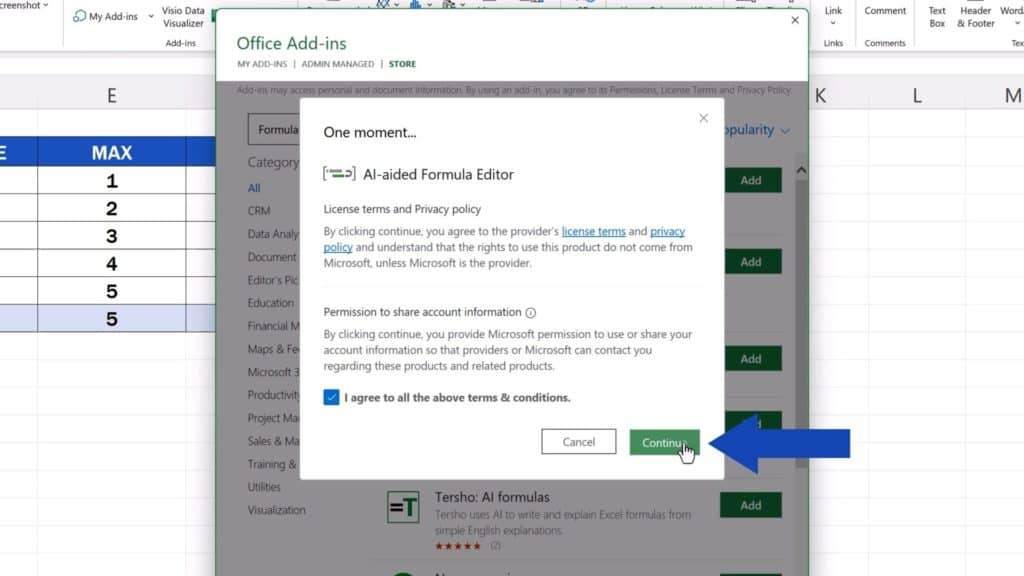
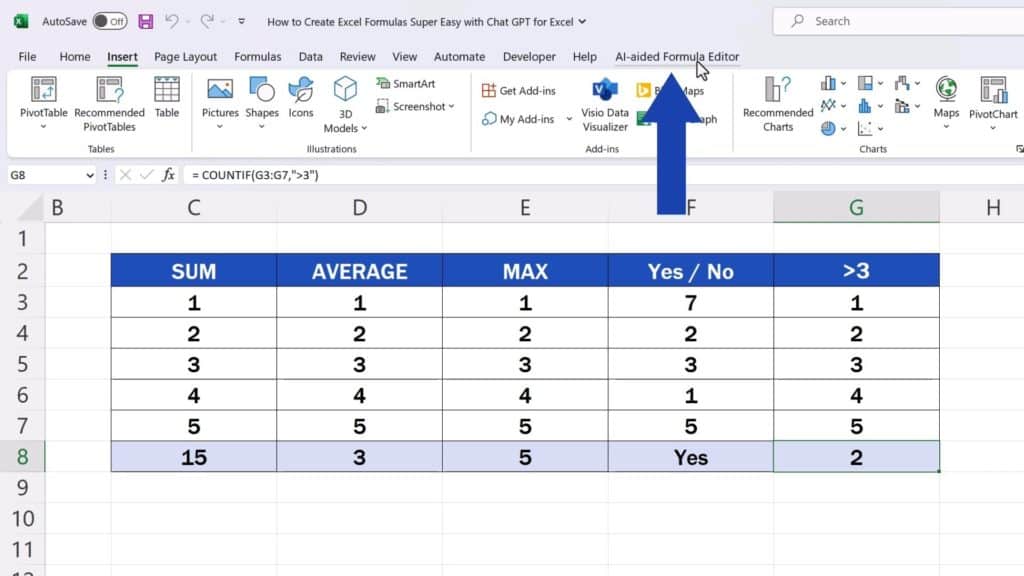
You’ll see the tool pane here on the right and you’ll see a new tab appear at the top, through which you can open the editor anytime.
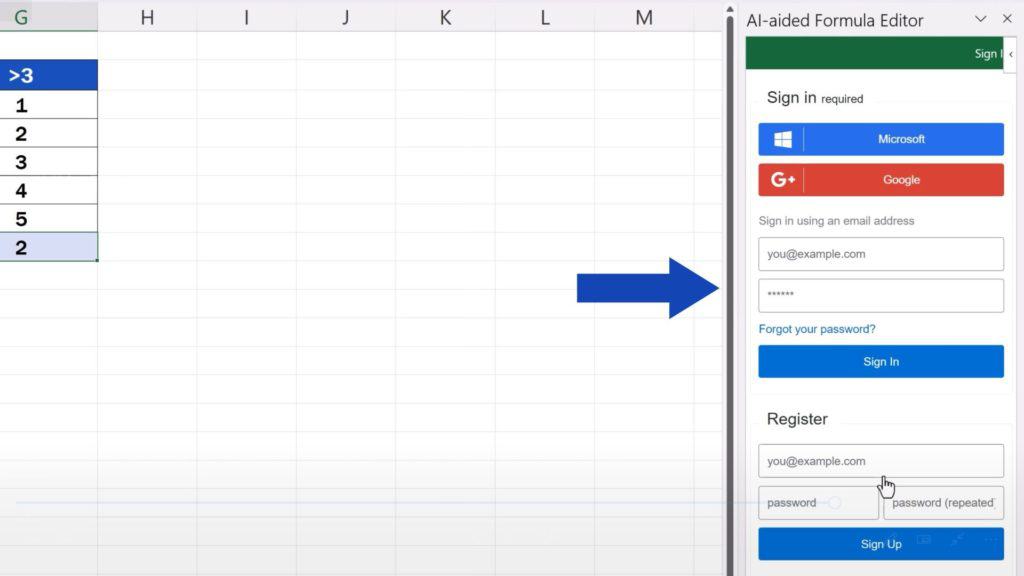
A good thing is the tool does not require any complicated integration. You don’t need to have a ChatGPT account, there’s no need for API keys or anything like that.
A simple registration is sufficient here. You just enter your email, create a password and that’s all it takes! A verification email is sent to your address and you can sign up and start using the tool right away.
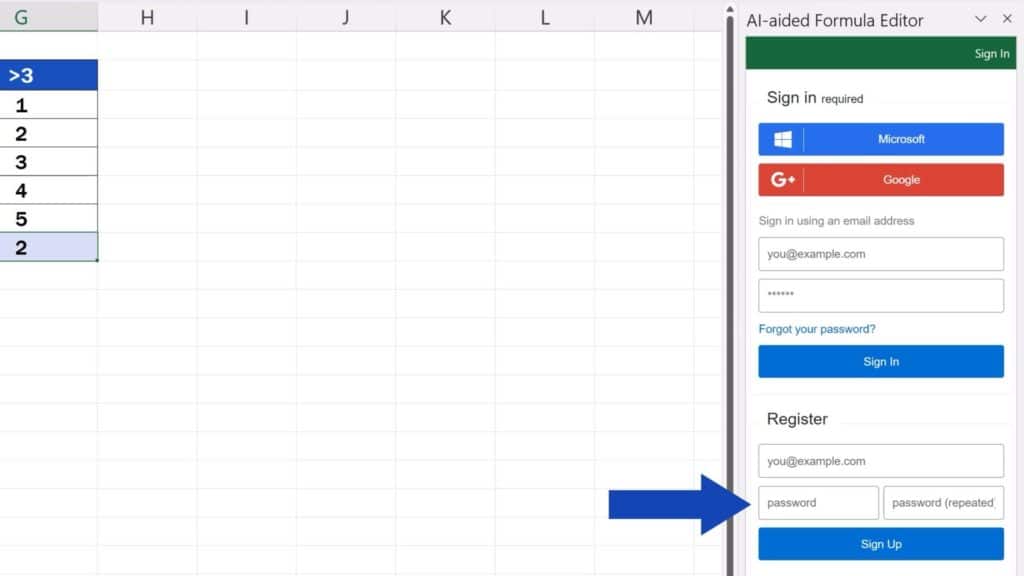
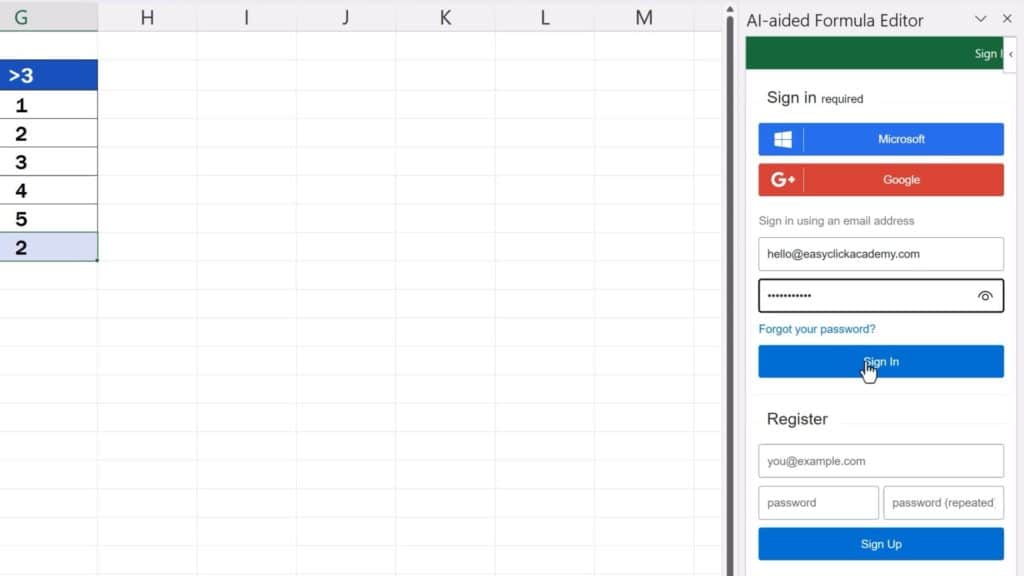
My account’s been set up, so I’ll just sign in and I can see everything we worked with just a while ago.
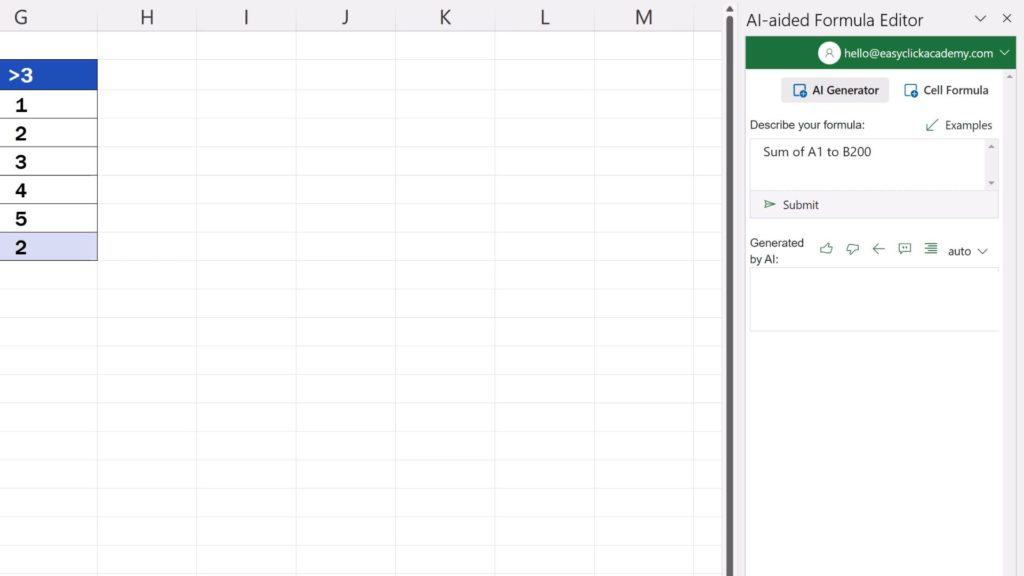
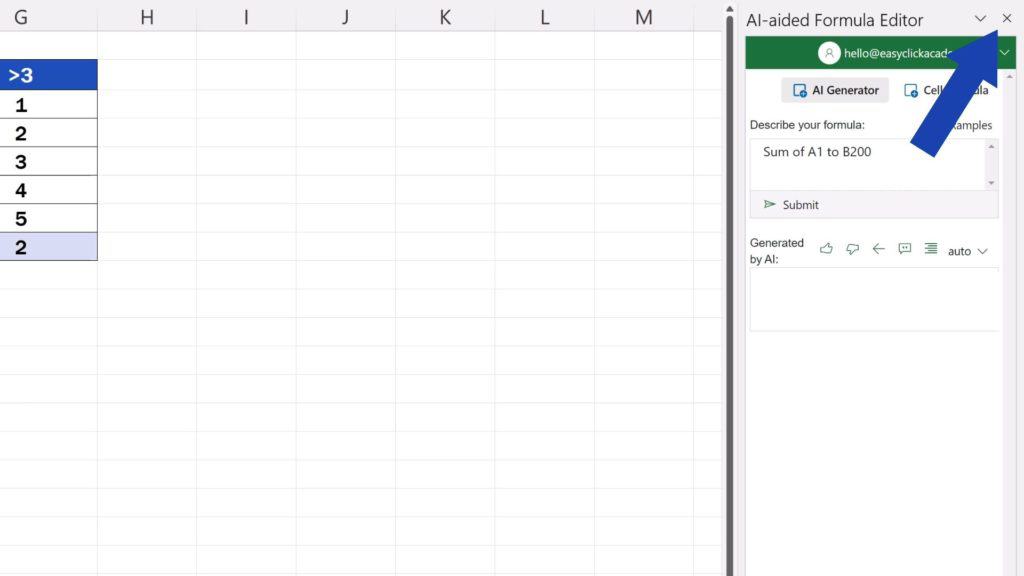
If you don’t need to work with the editor right now, you can close it by clicking on the X here in the upper right corner of the pane.
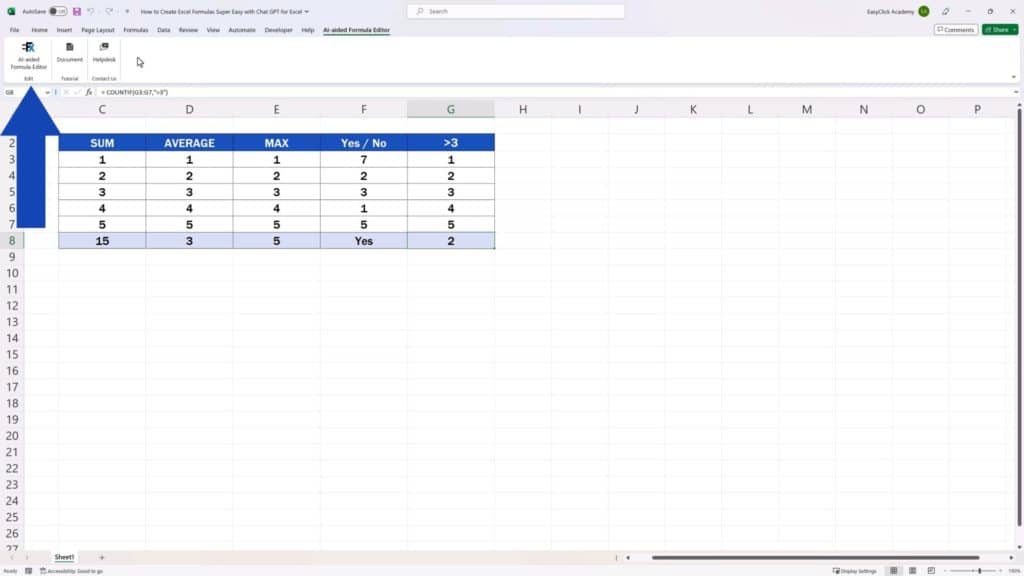
And to call this great AI helper back on the screen, click on this button under the tab ‘AI-aided Formula Editor’.
So, do you feel like giving it all a try? Leave us a note in the comments section below. We’ll be excited to hear from you!
And if you’d like to know more of this tool, for example, how to understand the formulas you generated through the formula editor, check out this tutorial by EasyClick Academy!
Don’t miss out a great opportunity to learn:
- No Stress About Excel Formulas – Let AI Explain (Inside Excel)
- How to Calculate an Average in Excel
- How to Use the COUNTIF Function in Excel
If you found this tutorial helpful, give us a like and watch other tutorials by EasyClick Academy. Learn how to use Excel in a quick and easy way!
Is this your first time on EasyClick? We’ll be more than happy to welcome you in our online community. Hit that Subscribe button and join the EasyClickers!
Thanks for watching and I’ll see you in the next tutorial!


